How to Fit a Ceiling Cornice: The Complete Step-by-Step Guide
Dreaming of transforming the look of your home without major building work? This complete guide shows you how to fit a ceiling cornice like a professional.
Équipe Dartank
DARTANK Expert
Dreaming of transforming the look of your home without major building work? Fitting a ceiling cornice is an elegant, accessible solution that can give any room a whole new character. This guide walks you through the installation step by step, for a truly professional finish.
Tools and Materials You Will Need
Before you start, make sure you have all the necessary tools within easy reach:
Tools:
- Tape measure and pencil
- Spirit level or laser level
- Mitre box or powered mitre saw
- Fine-toothed hand saw
- Cartridge gun
- Filling knife and a stable stepladder
- Sandpaper, 120-180 grit
Consumables:
- Cornices (room perimeter + 10% for wastage)
- Mounting adhesive made specifically for mouldings
- White acrylic caulk
- Panel pins (optional)
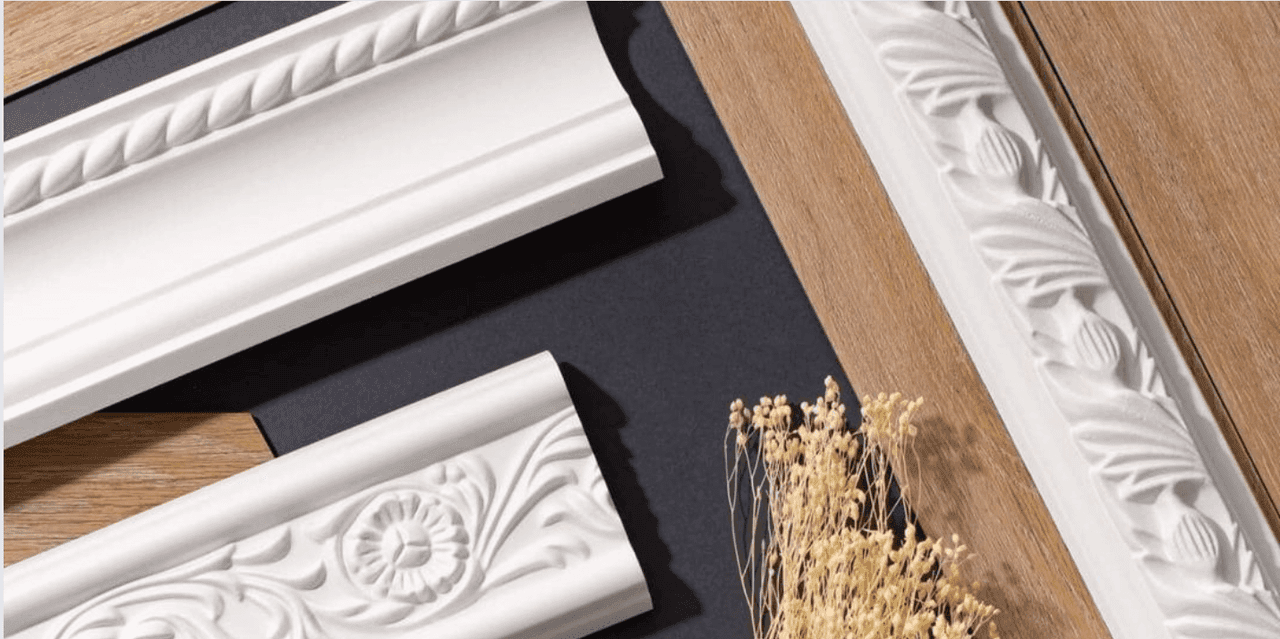
Our tip: go for polyurethane cornices, where the detail is more sharply defined and the finish distinctly more premium.
Step 1: Preparing the Surfaces
Careful preparation is the key to a successful installation. Start by thoroughly cleaning the wall-to-ceiling junction. Strip off any loose wallpaper, flaking paint or dust.
Key points:
- Surfaces must be clean, dry and slightly porous
- On gloss paint, sand lightly to improve adhesion
- Fill any holes and cracks with filler
Step 2: Marking Out the Guideline
Hold a test length of cornice against the wall-to-ceiling junction and pencil in its outline at several points around the room. Join these marks up with a level or a chalk line to obtain a perfectly horizontal guideline.
This reference line will guide you throughout the installation and guarantee a flawless result.
Step 3: Mastering the 45° Mitre Cuts
This is the most technical stage of the job. The quality of your cuts will determine how the finished result looks.
For internal corners (the most common):
- Set the cornice in the mitre box, ceiling face against the back
- For the left-hand length: cut at 45° towards the right
- For the right-hand length: cut at 45° towards the left
For external corners:
- Reverse the logic: the left-hand length is cut towards the left, the right-hand length towards the right
Pro tip: always dry-fit the pieces before you reach for the adhesive. Fine-tune with sandpaper if needed.
Step 4: Fitting the Cornice
Start with the corners:
- Apply a generous zigzag bead of adhesive to both contact faces (wall side and ceiling side)
- Position the cornice, following your marks
- Press firmly and evenly for 30 seconds
- Hold heavy lengths in place with temporary panel pins
Then fit the straight runs:
- Once the corners are in, fill the gaps with lengths cut at 90°
- Apply adhesive to the contact faces AND to the mating edges of the joints
- Wipe away any squeezed-out adhesive straight away with a damp sponge
Step 5: A Professional Finish
Leave the adhesive to dry for 12 to 24 hours before finishing:
- Remove the temporary holding pins
- Fill the nail holes and joints with white acrylic caulk
- Smooth the joints with a wetted finger
- Once dry, sand back any imperfections lightly
- Dust off before painting, if you intend to paint
Expert Advice
| Factor | Recommendation |
|---|---|
| Temperature | Work between 10°C and 30°C |
| Uneven walls | Use a slow-setting adhesive and close the gaps with caulk |
| Choice of material | Polystyrene for beginners, polyurethane for premium results |
| Painting | Wait 24-48 h and use an acrylic paint, with a primer if necessary |
Frequently Asked Questions
Can cornices be painted?
Yes, most cornices take acrylic paint once the adhesive and the caulk have cured completely (24-48 h). A primer may be needed.
How do you repair a broken cornice?
Polyurethane lengths can be repaired with a specialist adhesive and some filler. Where the damage is more serious, replacing the whole section is generally the better option.
How much cornice should I order?
Measure the total perimeter of the room and add 10% for cuts and the odd mistake. Standard lengths are 2 metres.
Browse our cornice collection and enjoy free delivery on orders over 150€. Our team of experts is on hand to advise you.
Besoin de conseils personnalisés ?
Nos experts sont à votre disposition pour vous accompagner dans vos projets de décoration.
Contactez-nous