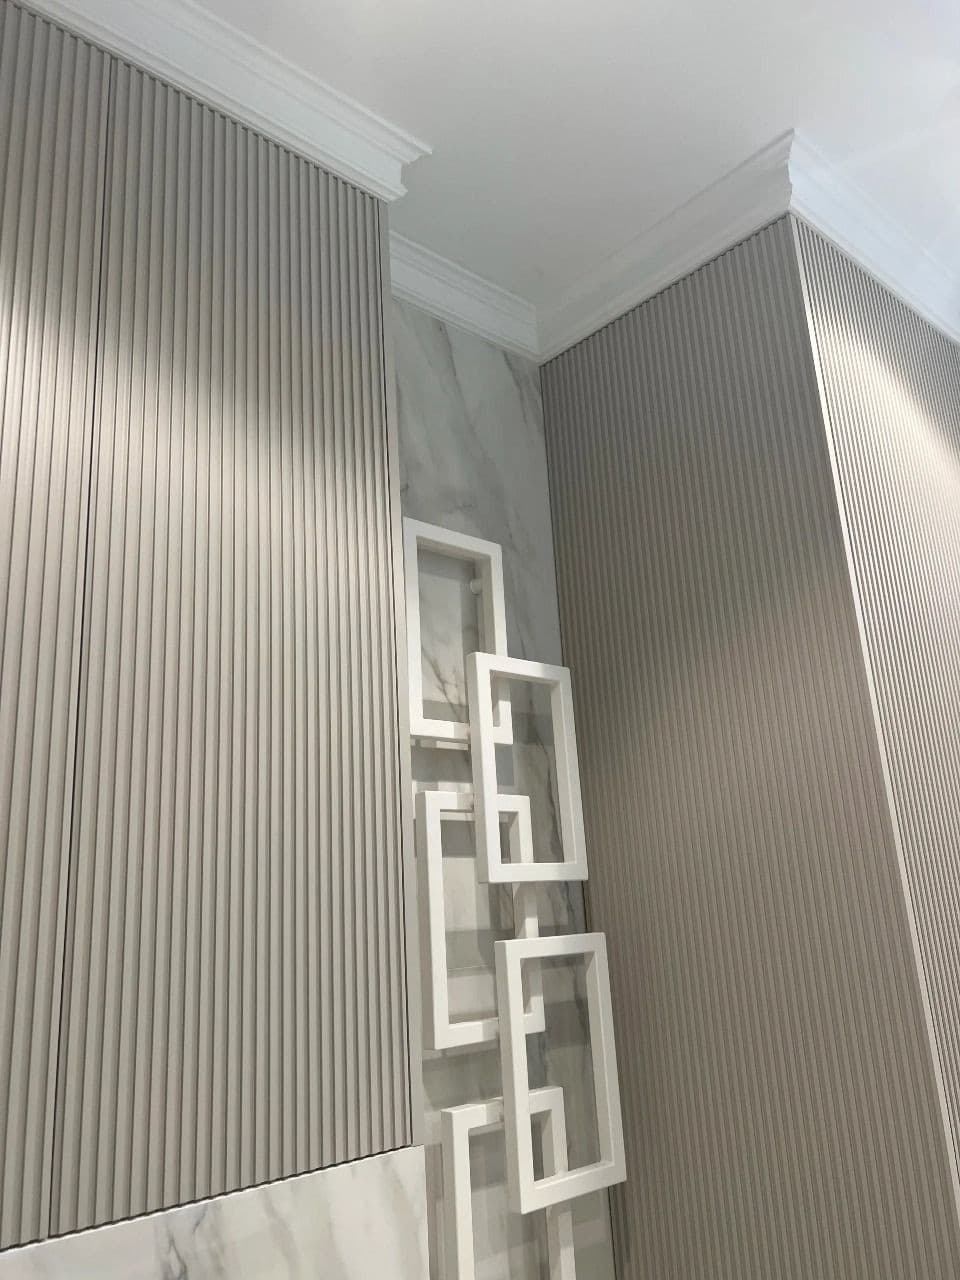
How to Install 3D Wall Panels: A Step-by-Step Guide
Fitting 3D wall panels is decided before you reach for the adhesive: on the flatness of the wall and on the setting out. A complete guide, from checking the substrate to the final finish.
Equipe Dartank
DARTANK Expert

3D wall panels turn a plain wall into architectural relief. Fitting them is well within the reach of a careful DIYer, on one condition: everything that matters is settled before you open the adhesive, on the flatness of the wall and on the setting out.
What you will need
- 3D wall panels, allowing 10 % extra surface area for cuts
- Construction adhesive suited to the panel material (polyurethane, MDF or PVC)
- Cartridge gun
- Spirit level or laser, metal straightedge, pencil
- Fine-tooth saw or mitre box, utility knife with fresh blades
- Filler and spacers
- Acrylic caulk and gun, 180-grit abrasive paper
Step 1: check the wall before anything else
Hold a 2-metre straightedge against the wall in several places, horizontally and then vertically. Any deviation greater than 3 mm over that length will show up in the joints: a rigid panel does not follow a bulge, it bears on it and lifts at the edges. Fill the hollows, sand down the high spots, remove the dust.
The substrate must be dry, sound and free of chalking. Adhesive will not grip gloss paint or old wallpaper: strip it back or sand it to key the surface.
Step 2: let the panels acclimatise
Take the panels out of their packaging and leave them lying flat for 48 hours in the room where they are to be fitted. They take on the temperature and the humidity of the space. Skip this step and you are fitting panels that are still on the move: the joints open up a few weeks later.
Step 3: set out the layout
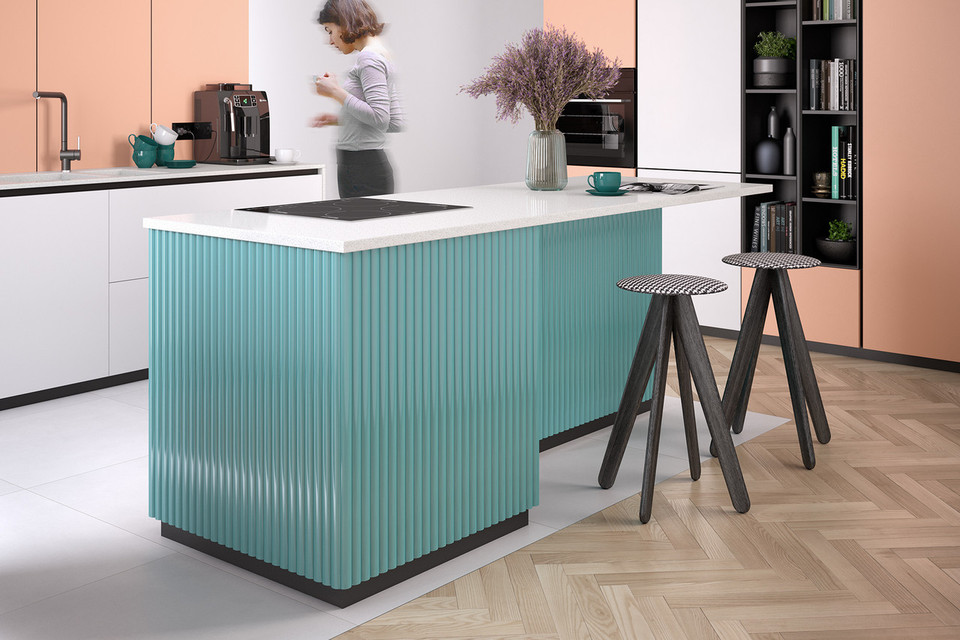
This is the step that separates an amateur job from a properly executed one. Do not start in a corner: walls are rarely square, and you would carry the error all the way along.
Measure the width of the wall, divide it by the width of one panel, and split the leftover cut into two equal halves at either end. Then mark a levelled reference vertical, and a horizontal for the first row. You will work to those lines, not to the floor or the ceiling, which are rarely straight.
Step 4: cutting
Always cut with the decorative face upwards using a fine-tooth saw, or with the utility knife in several light passes for flexible panels. A single heavy pass tears the material and leaves a ragged edge that caulk will never rescue.
Mark out the sockets and switches before you glue: cut them with the panel dry-fitted against the wall, never once the adhesive is on.
Step 5: applying the adhesive and fitting
Apply the adhesive in evenly spaced dabs across the whole back of the panel, 3 cm in from the edges, plus a continuous bead around the perimeter. Dabs on their own leave the corners unsupported, and those are the first to lift.
Offer the panel up to your lines, press firmly from the centre out towards the edges, then pull it off and wait for the flash-off time given by the manufacturer, usually one to two minutes. Put it back and hold it in place. This double gluing doubles the hold.
Step 6: dealing with the joints
Butt the panels edge to edge without forcing them: a joint under stress will bow at the first change in temperature. Instead, leave an expansion gap of 2 to 3 mm around the edges, against the floor, the ceiling and the corners. It will be hidden by the skirting boards or by a picture rail.
Fill the joints between panels with acrylic caulk, smooth them with a damp finger, leave them to dry, then sand with 180-grit paper.
Step 7: finishing
Most polyurethane or MDF panels can be painted. Apply a bonding primer, then two coats of satin acrylic paint, using a short-pile roller on the flat areas and a brush on the relief. Matt paint accentuates the relief, satin paint bounces the light back and softens it.
The mistakes that show
- Starting in a corner: the out-of-plumb error builds up from one panel to the next
- Gluing to a dusty or glossy wall: the adhesive will never take
- Doing away with the expansion gap: the panels lift at the joints
- Painting before the caulk is dry: the joints crack as they cure
Browse our range of wall panels and decorative slats and panels, along with the adhesives and installation accessories to suit each material.
Besoin de conseils personnalisés ?
Nos experts sont à votre disposition pour vous accompagner dans vos projets de décoration.
Contactez-nous