Ceiling Roses: The Forgotten Decorative Detail That Transforms a Room
Ceiling roses are making a strong comeback in interior design. Find out how to choose and fit this classic element.
Equipe Dartank
DARTANK Expert

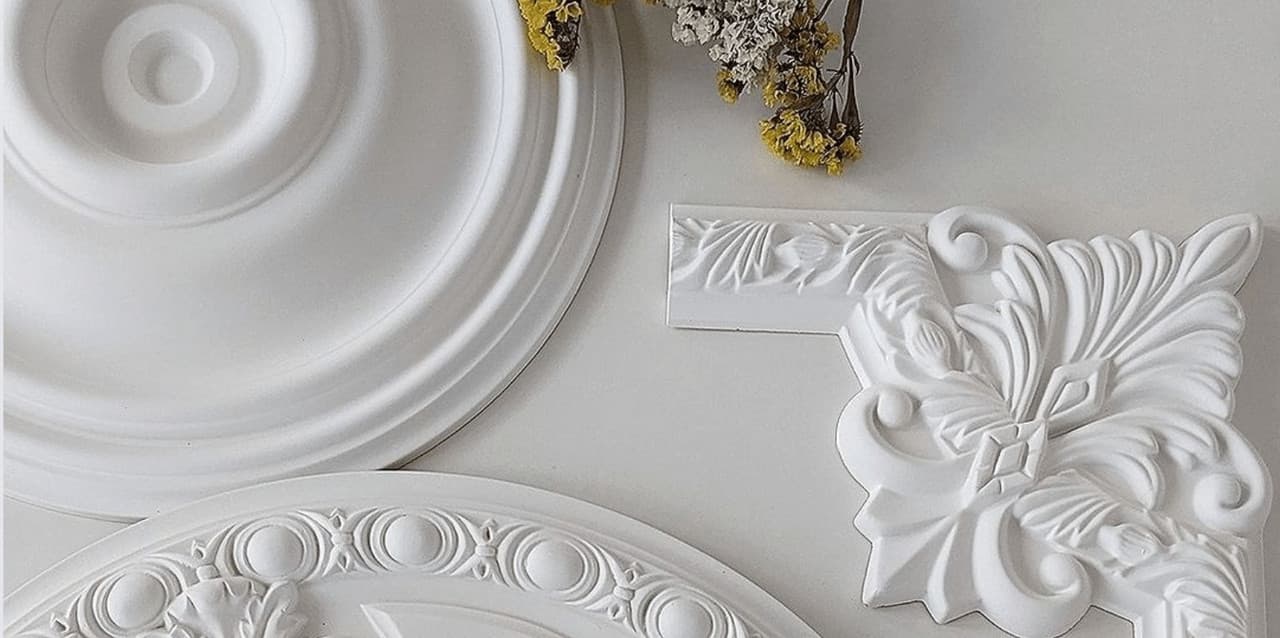
Long written off as old-fashioned, ceiling roses are making a notable comeback in contemporary interiors. This decorative element brings elegance and character to any room.
Why Choose a Ceiling Rose?
- Create a focal point on the ceiling
- Show off a chandelier or a pendant light
- Conceal untidy electrical fixing points
- Add a touch of sophistication
- Increase the perceived value of your interior
The Different Ceiling Rose Styles
Classic Style
Floral motifs, scrolls and acanthus leaves. Perfect for Haussmann-style or traditional interiors.
Art Deco Style
Geometric lines, fan motifs. Ideal for a 20s-30s interior.
Modern Style
Clean shapes, concentric circles. Fits perfectly into a contemporary scheme.
Minimalist Style
Smooth or lightly textured roses. Understated but elegant.
Choosing the Right Size
The general rule: the diameter of the rose should be in proportion to the size of the room and of the light fitting.
- Small room (under 12m²): rose of 30-40 cm
- Medium-sized room (12-20m²): rose of 40-60 cm
- Large room (over 20m²): rose of 60-100 cm
Step-by-Step Installation
1. Switch off the electricity
Safety first! Trip the circuit breaker before doing anything else.
2. Mark the centre
Use the electrical outlet as the centre point. Draw the outline of the rose in pencil.
3. Prepare the rose
Some roses come with a pre-cut central hole, others have to be drilled.
4. Apply the adhesive
Use a mounting adhesive intended for ceilings. Apply it in a zigzag on the back of the rose.
5. Position and hold in place
Place the rose centred over the electrical outlet. Hold it for a few minutes, or use temporary holding nails.
6. Finishing touches
Fill the joints with acrylic caulk. Paint if needed, once fully dry.
Pairing with Light Fittings
The rose shows off your light fitting, but do mind the proportions:
- The rose must be larger than the base of the light fitting
- An imposing chandelier deserves a large rose
- A slim pendant light can be paired with a more discreet rose
Besoin de conseils personnalisés ?
Nos experts sont à votre disposition pour vous accompagner dans vos projets de décoration.
Contactez-nous