Skip to content
Dartank

3D wall panels

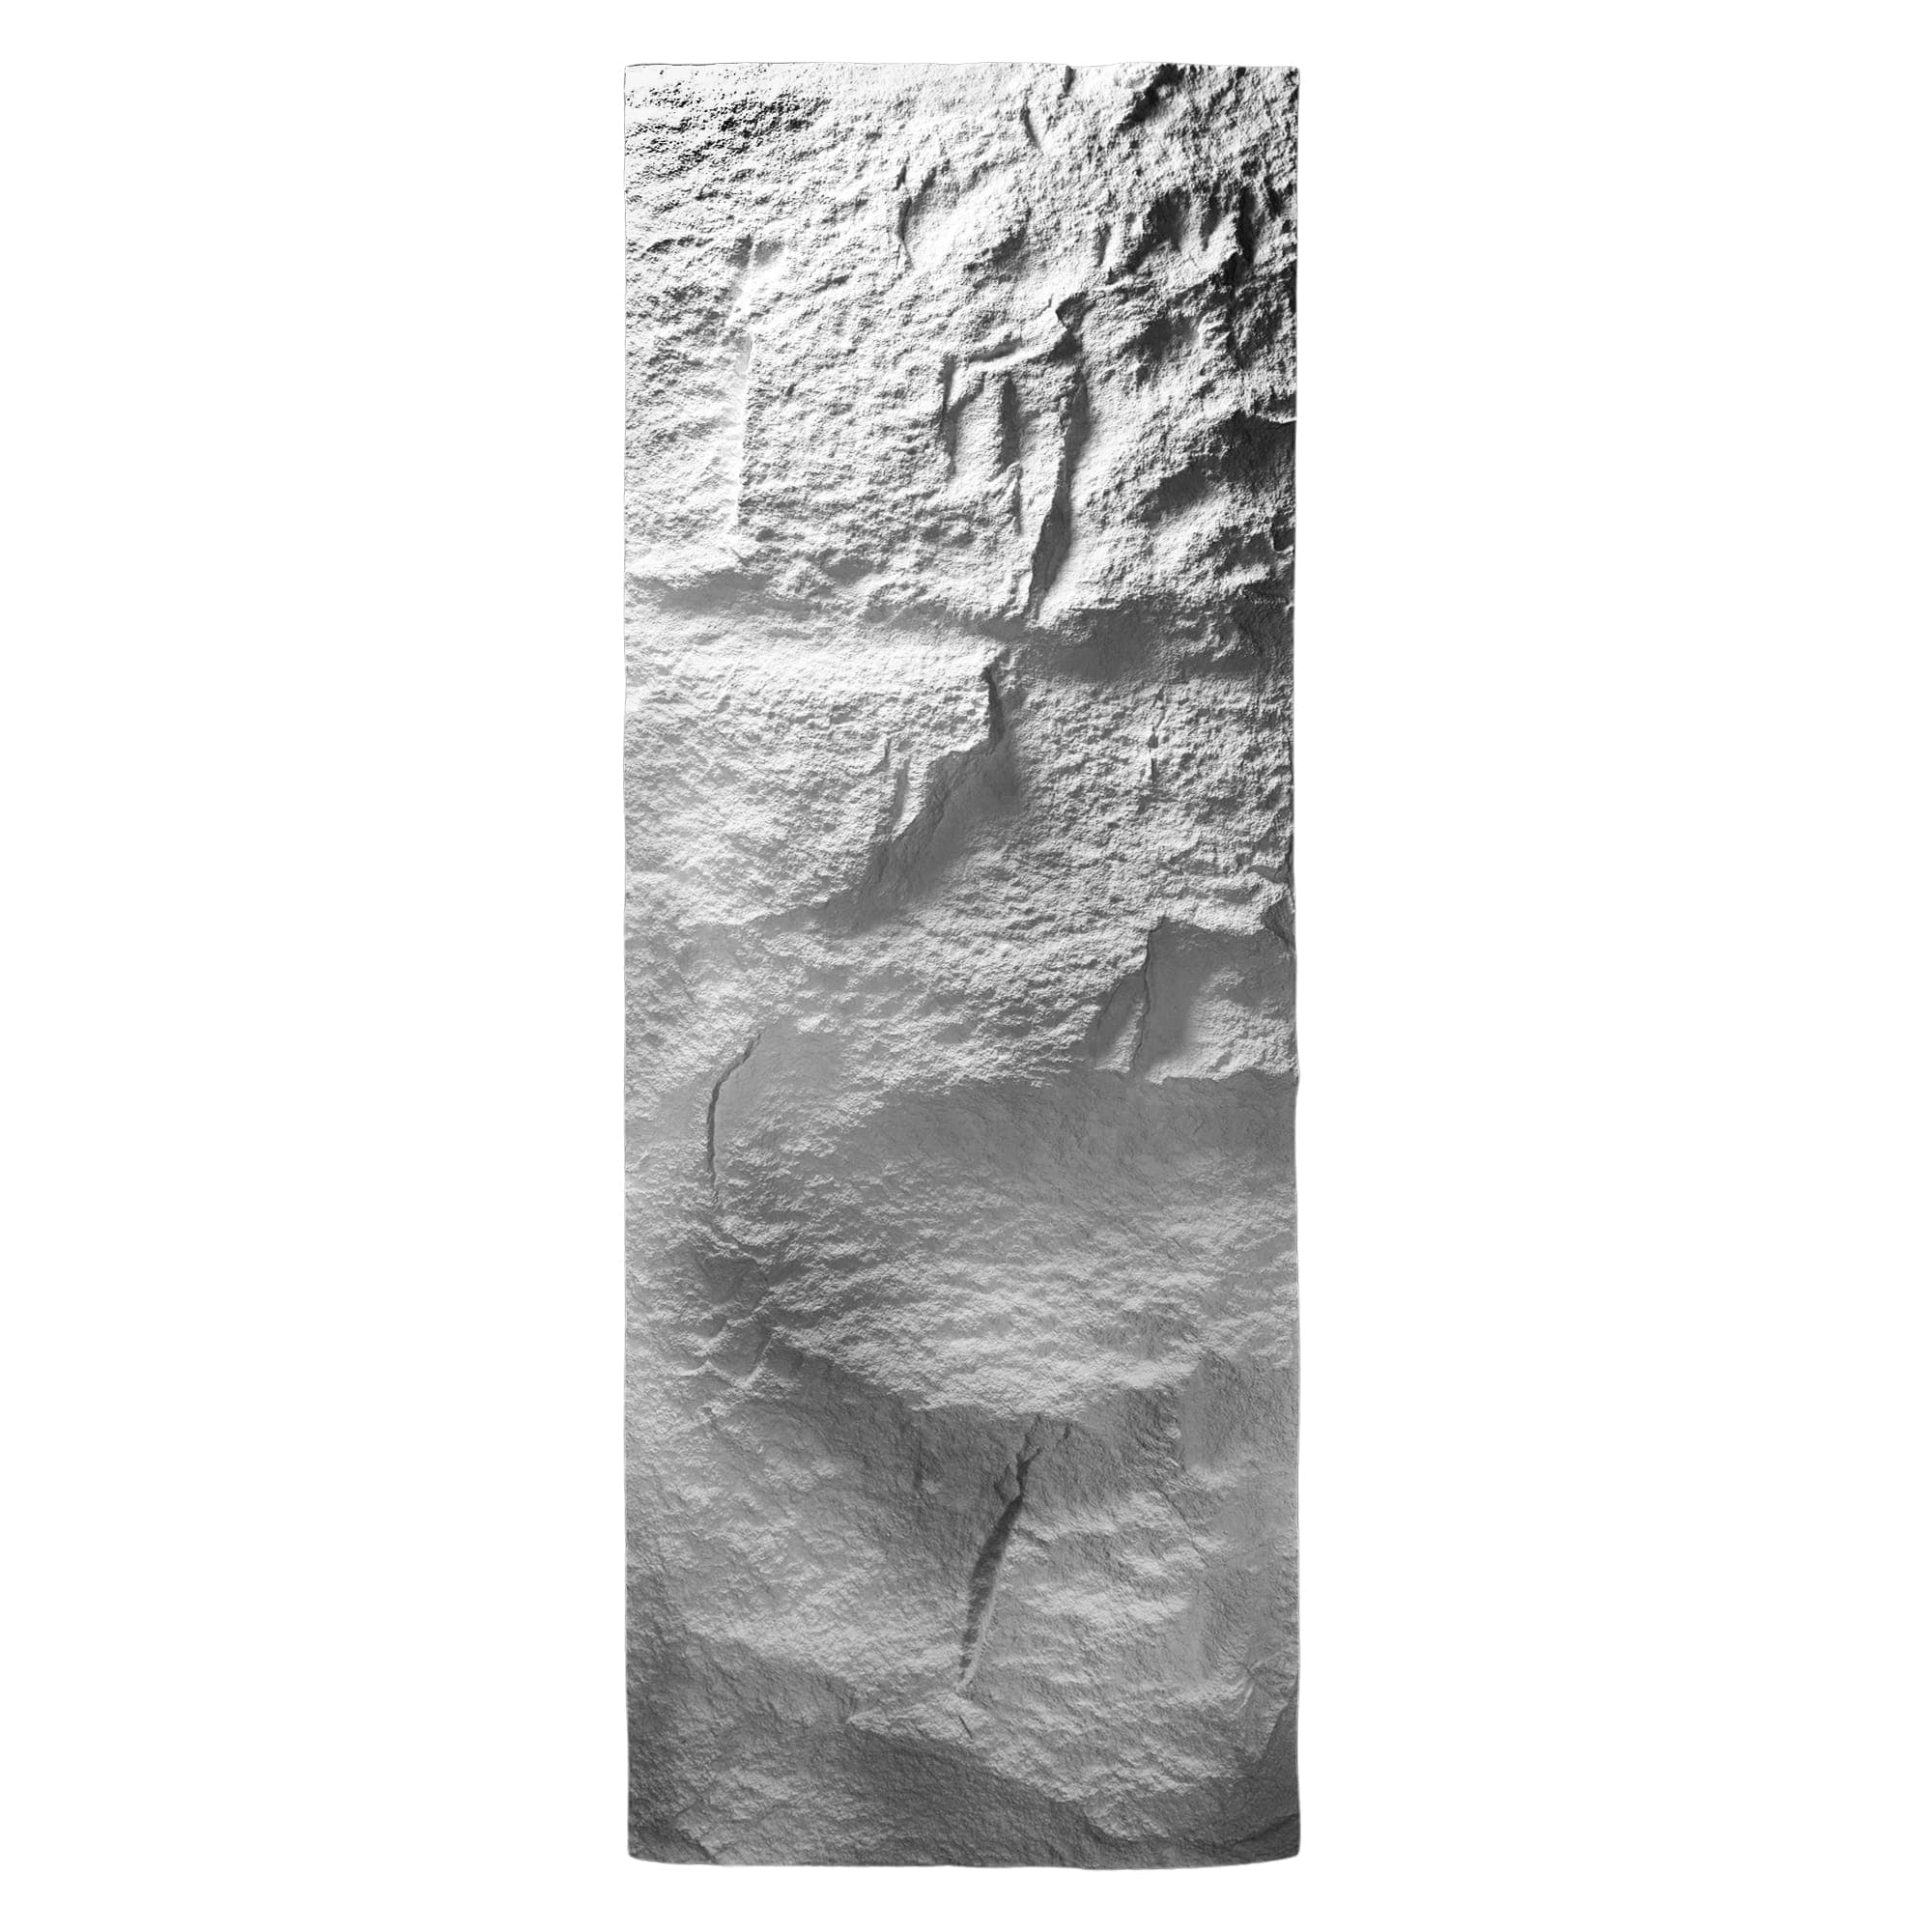
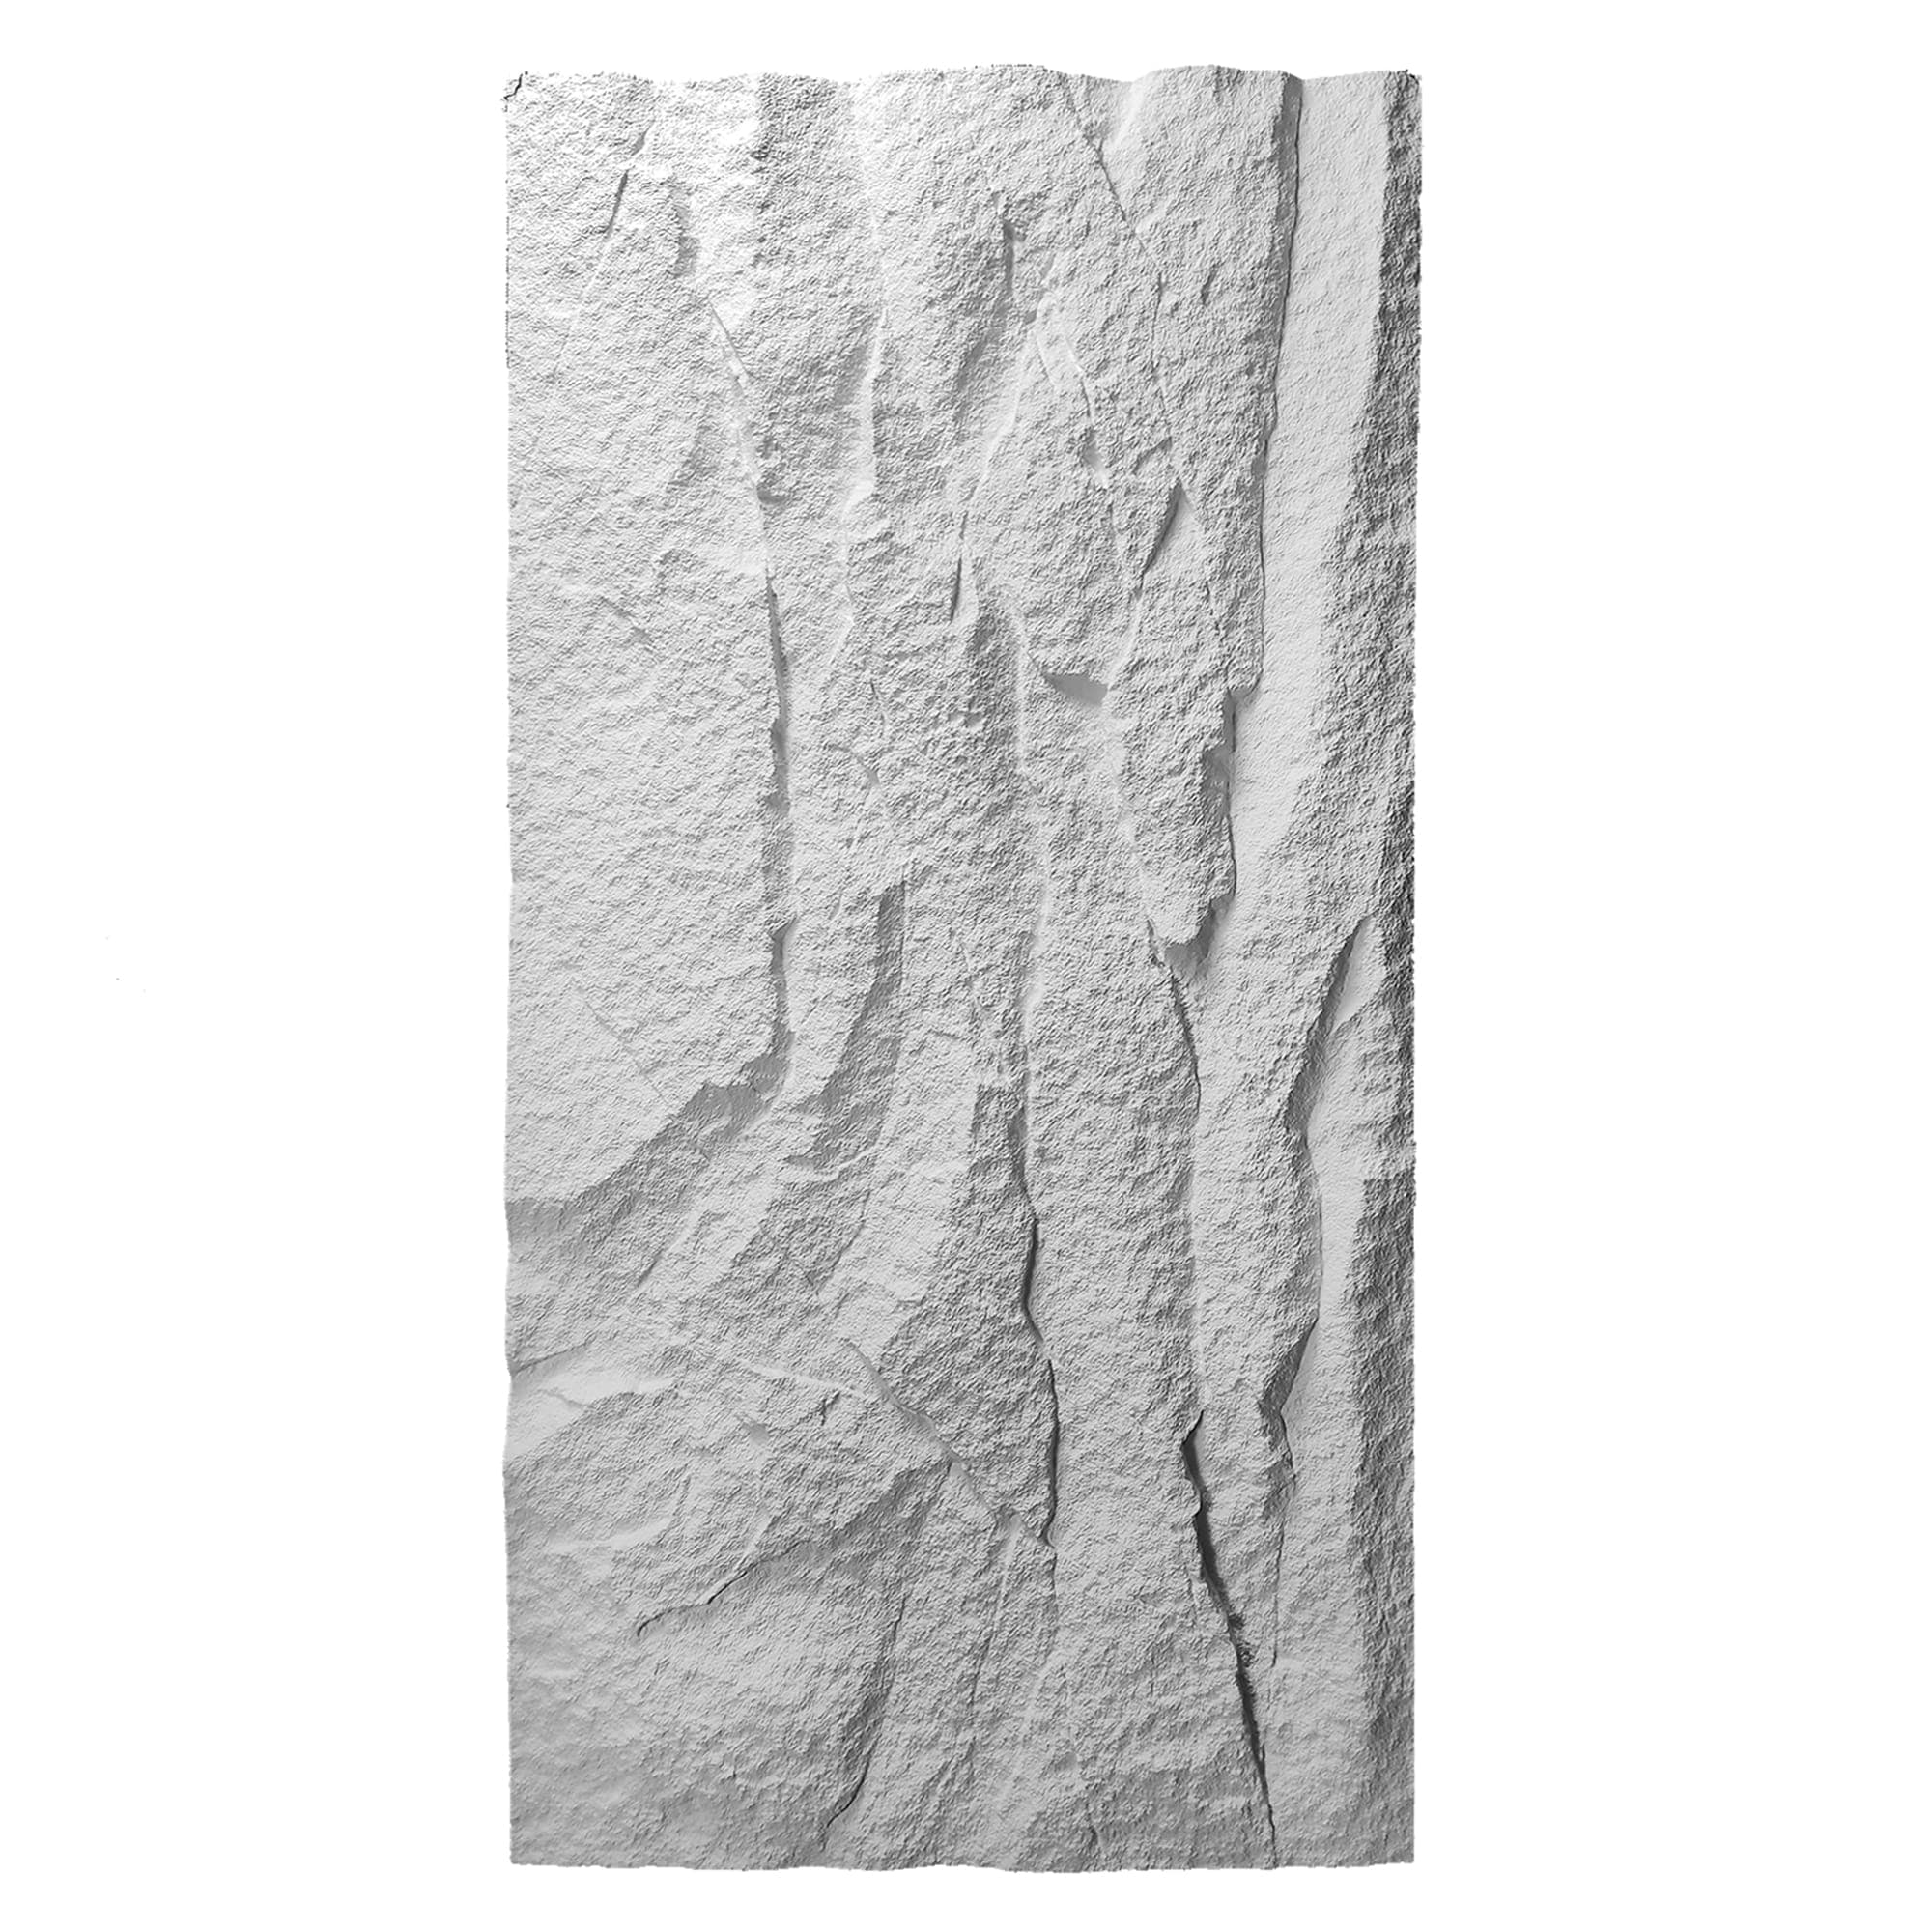
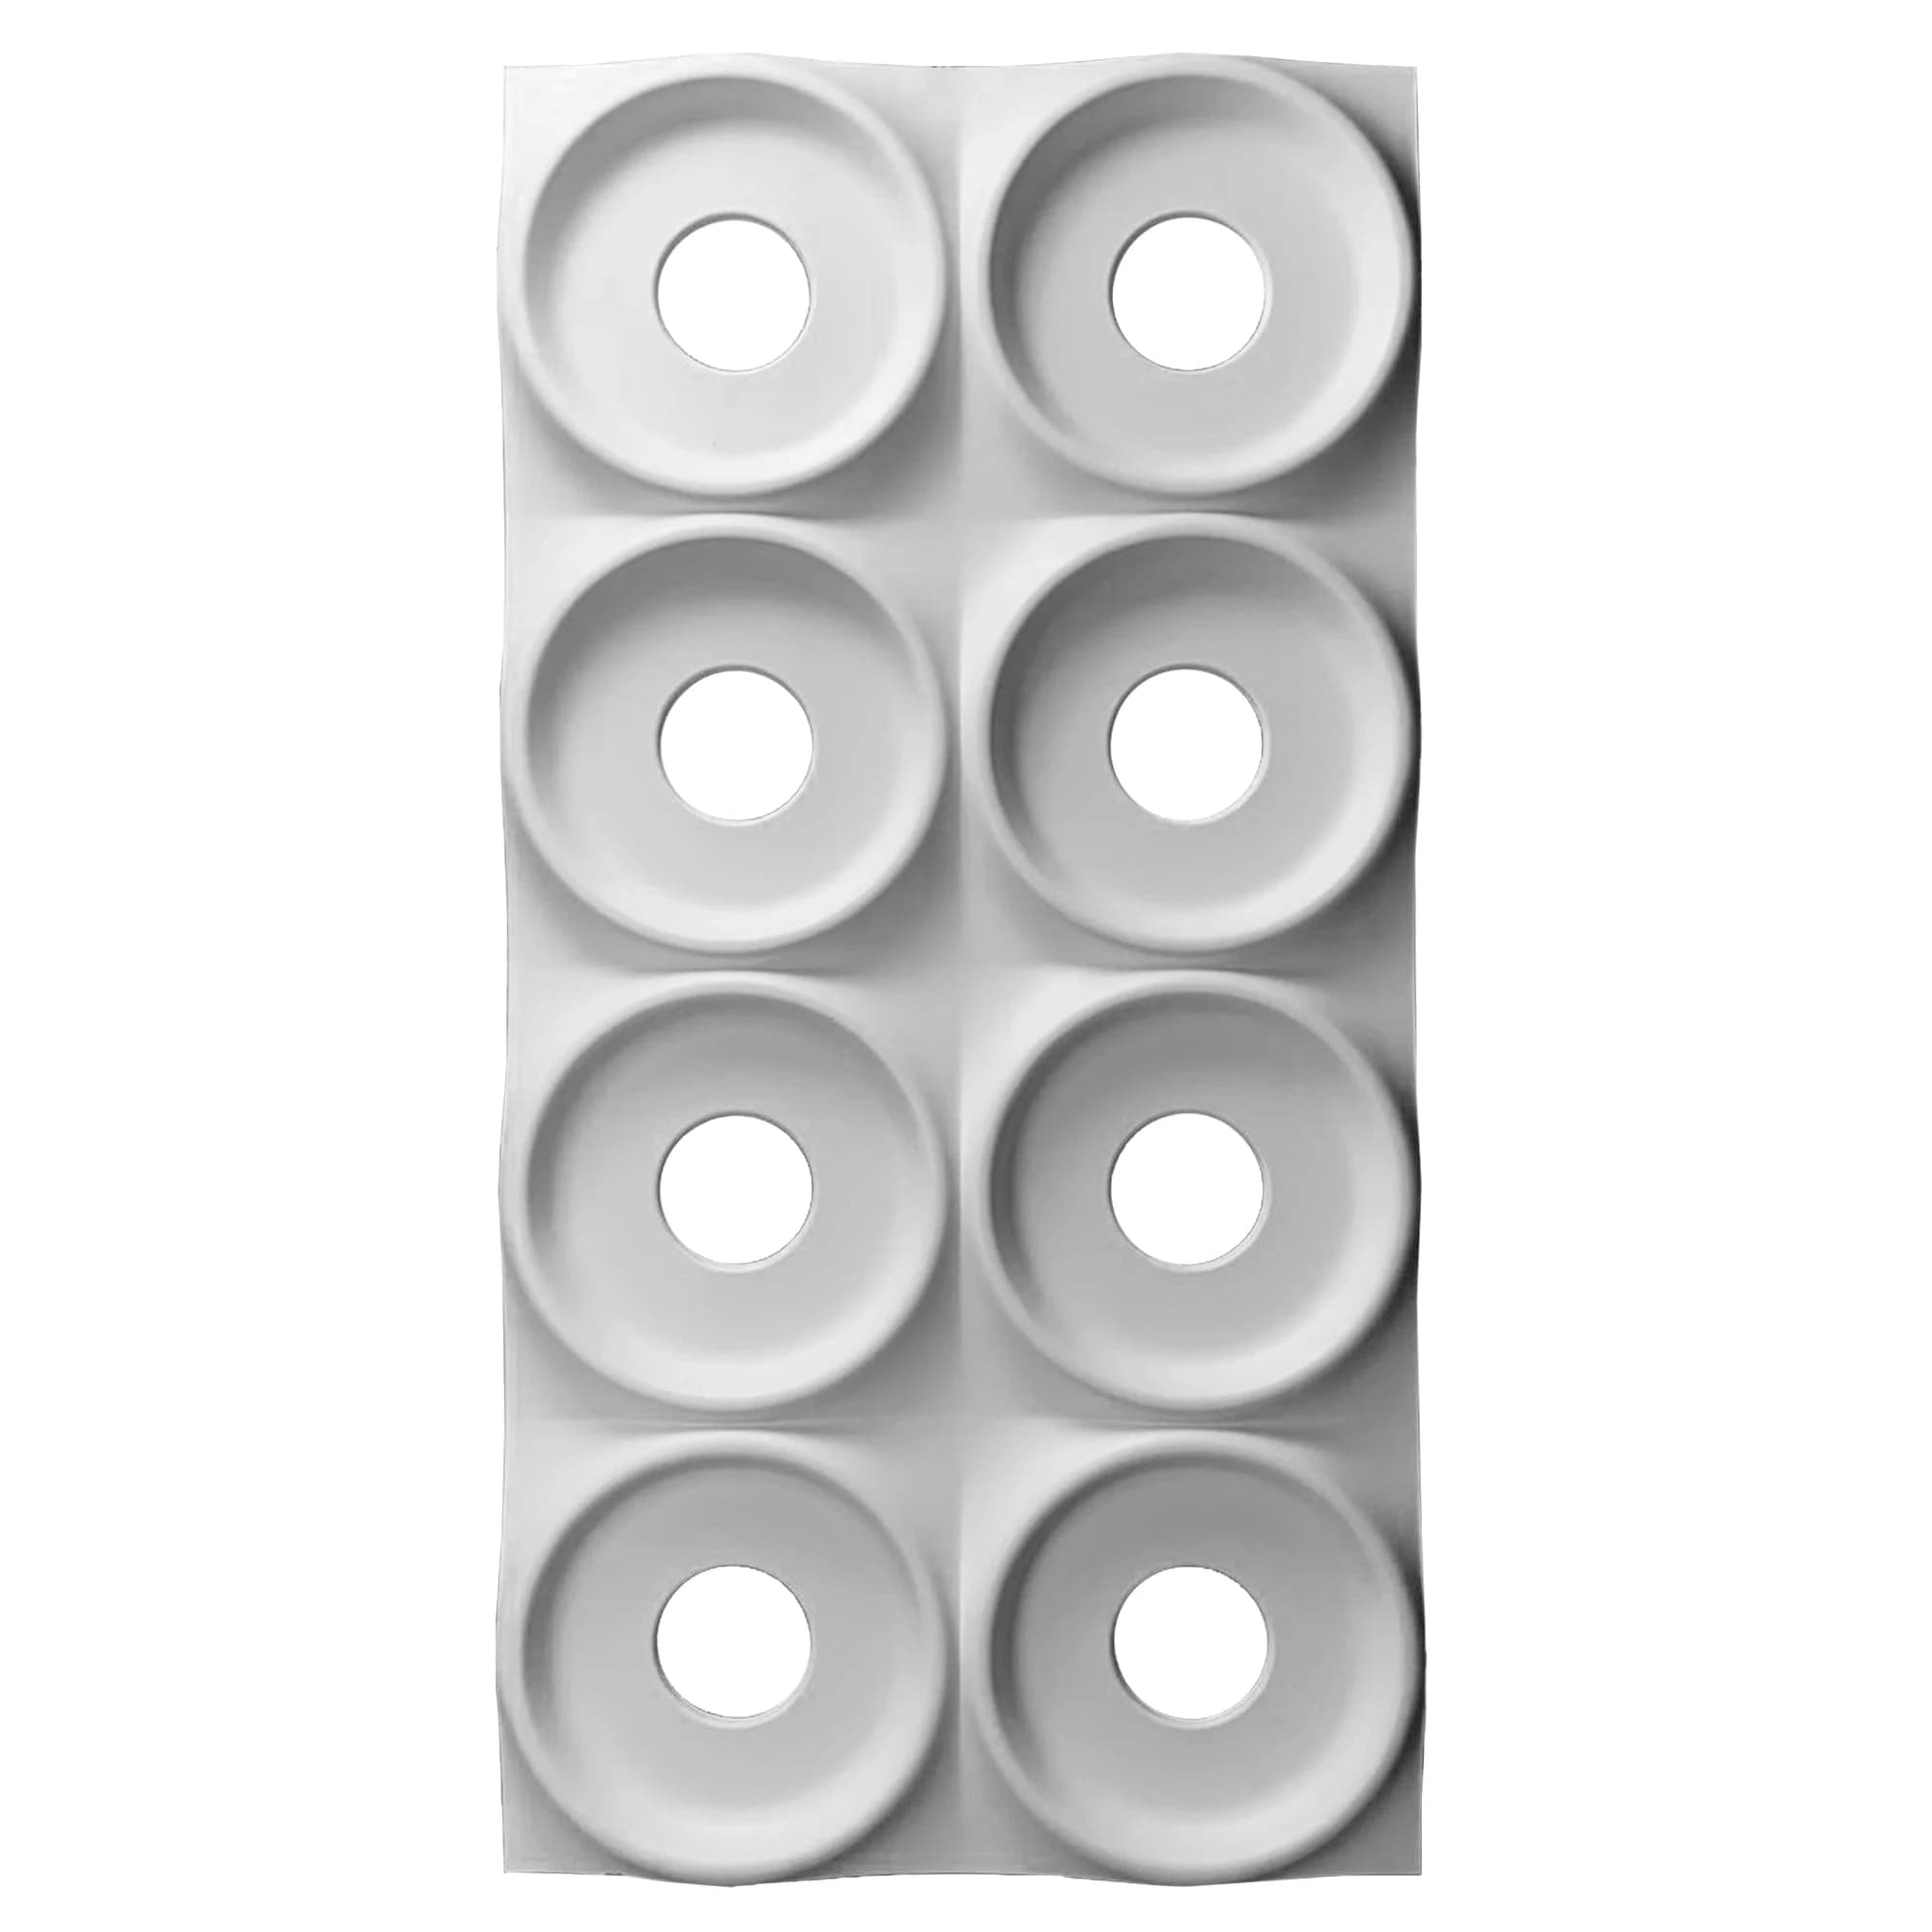
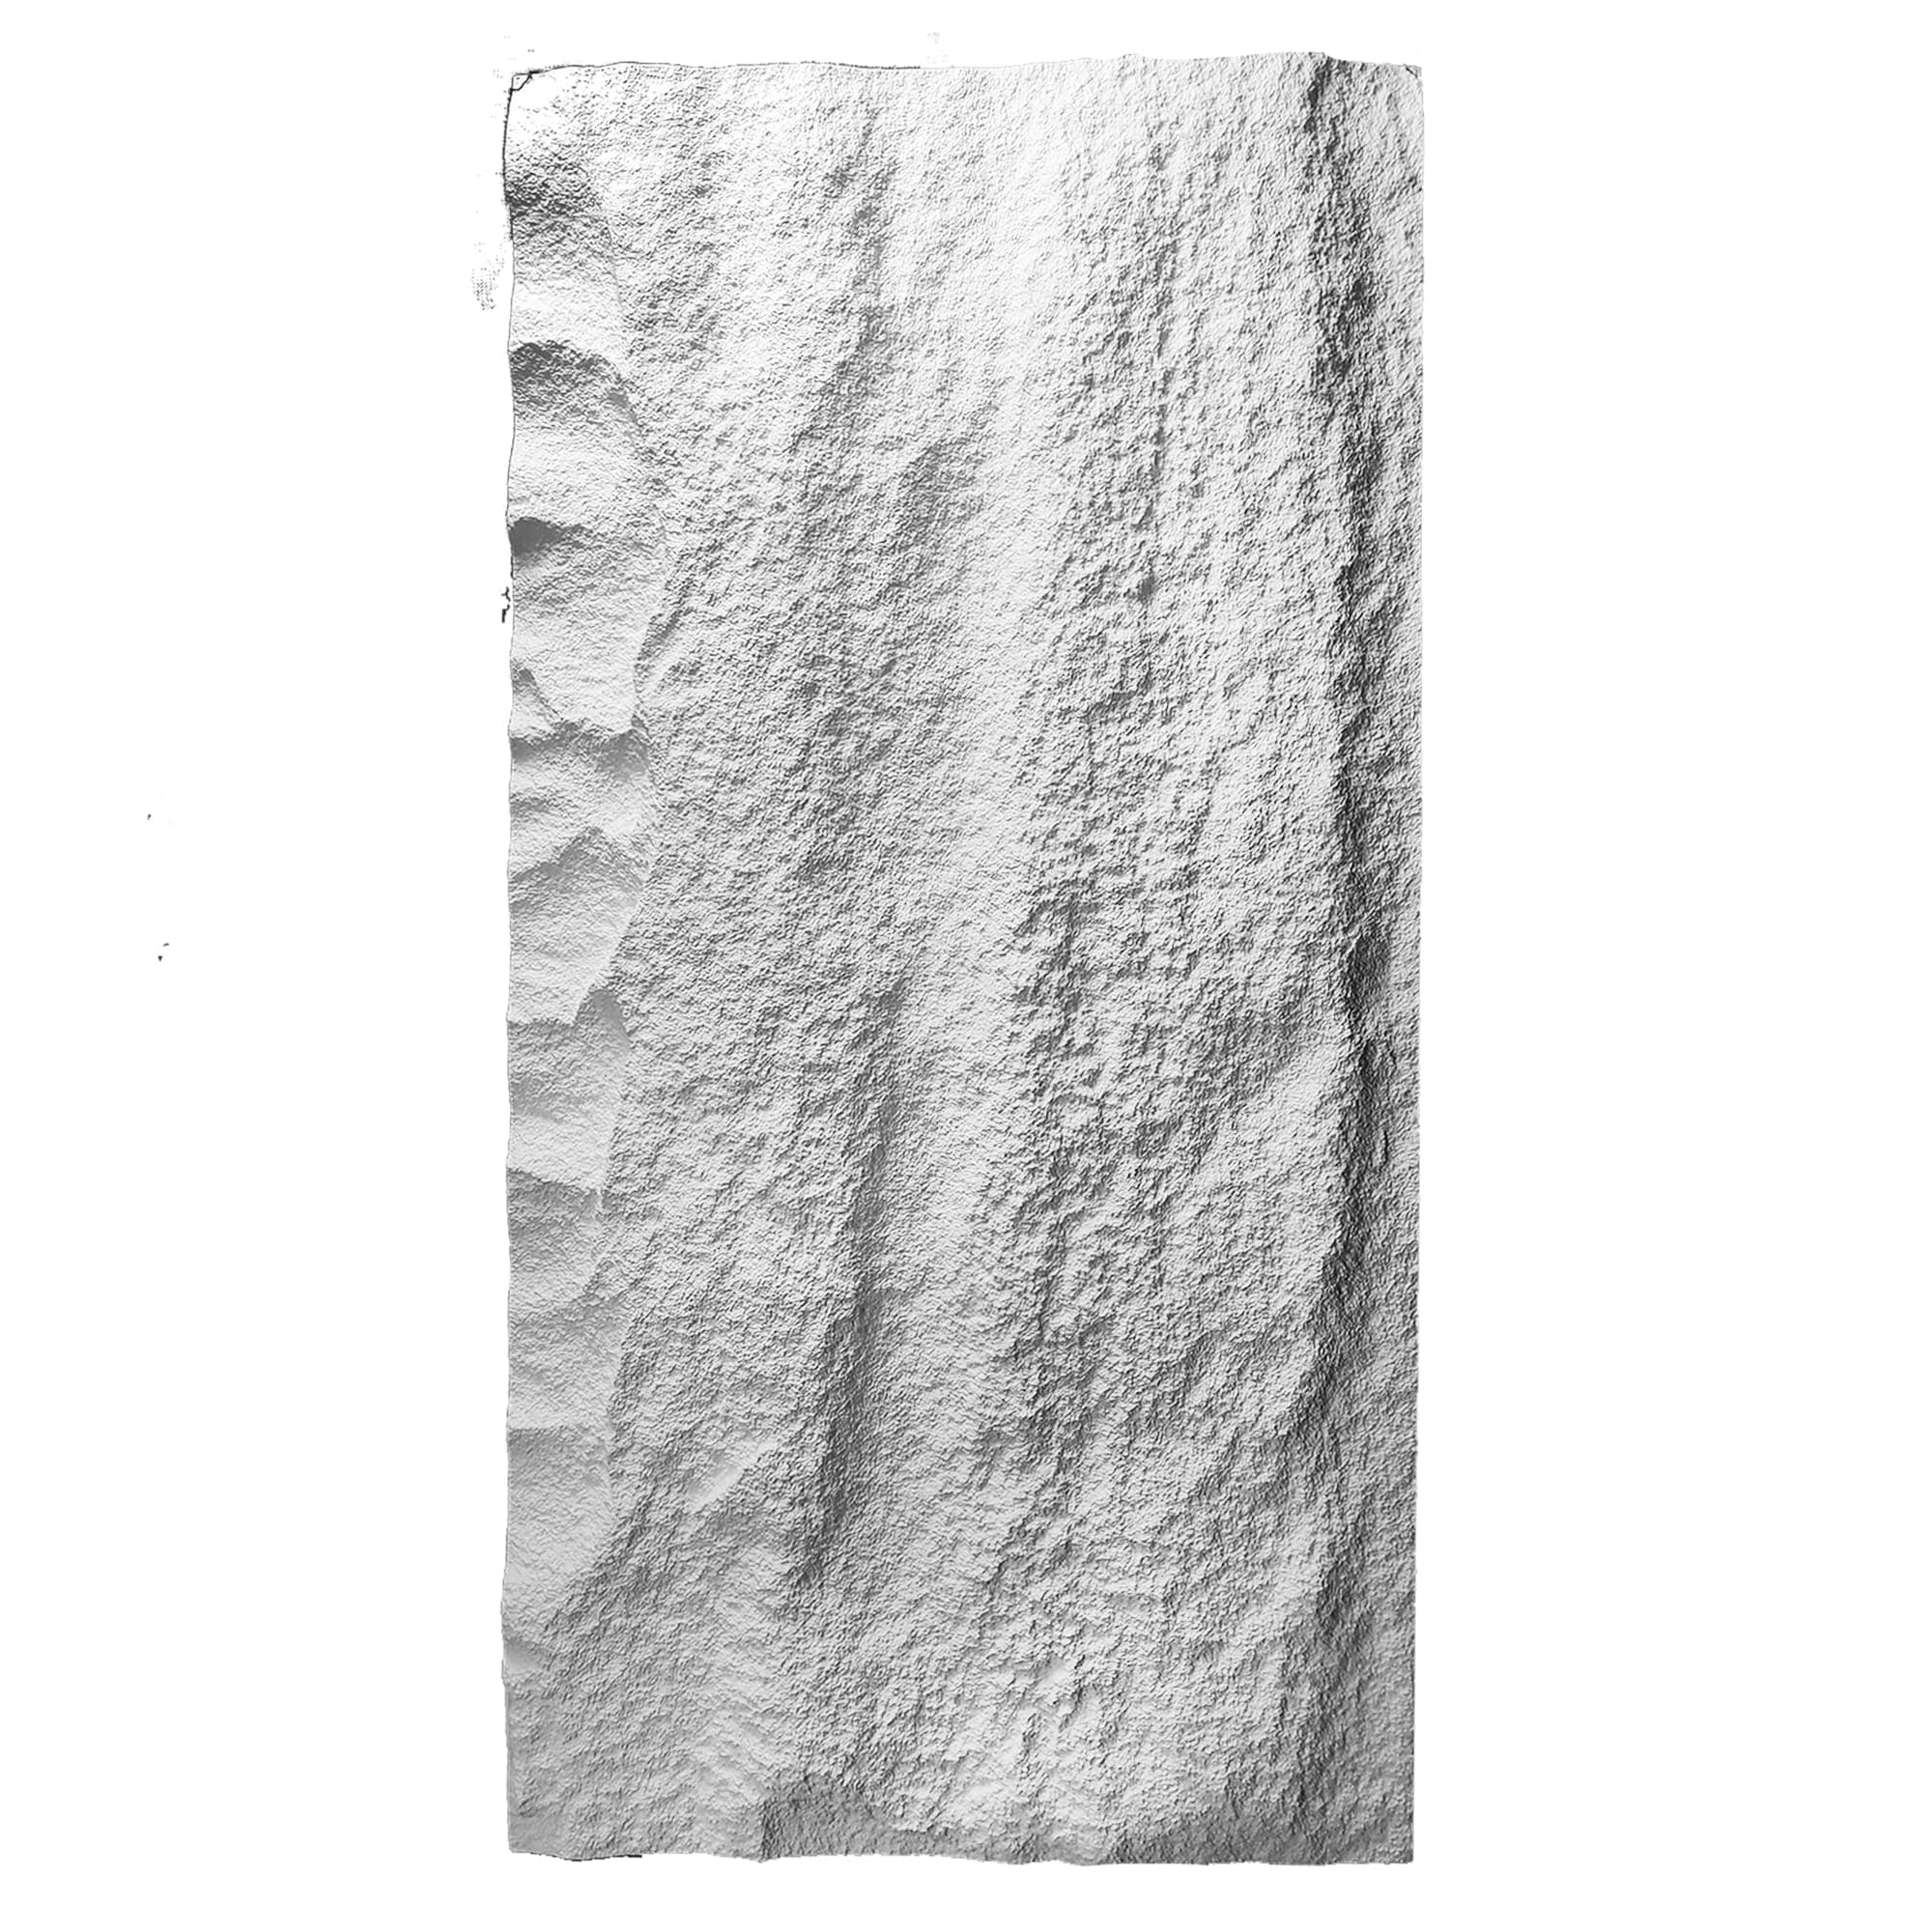
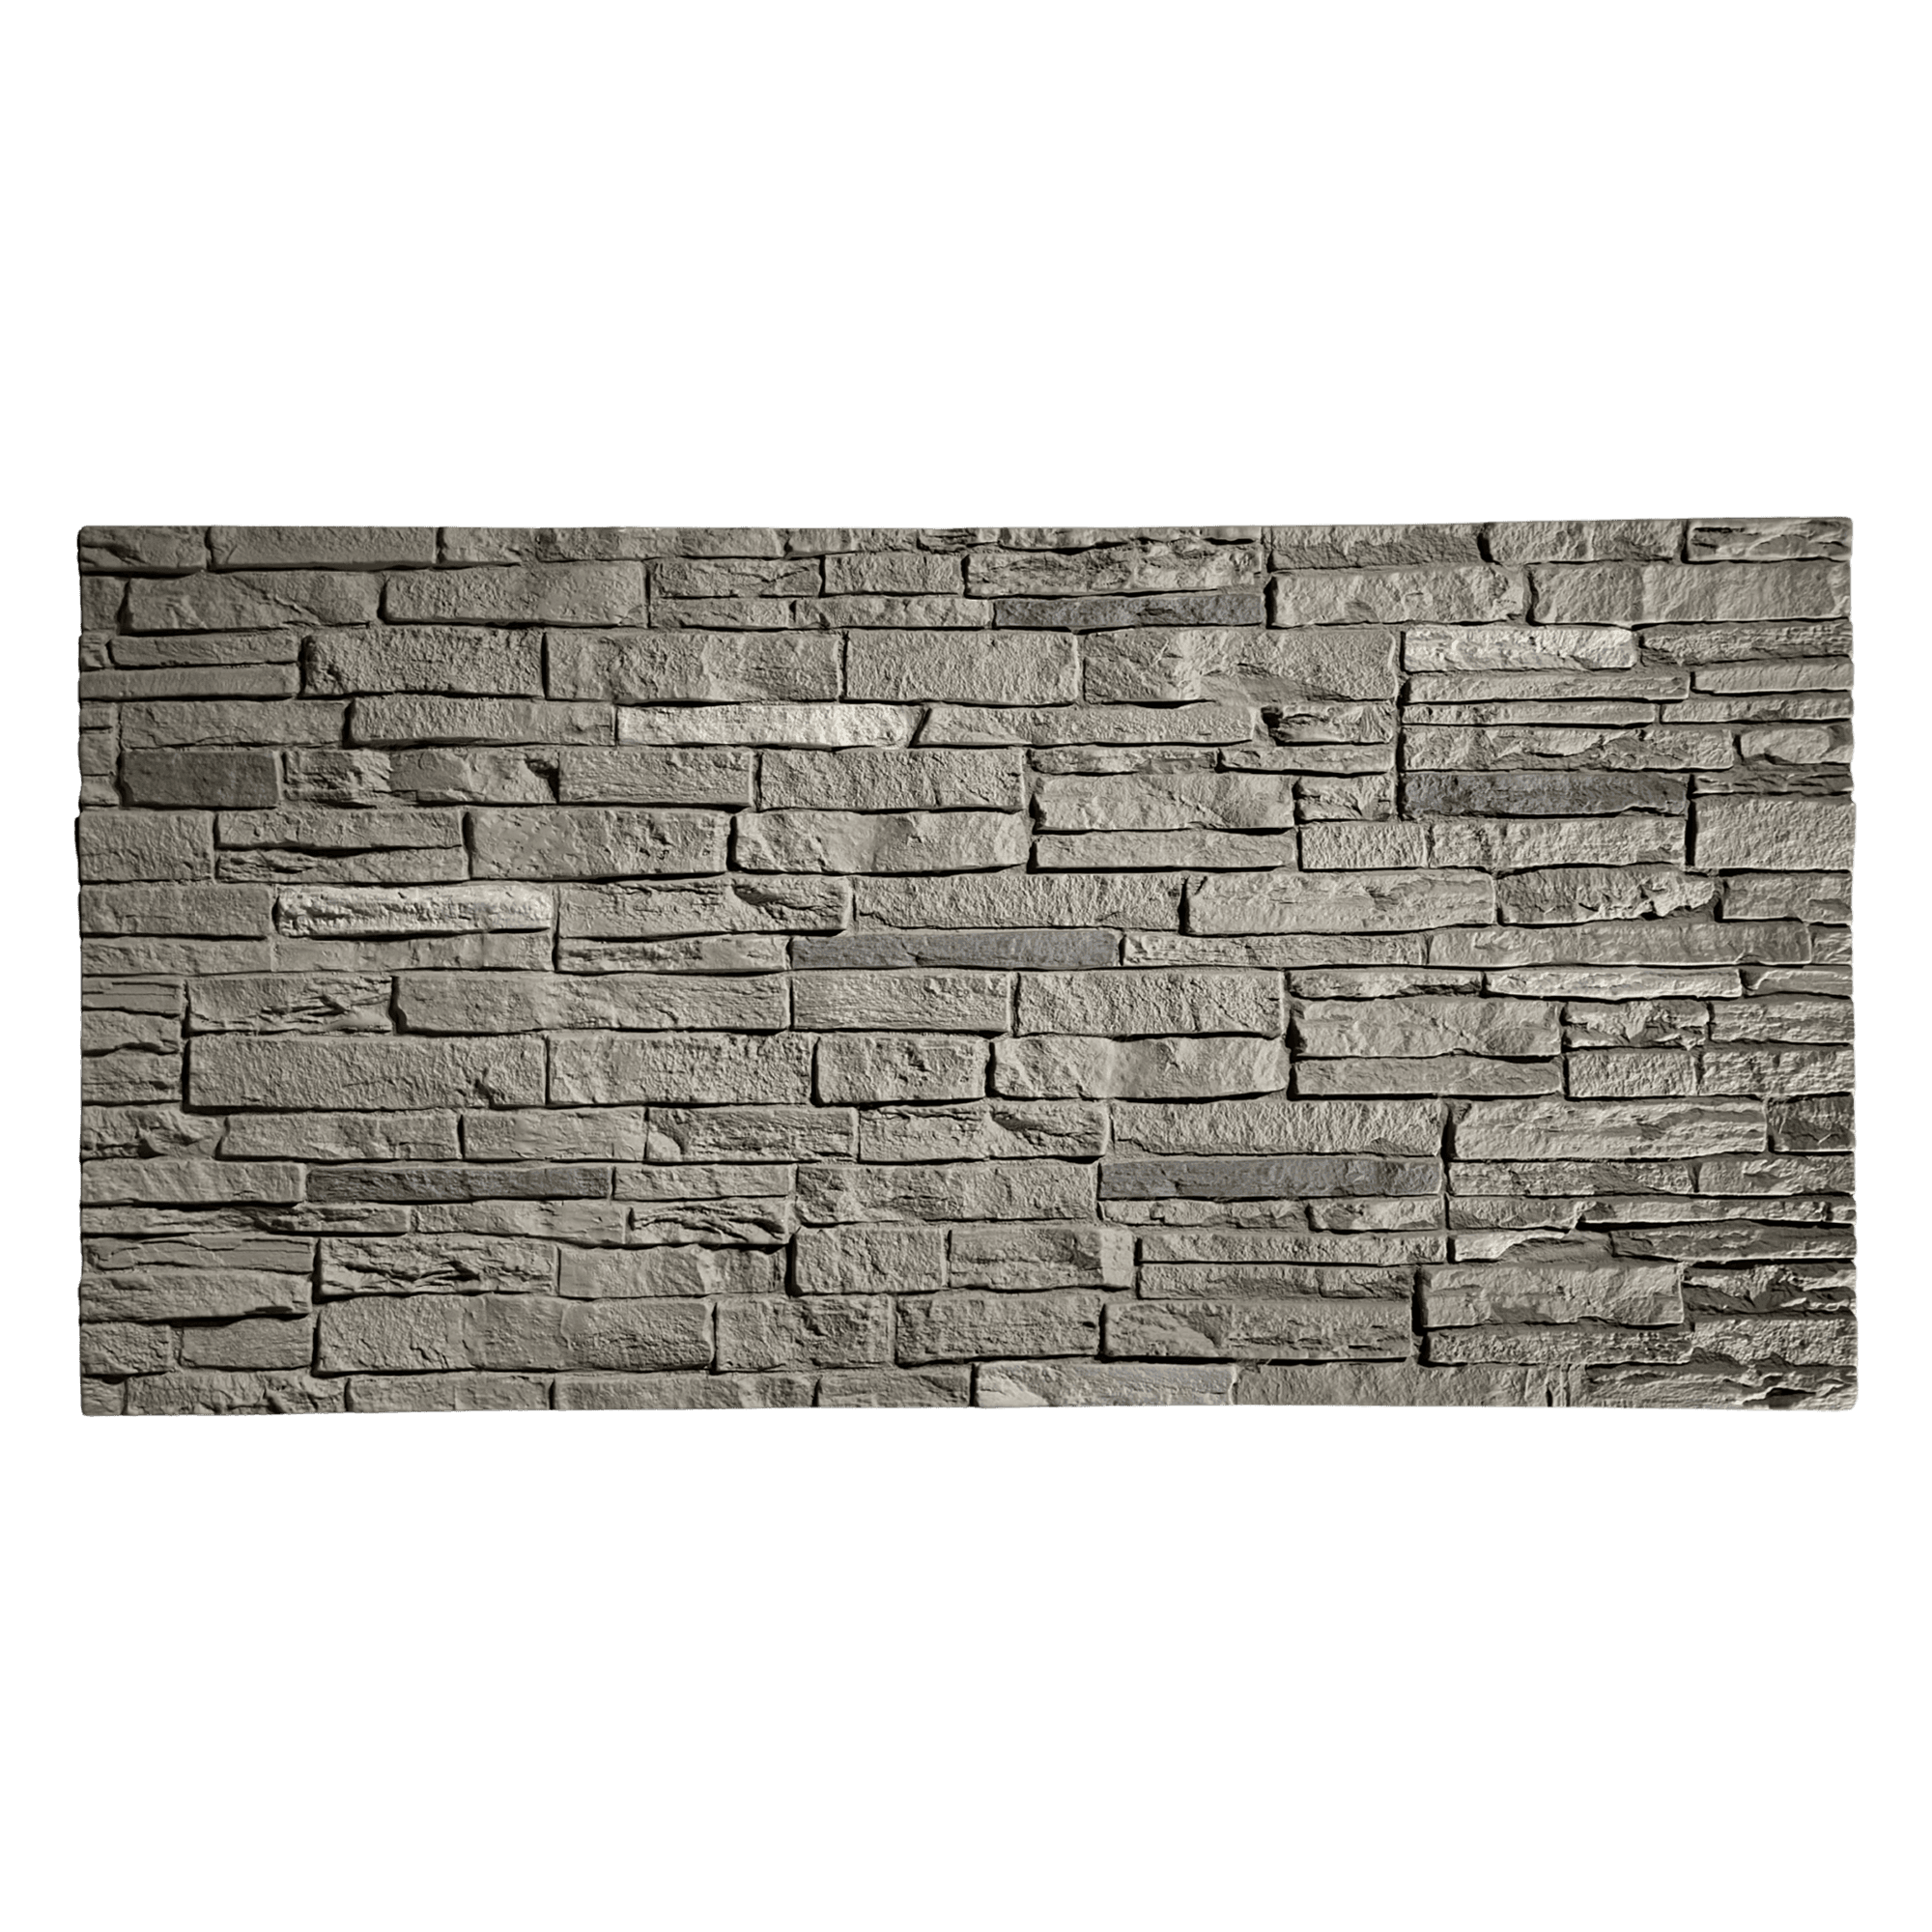
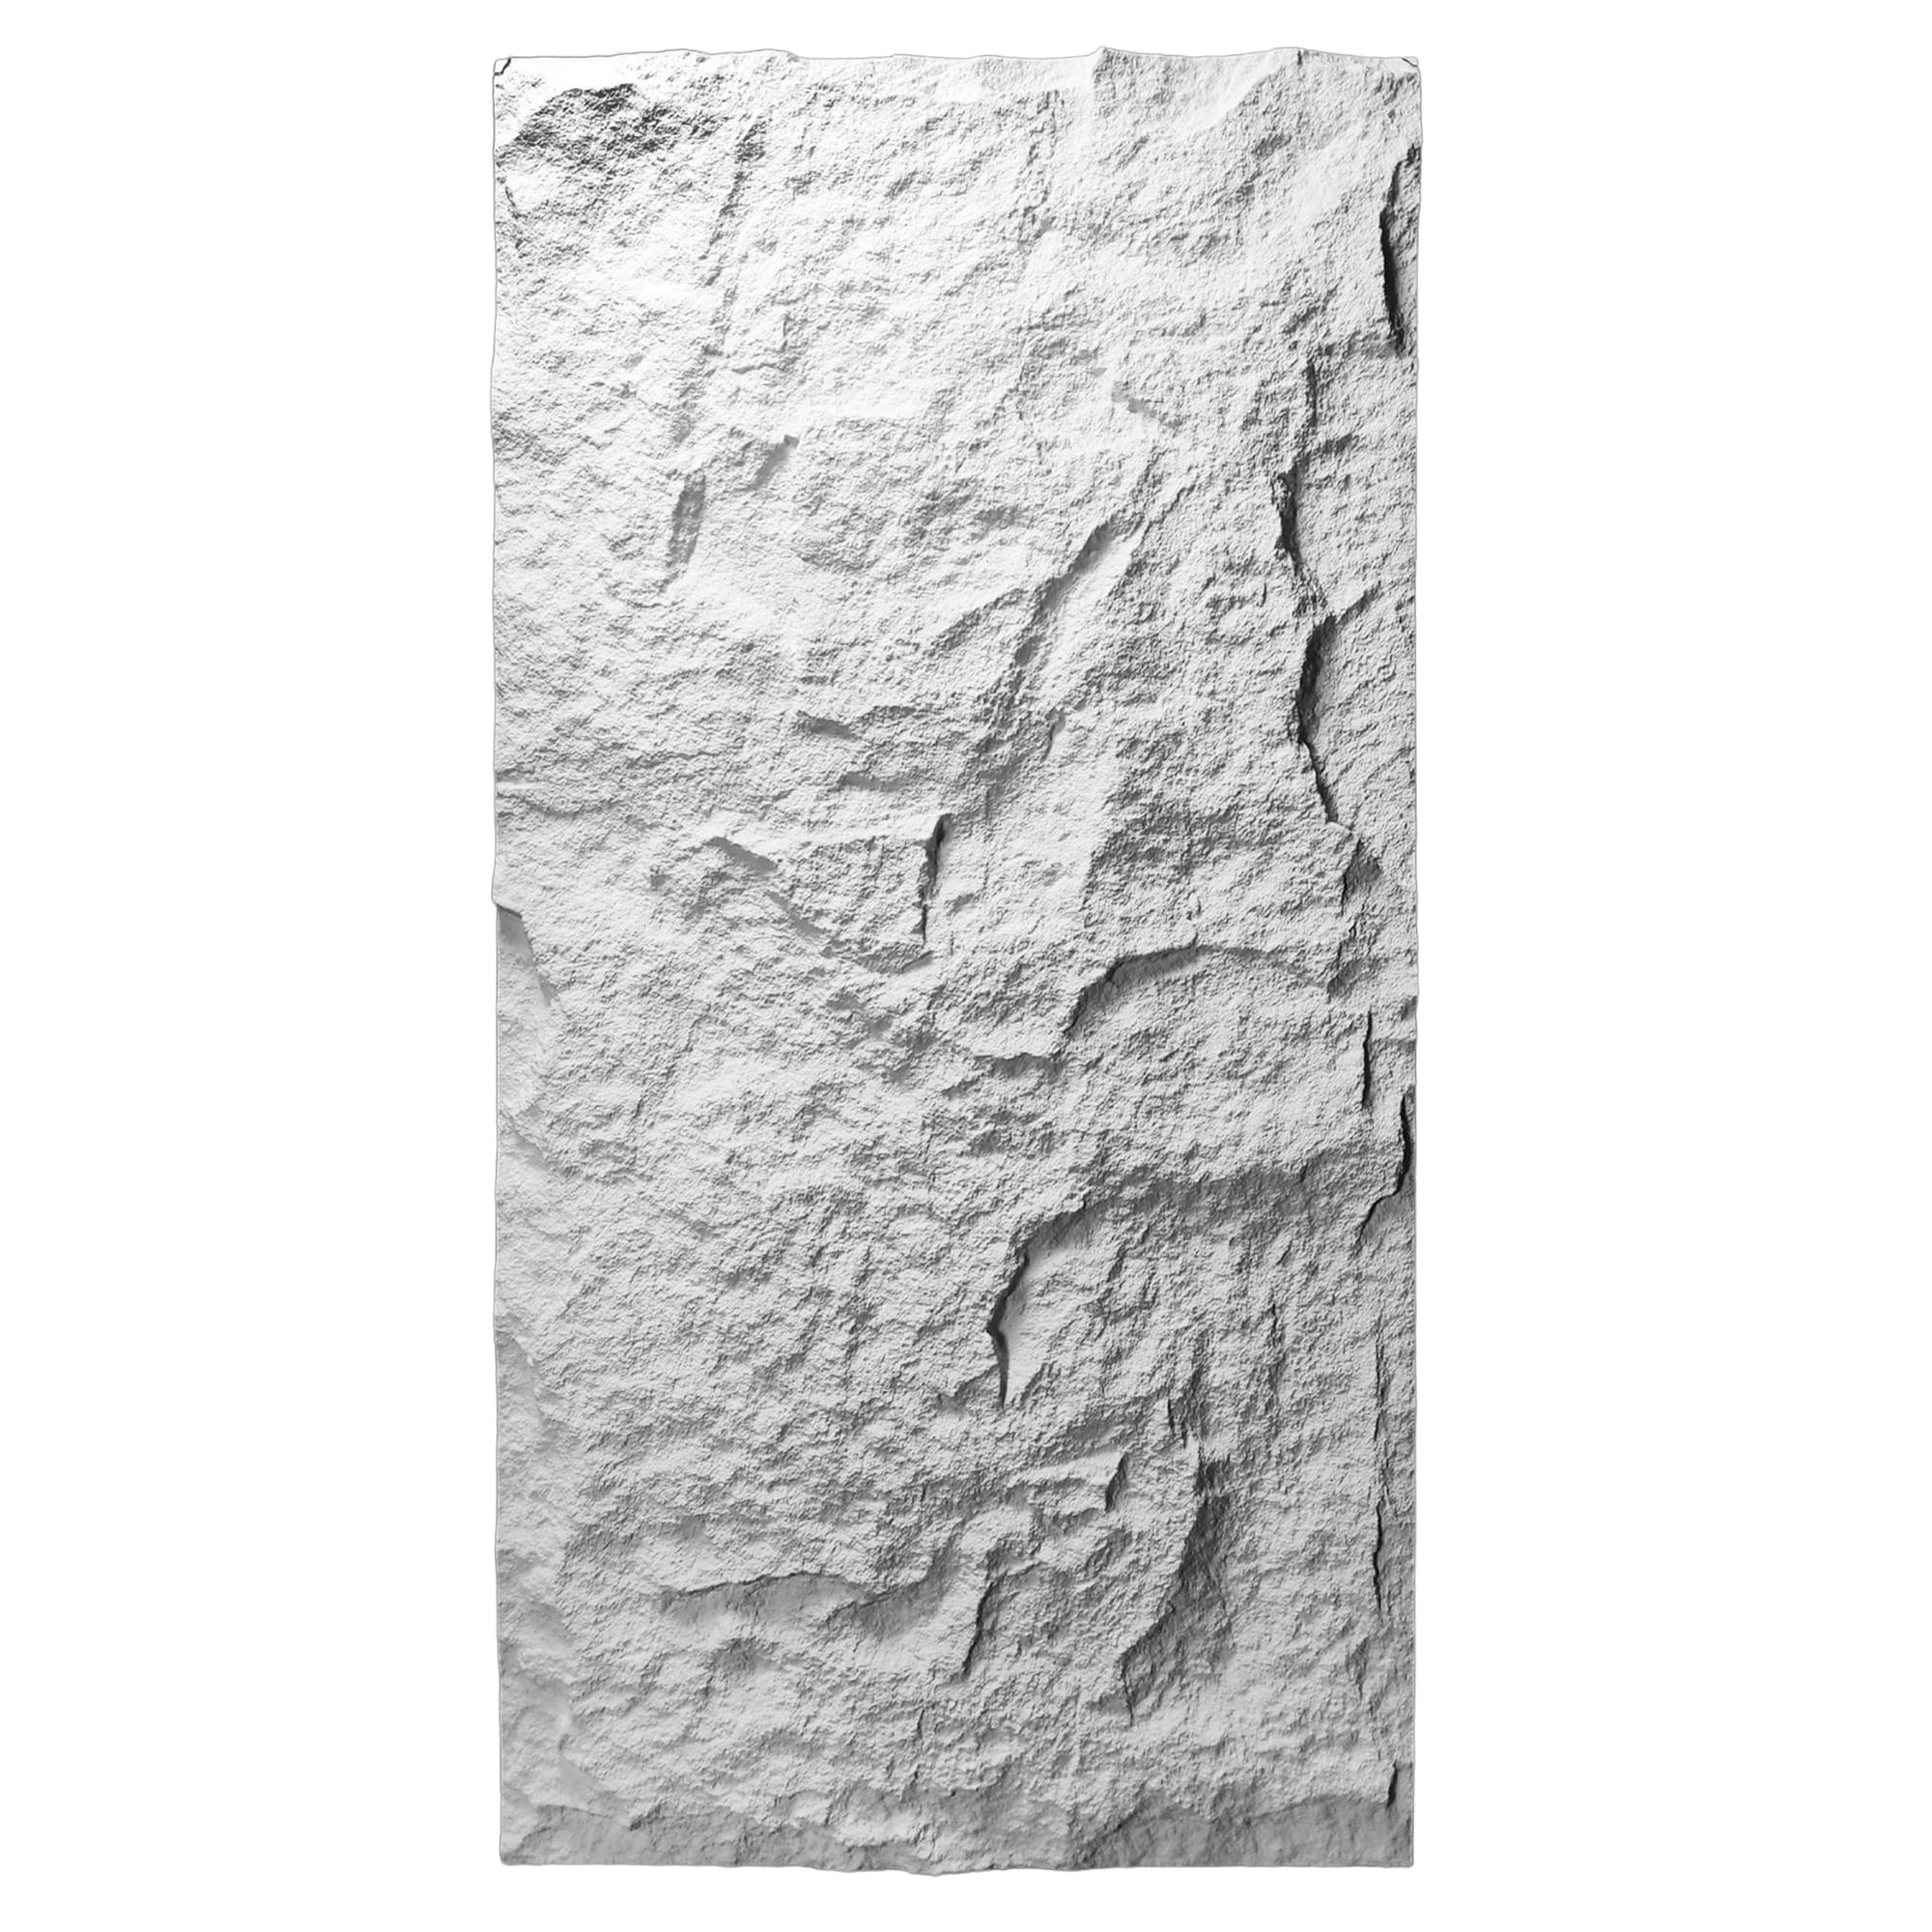
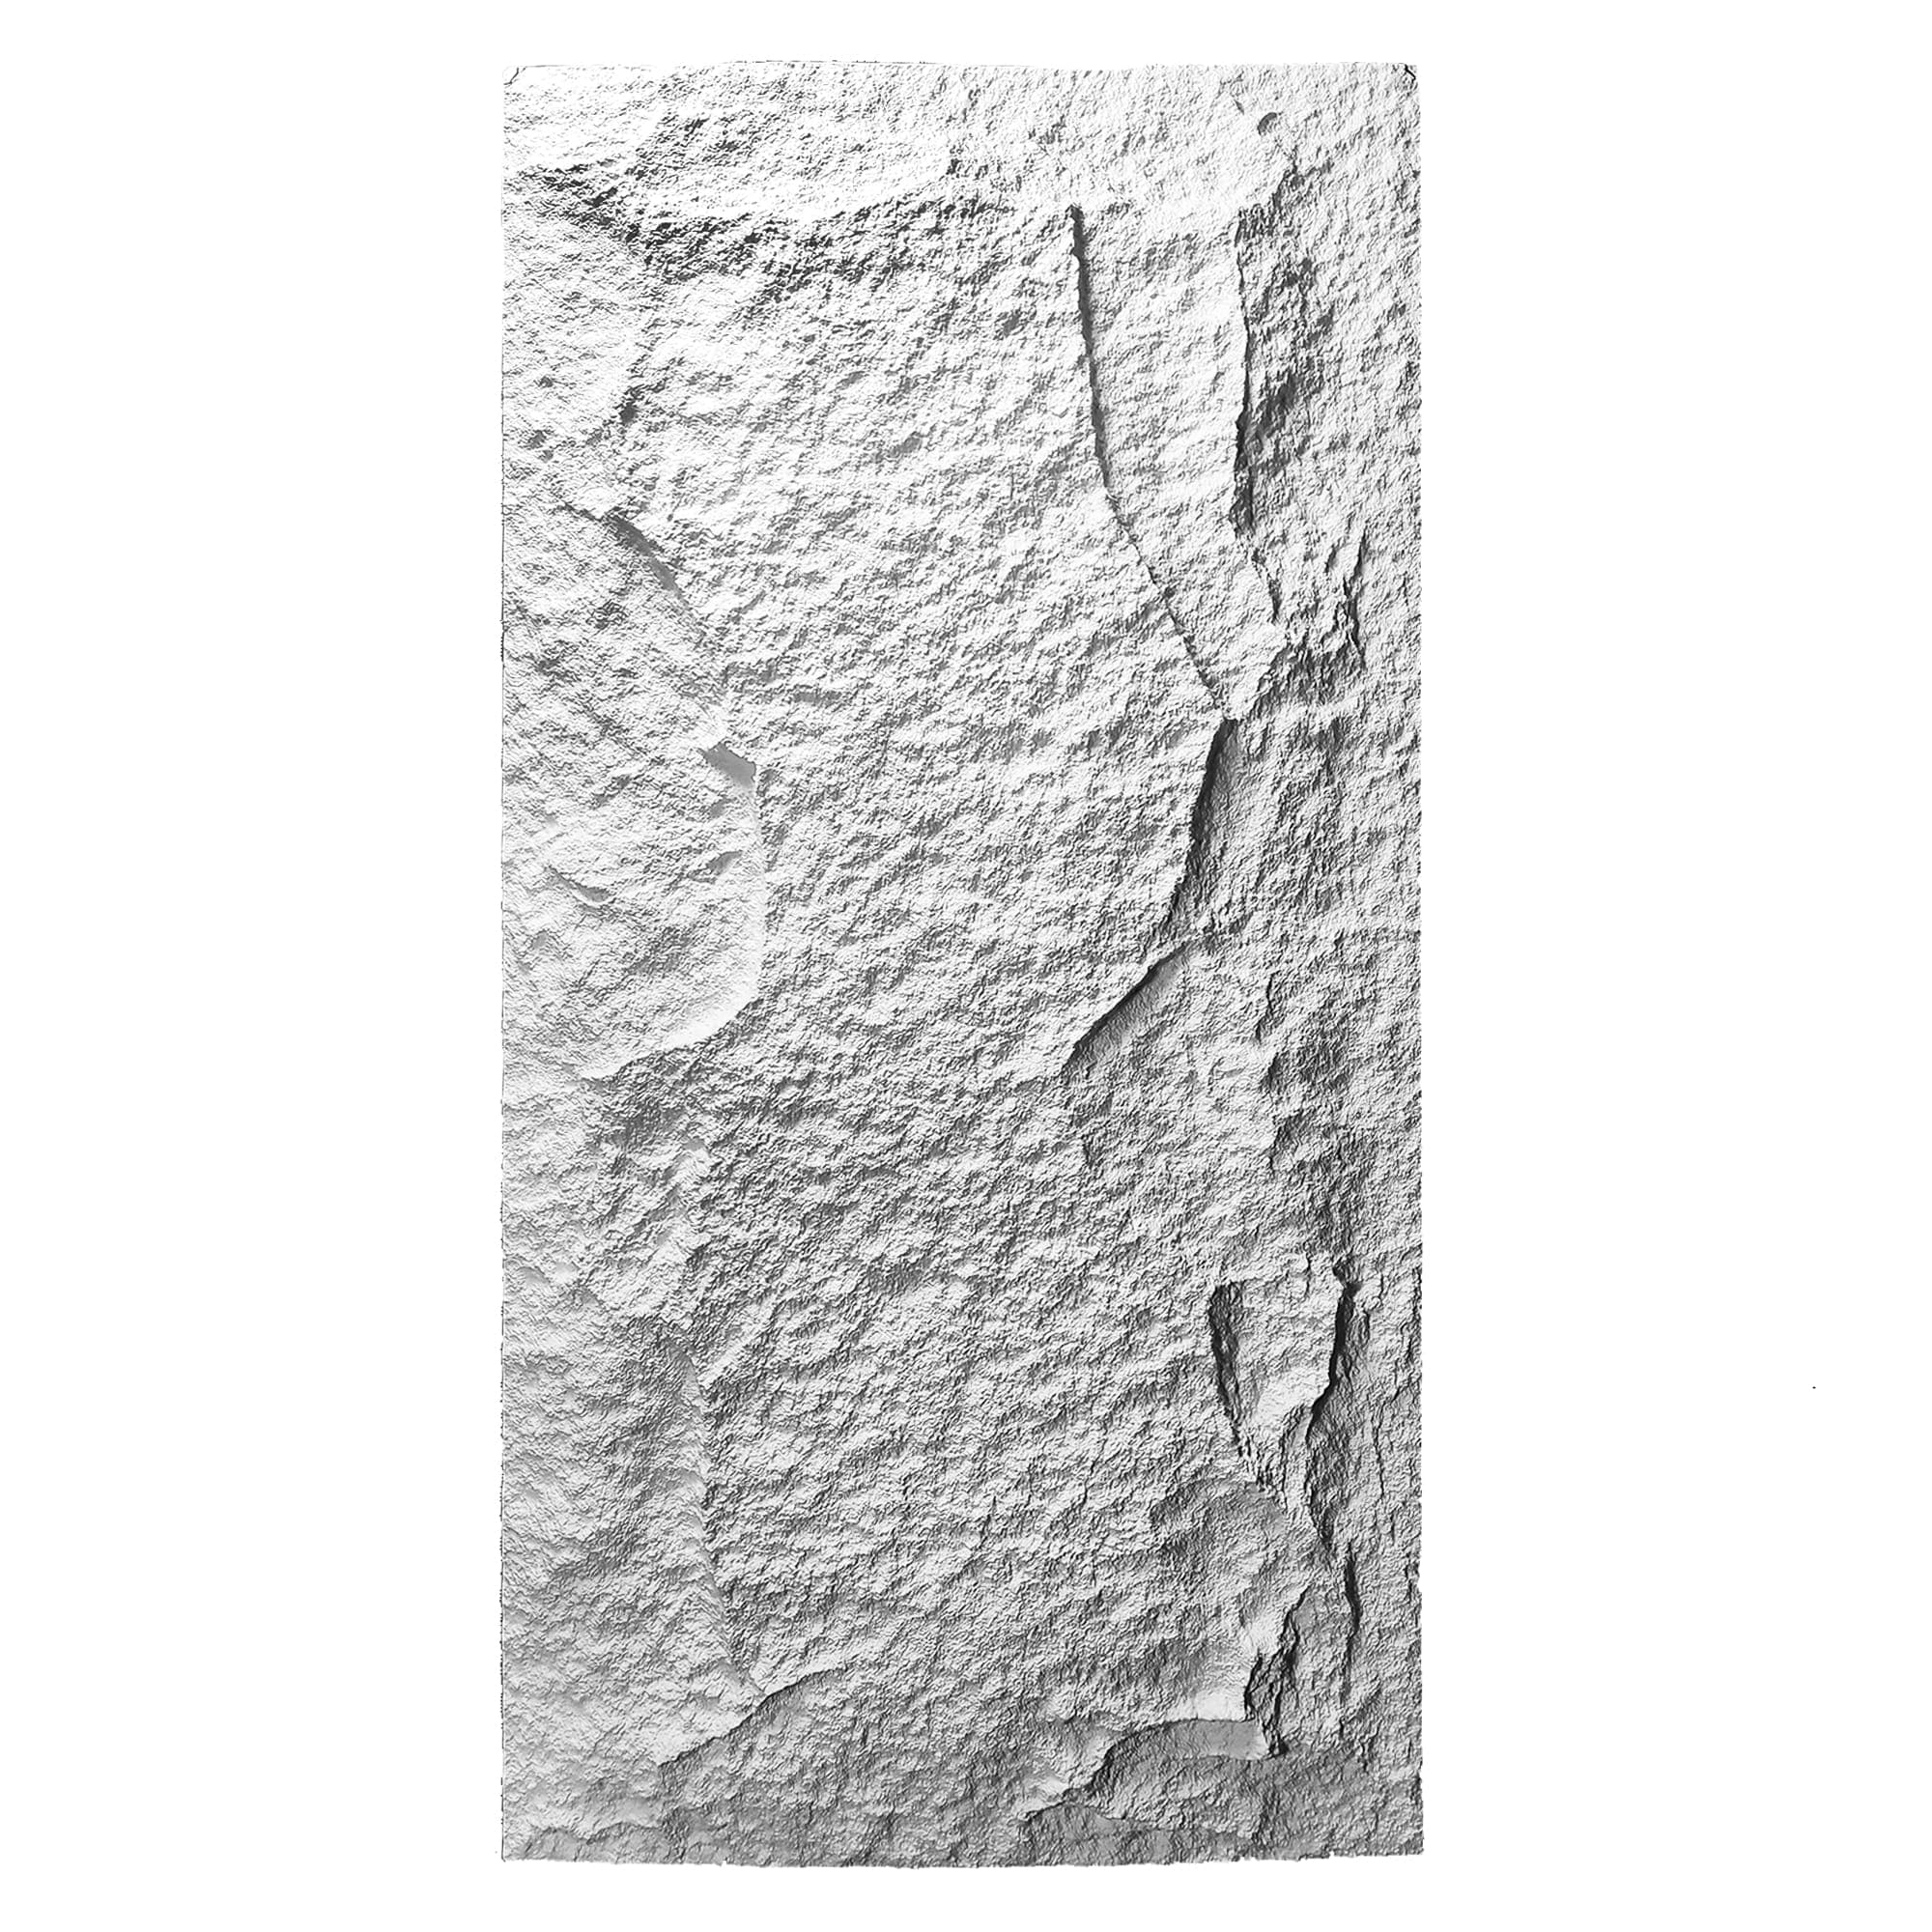
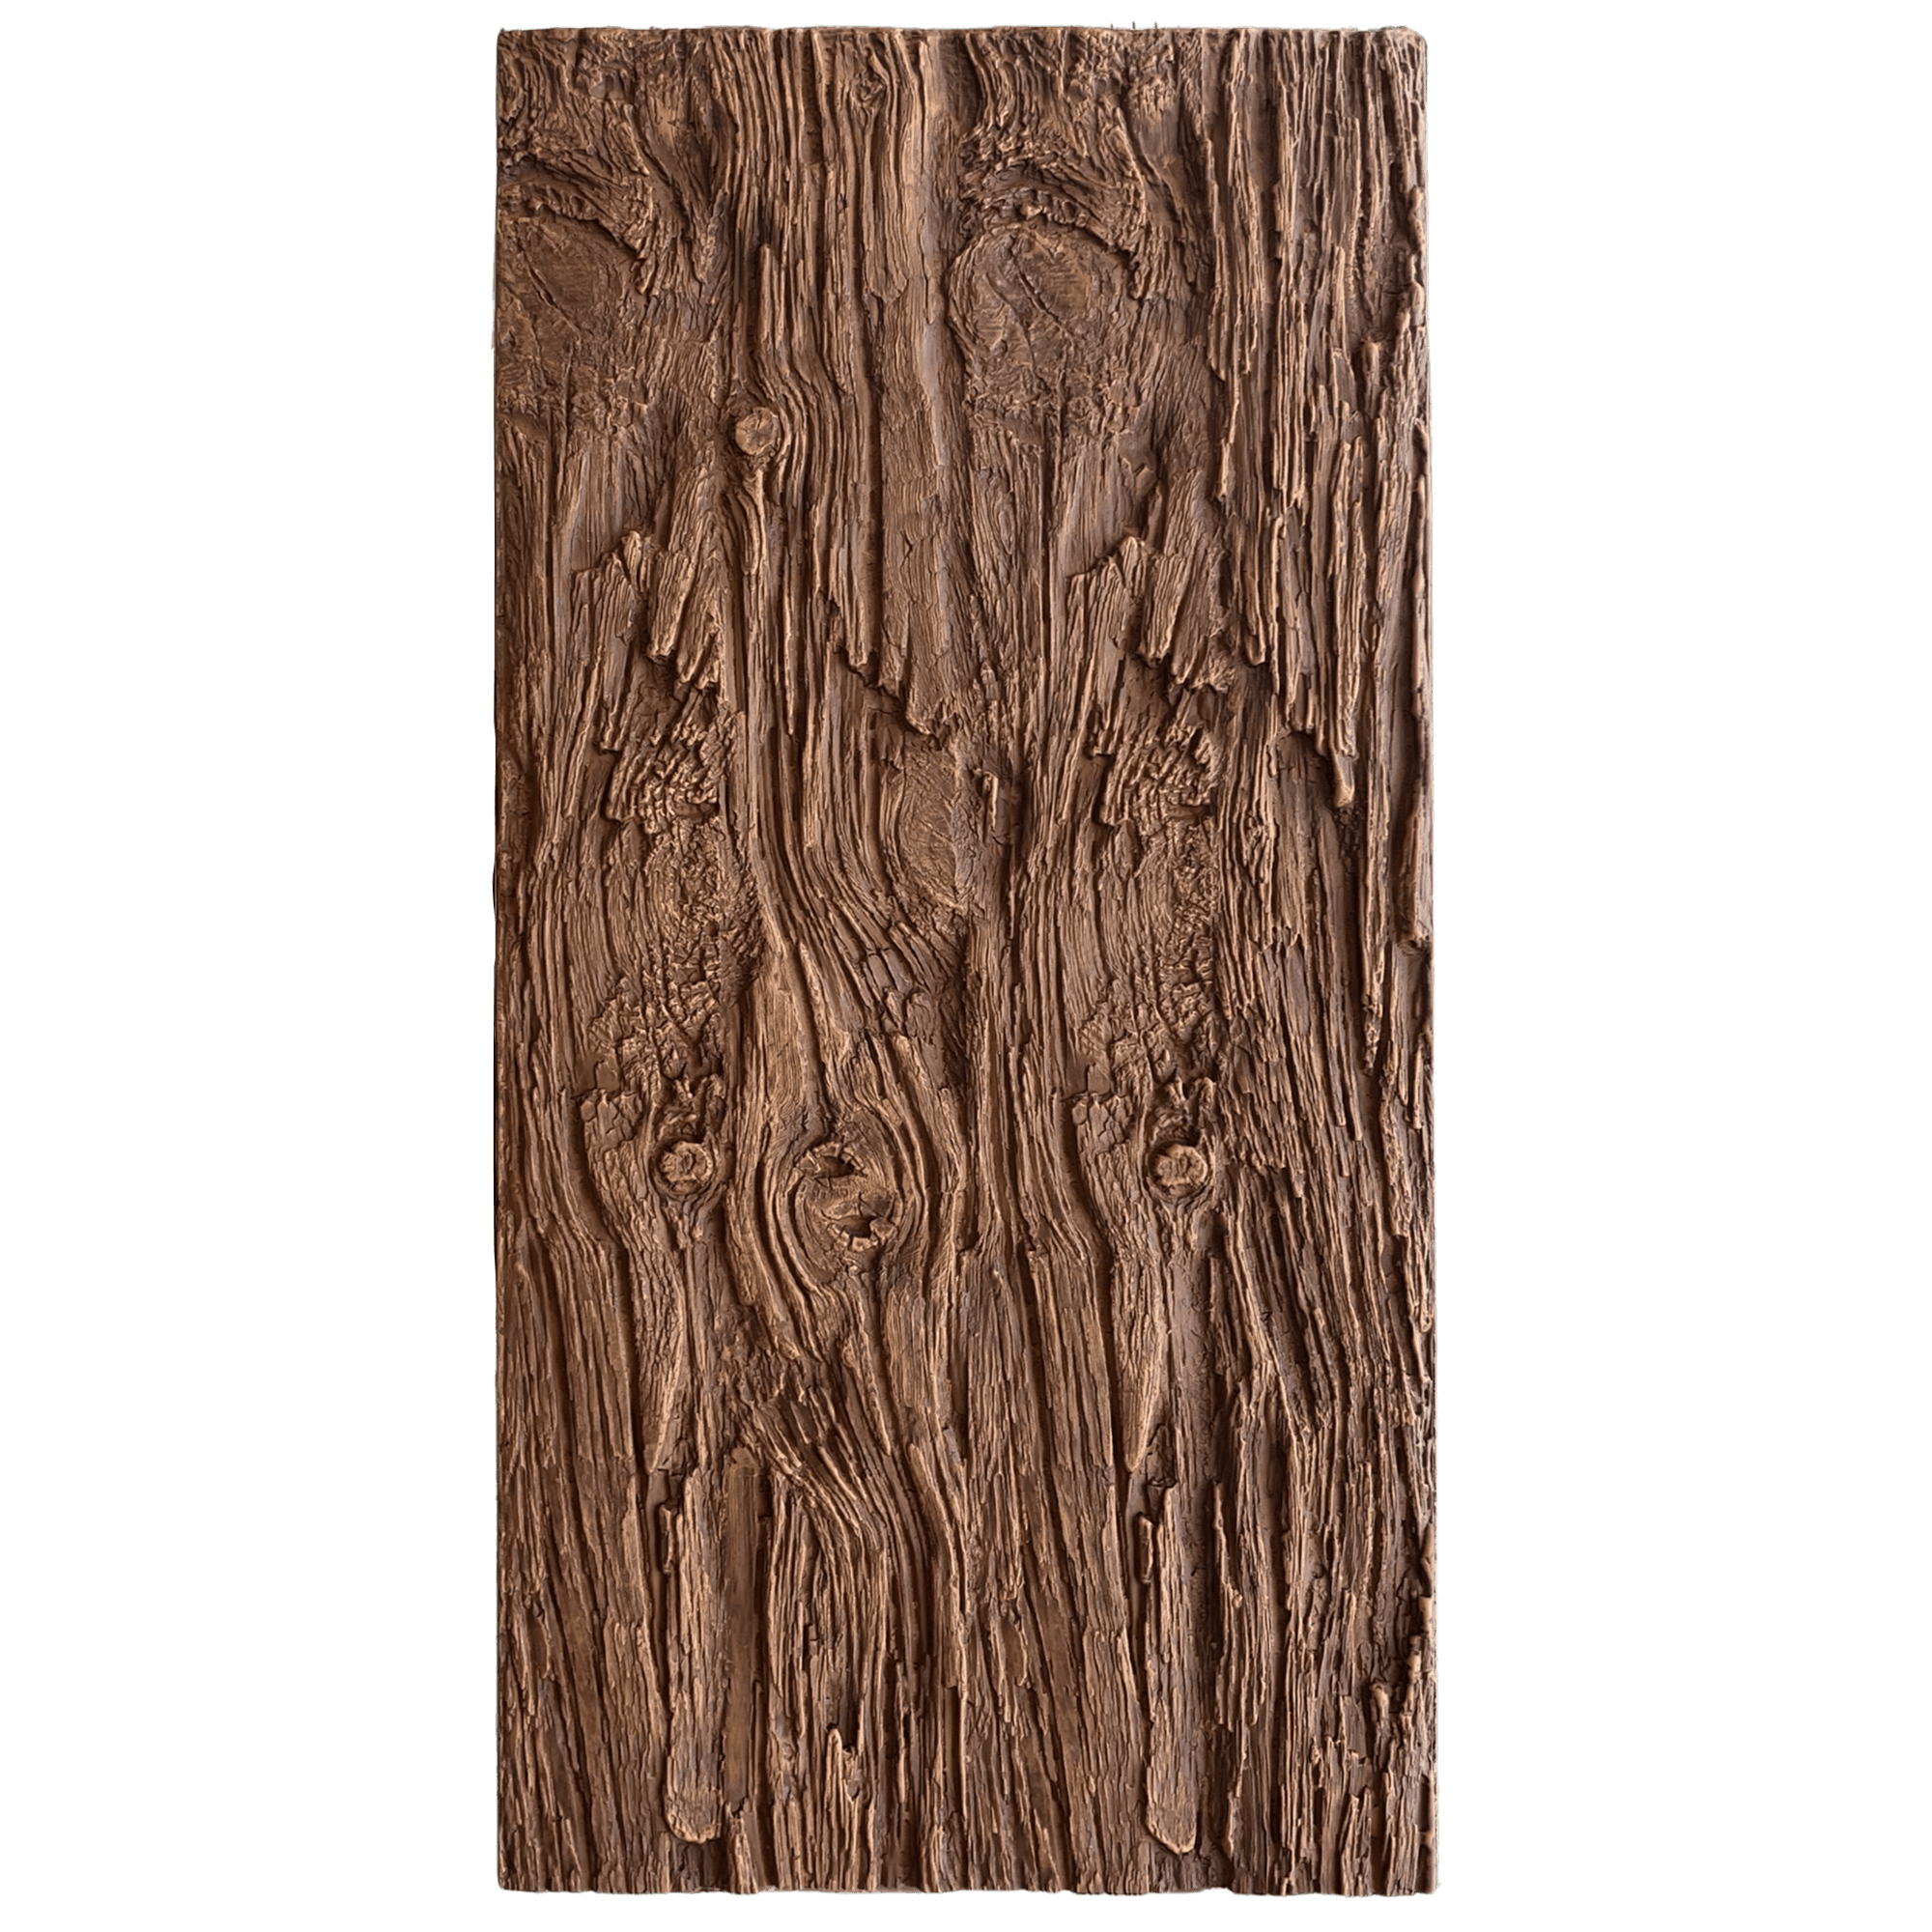
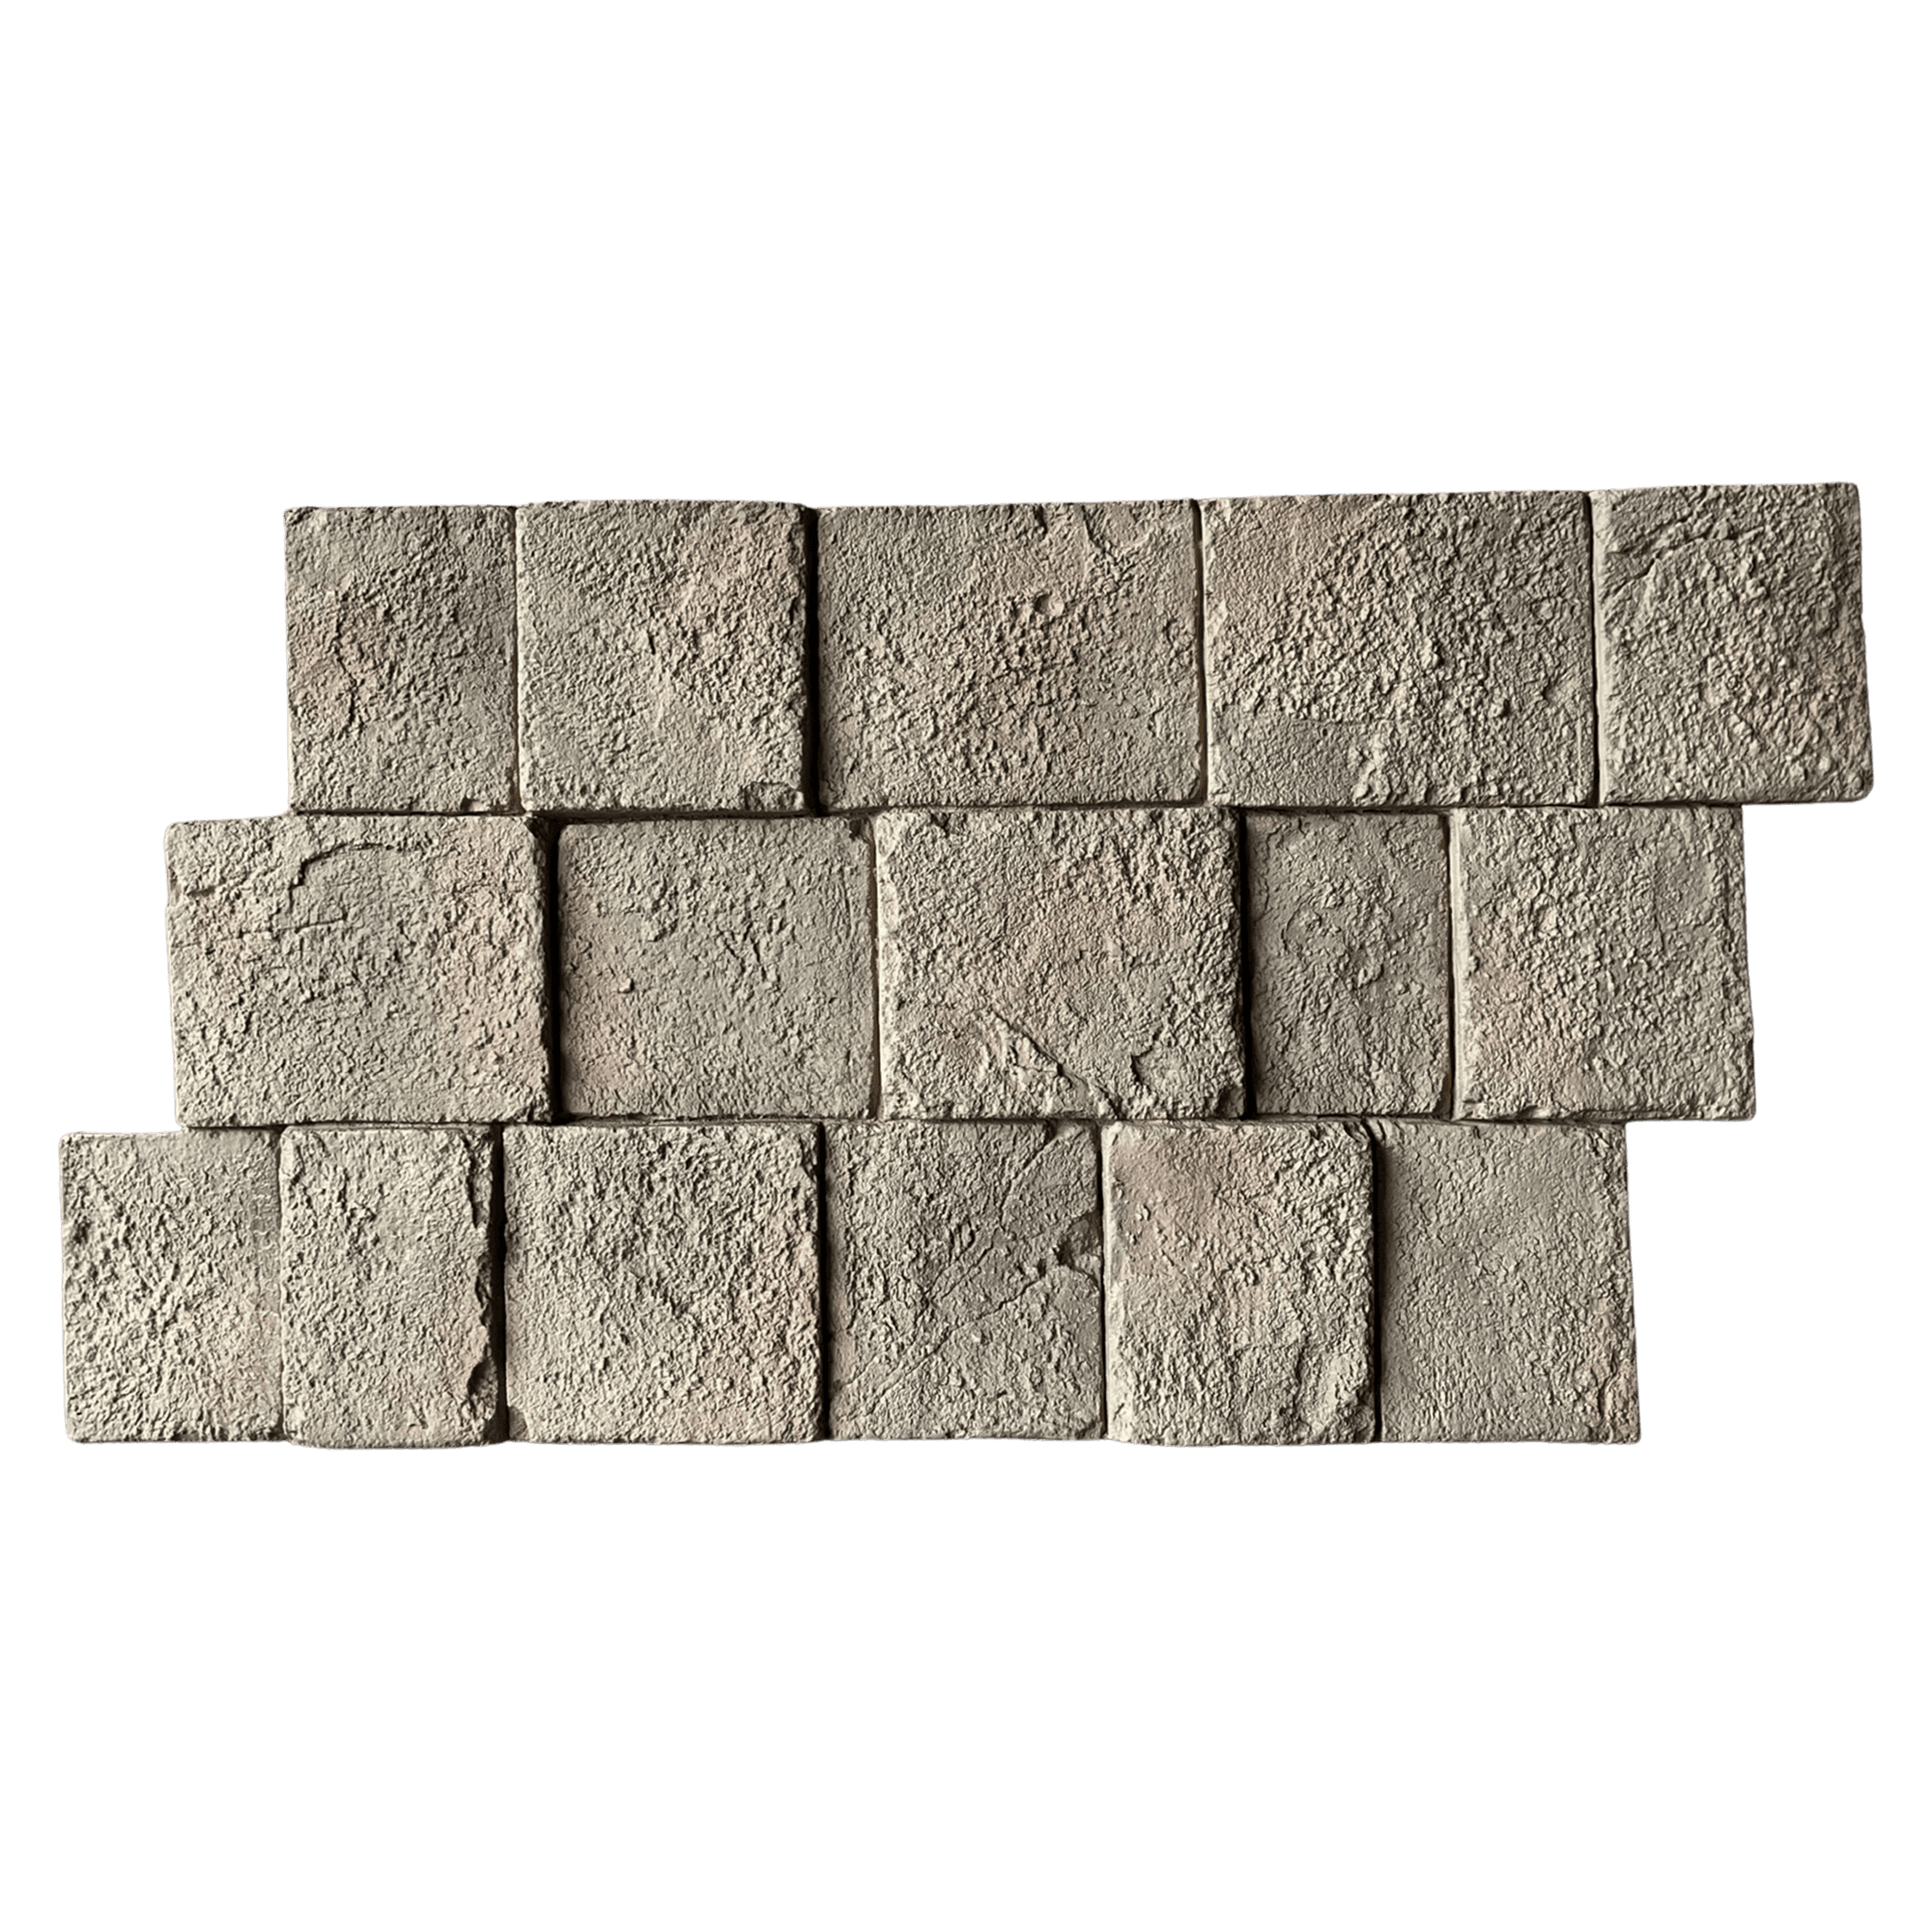
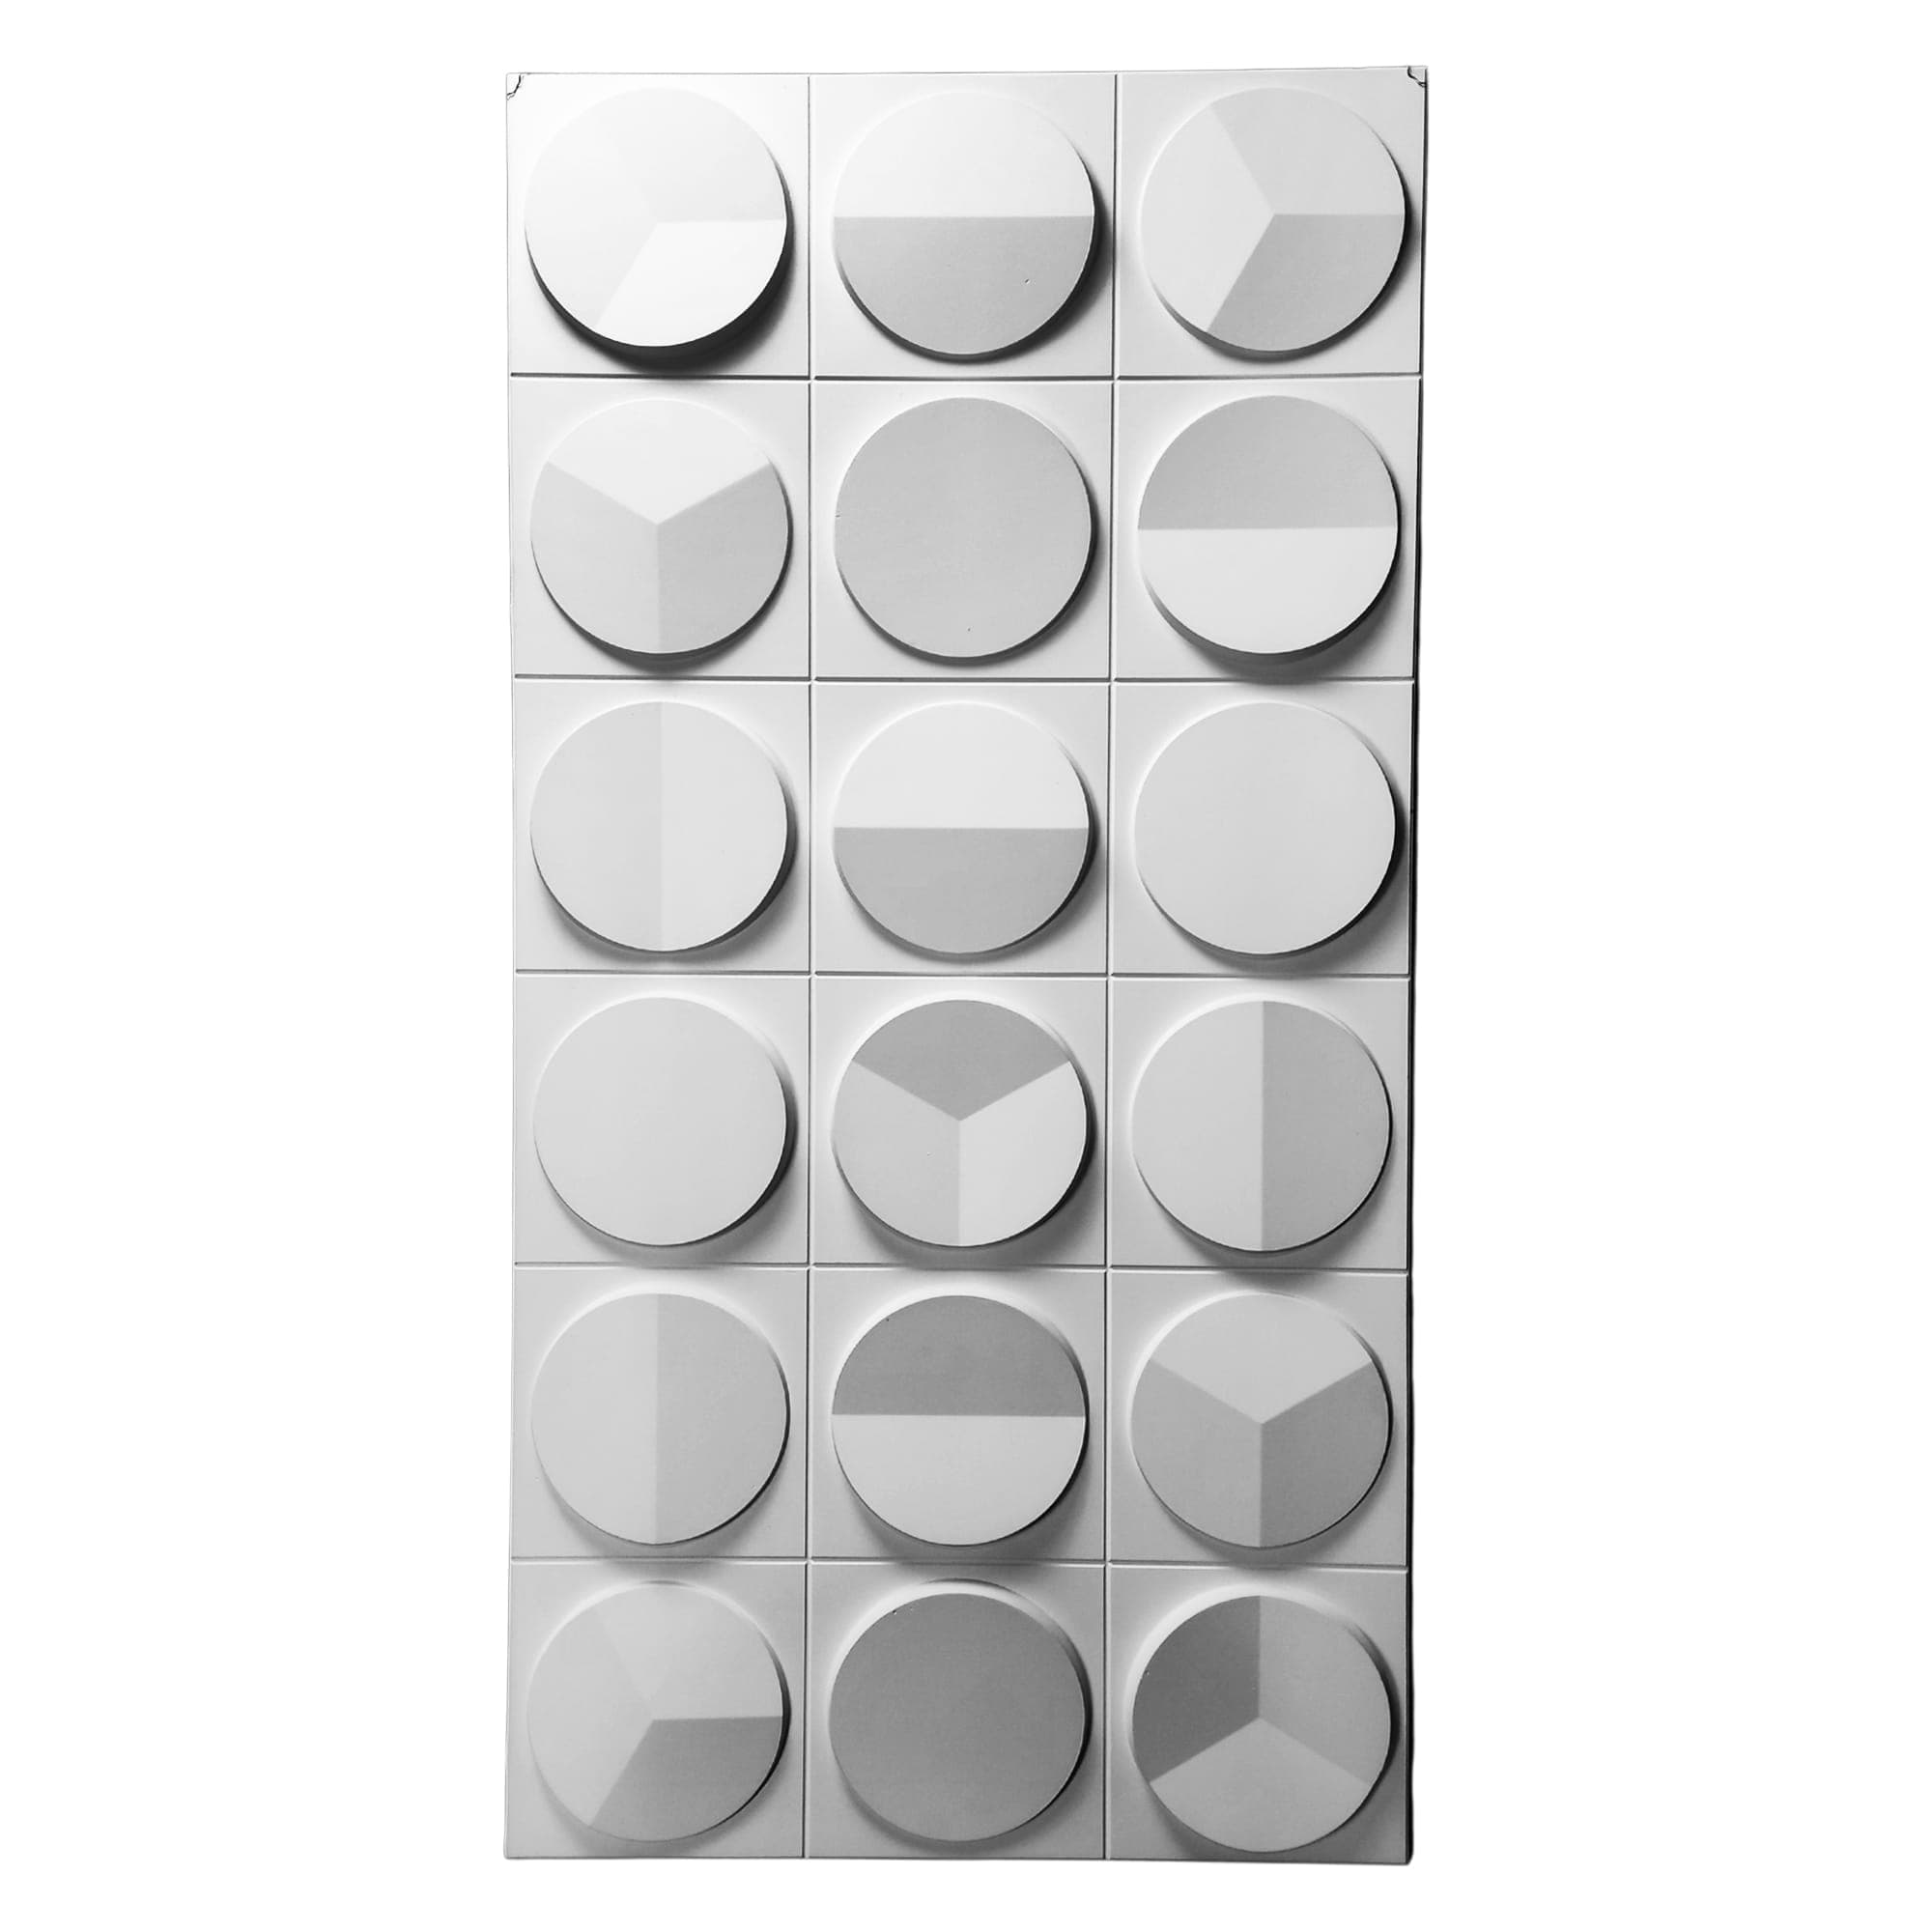
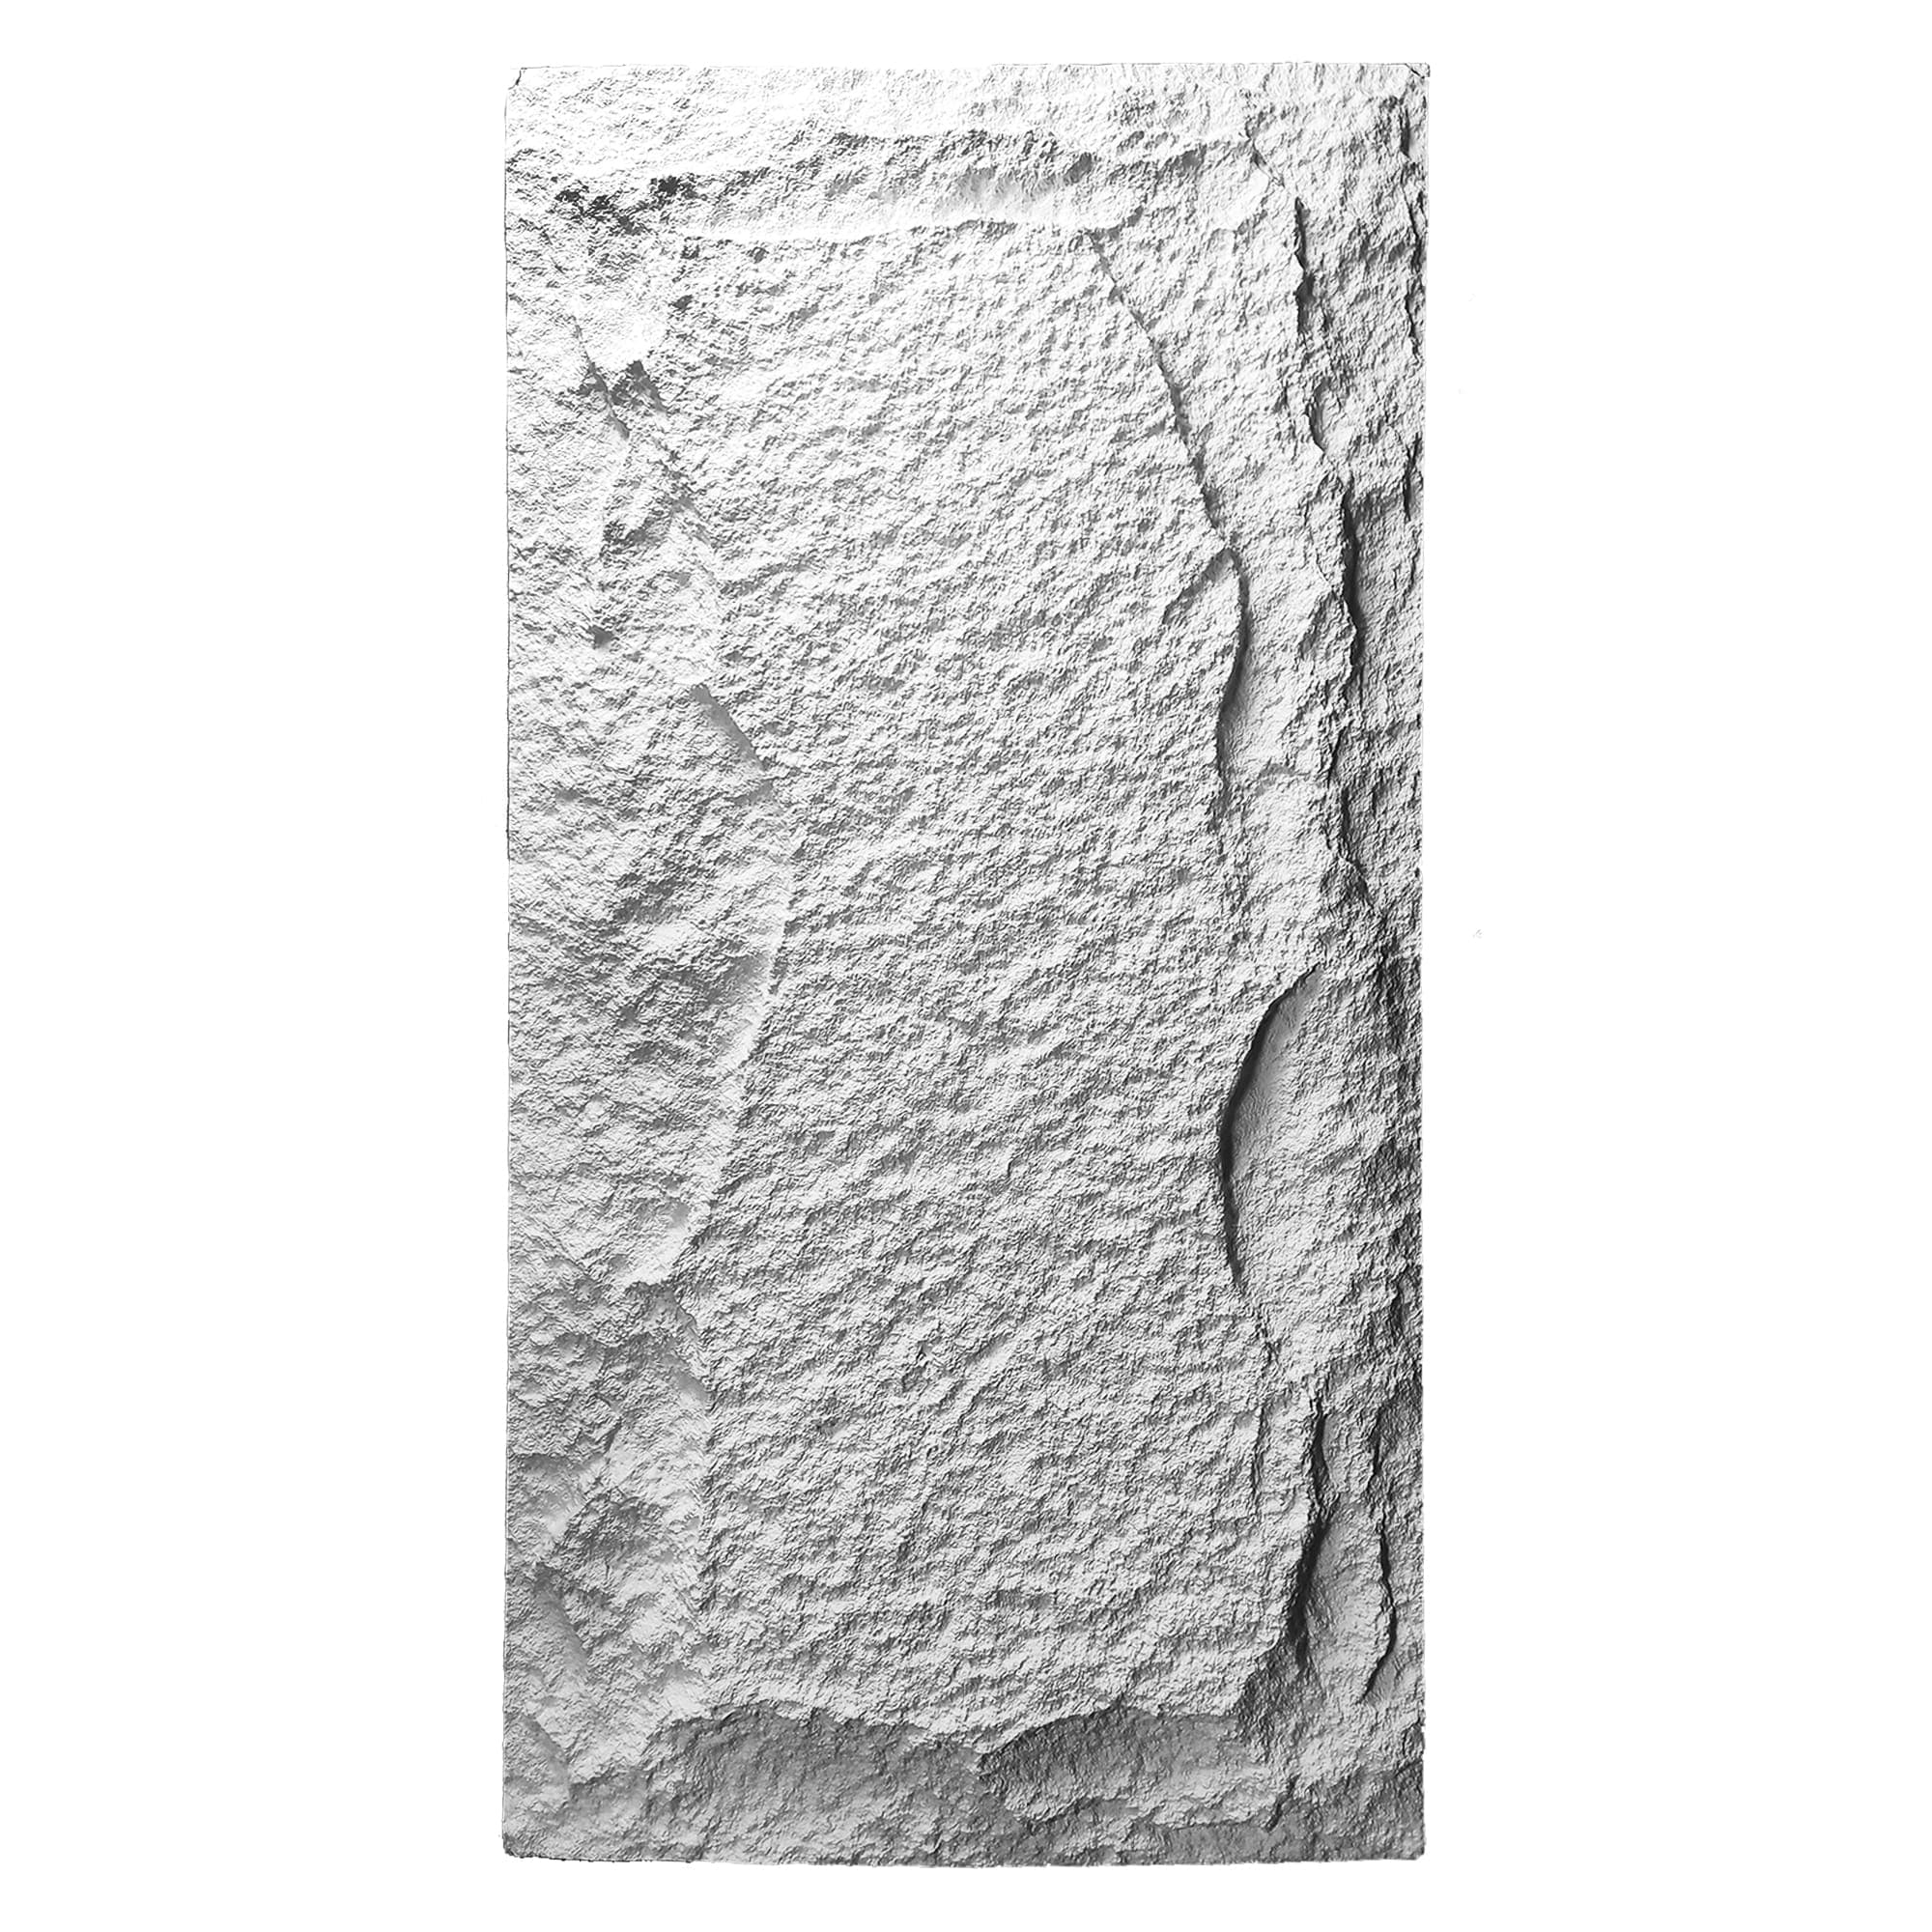
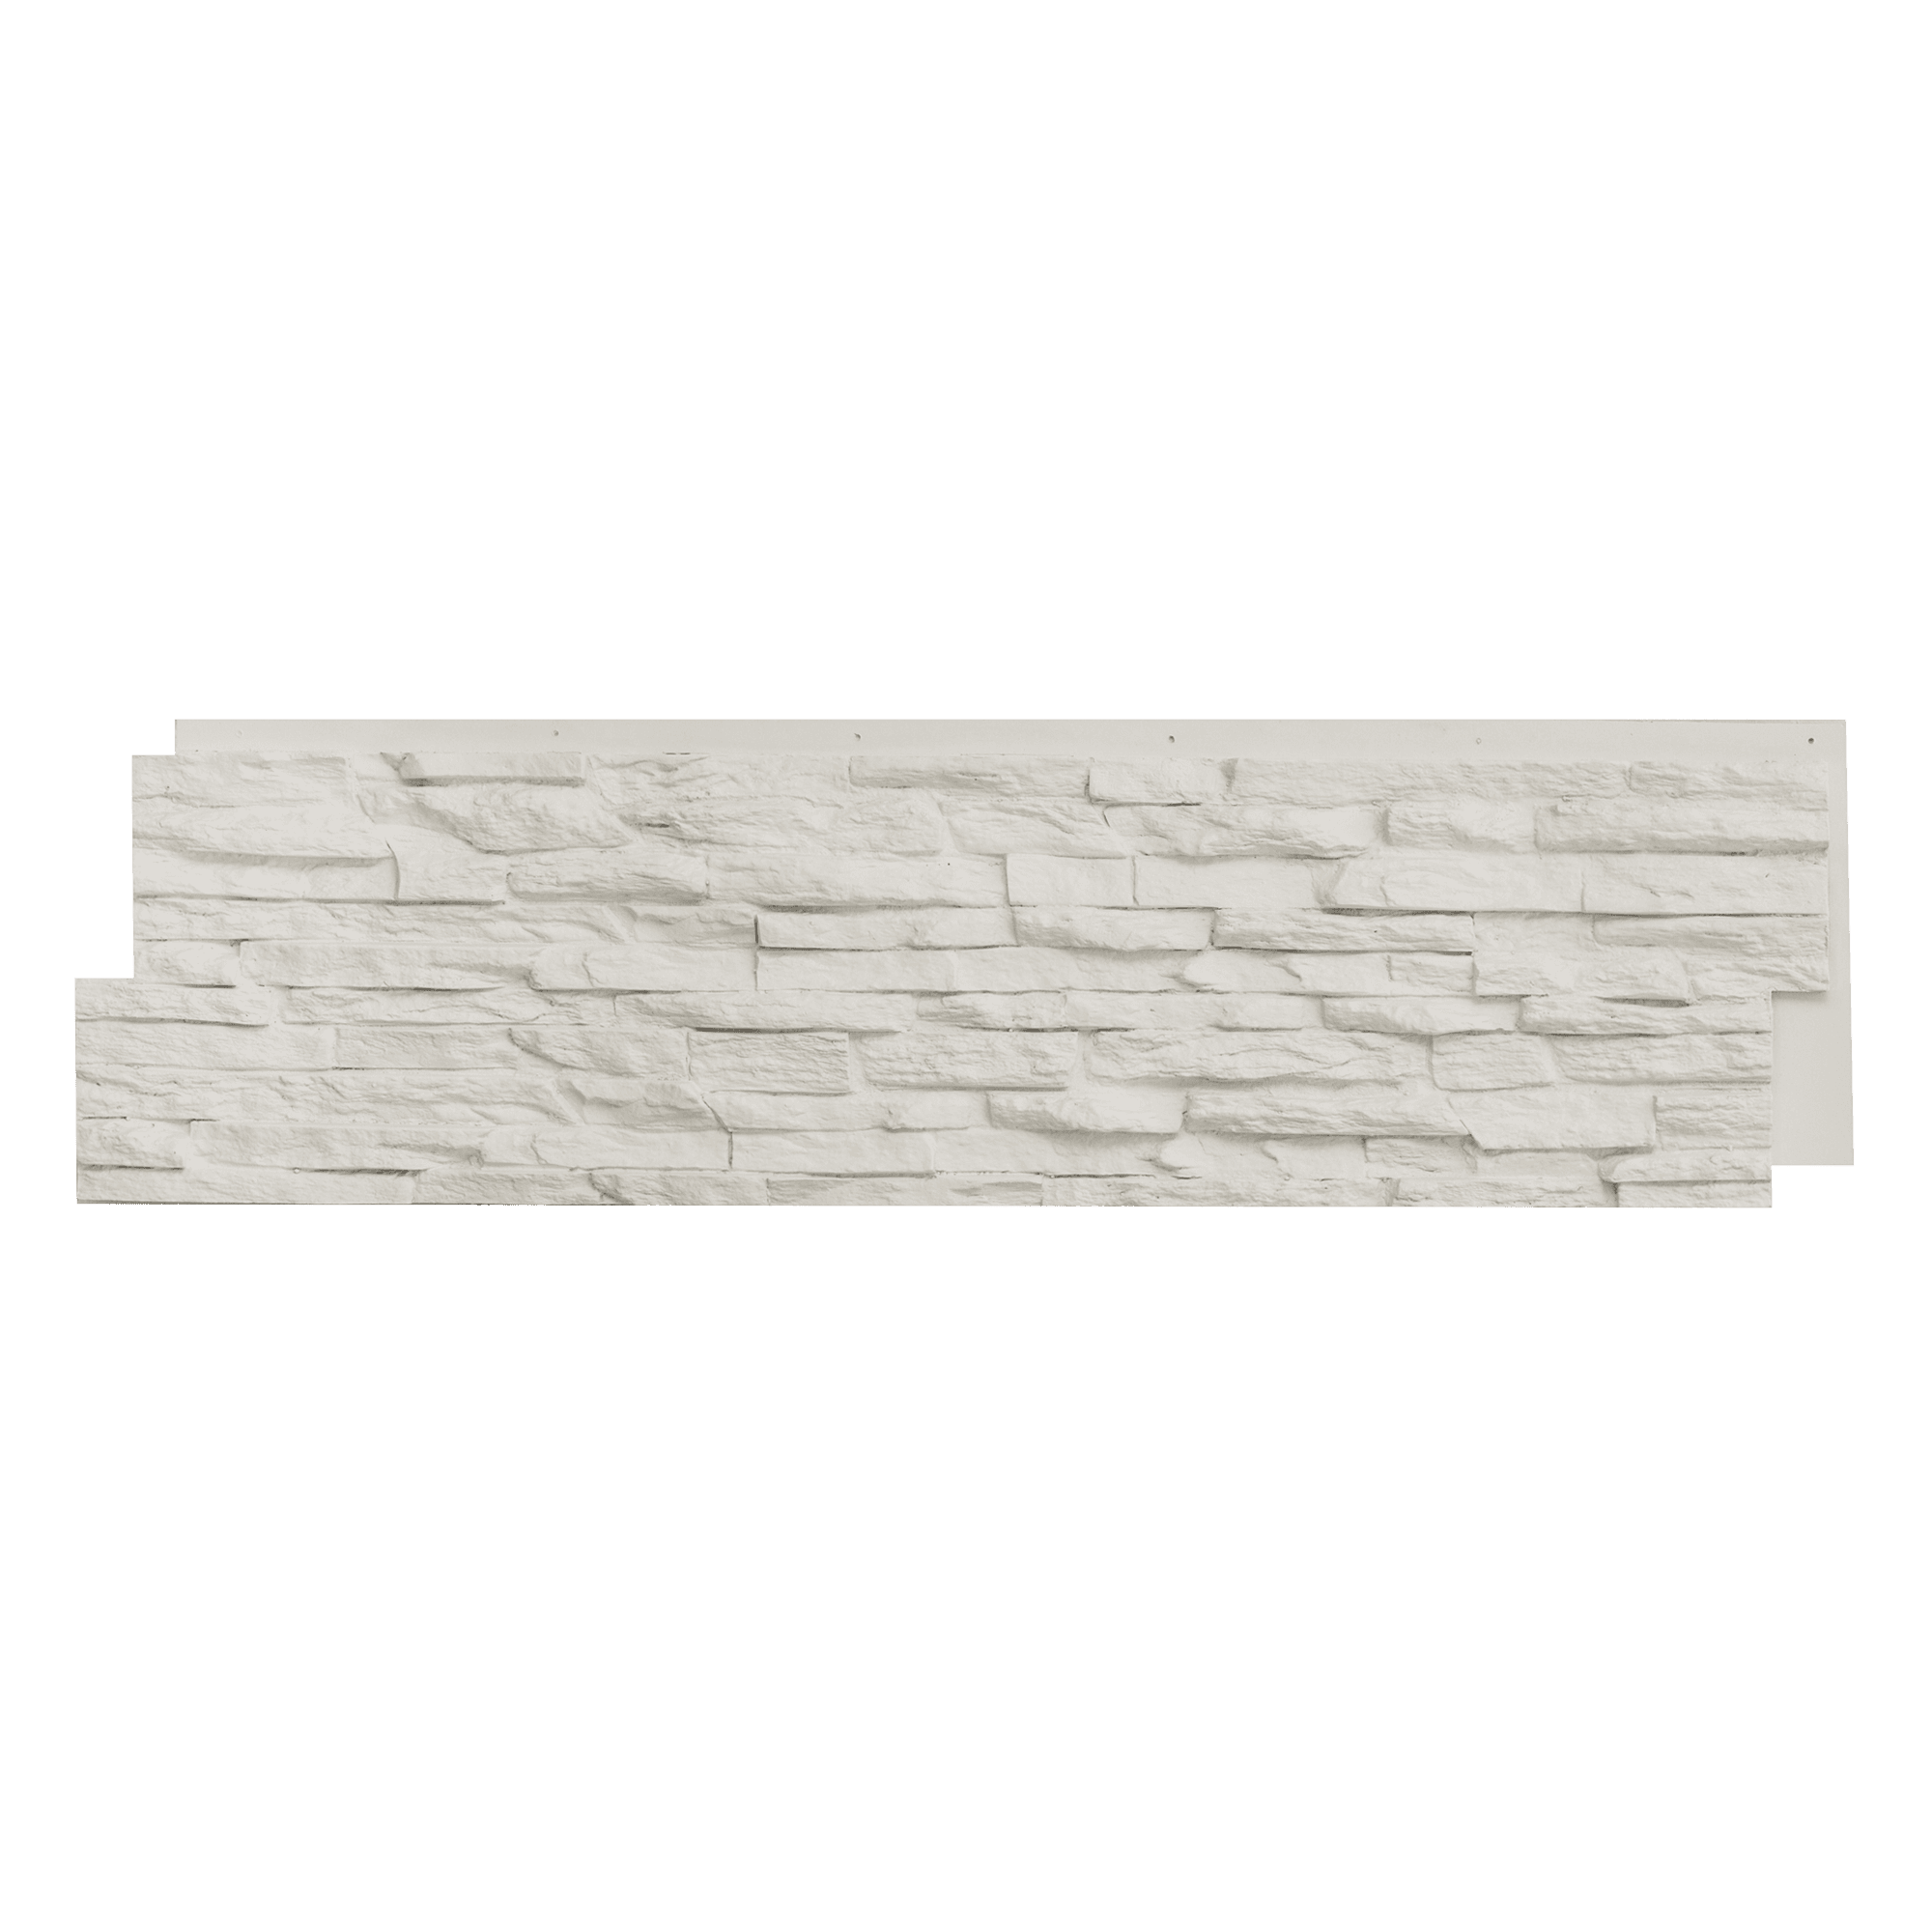
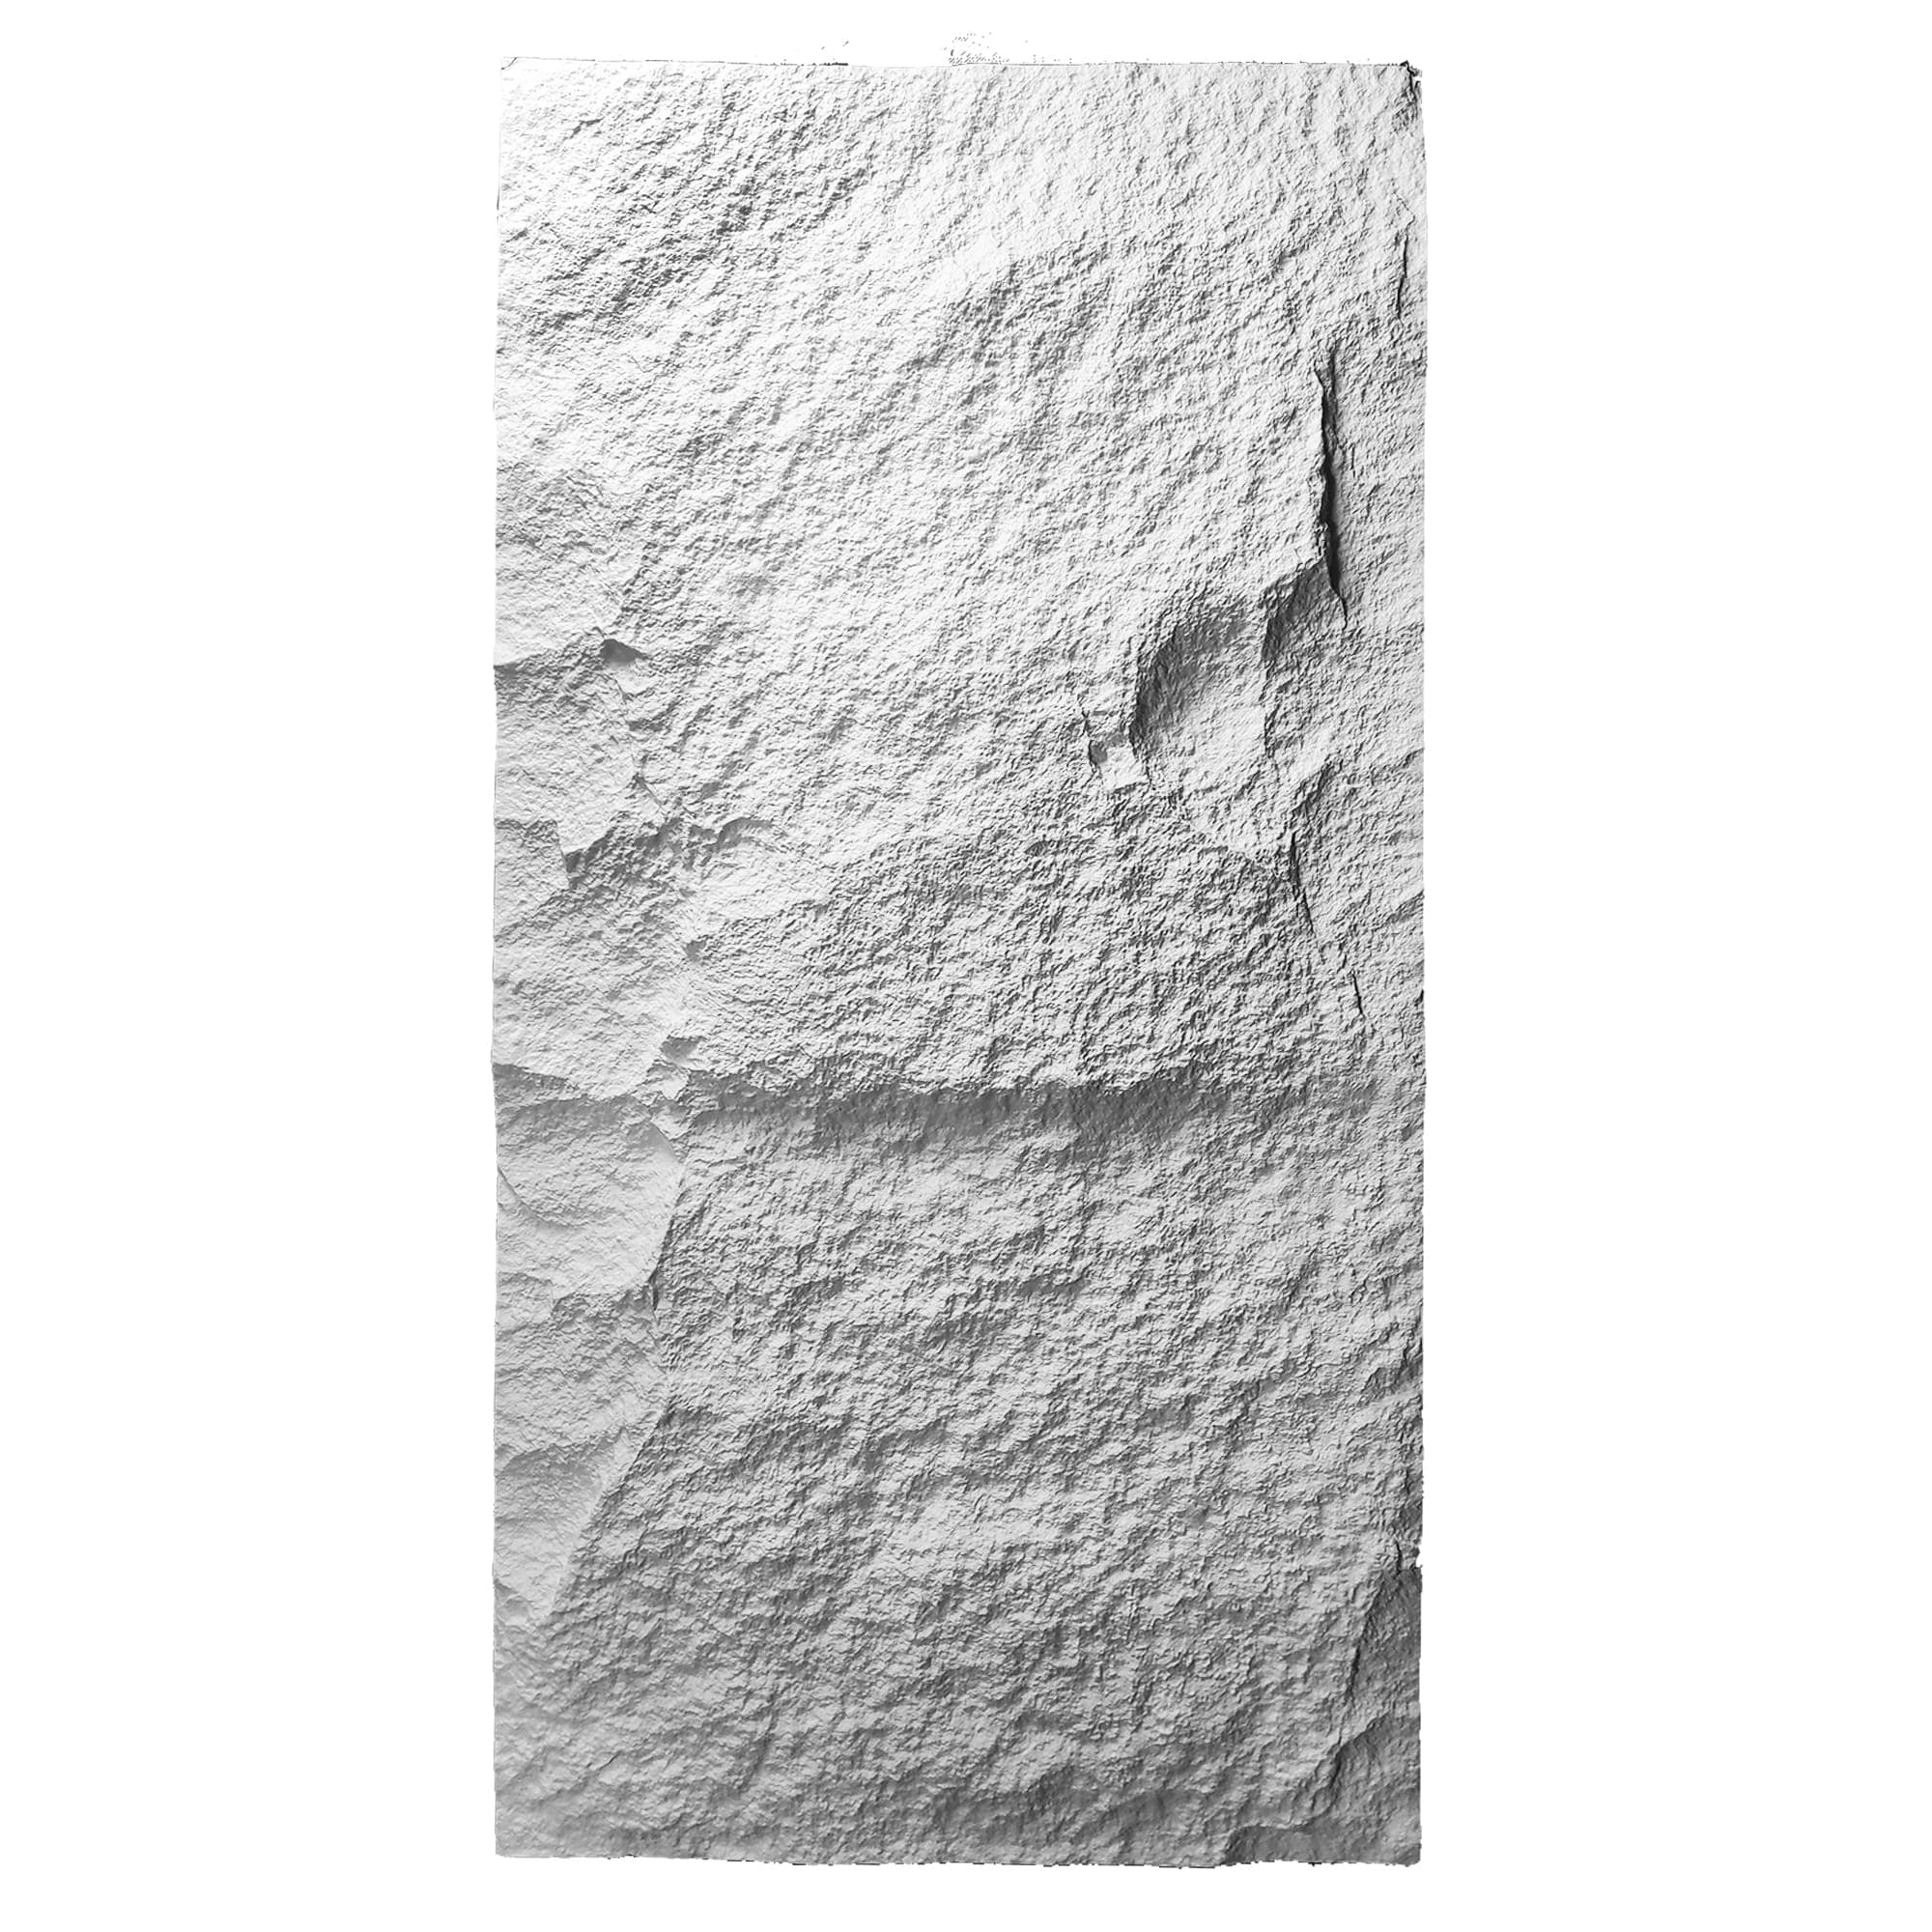
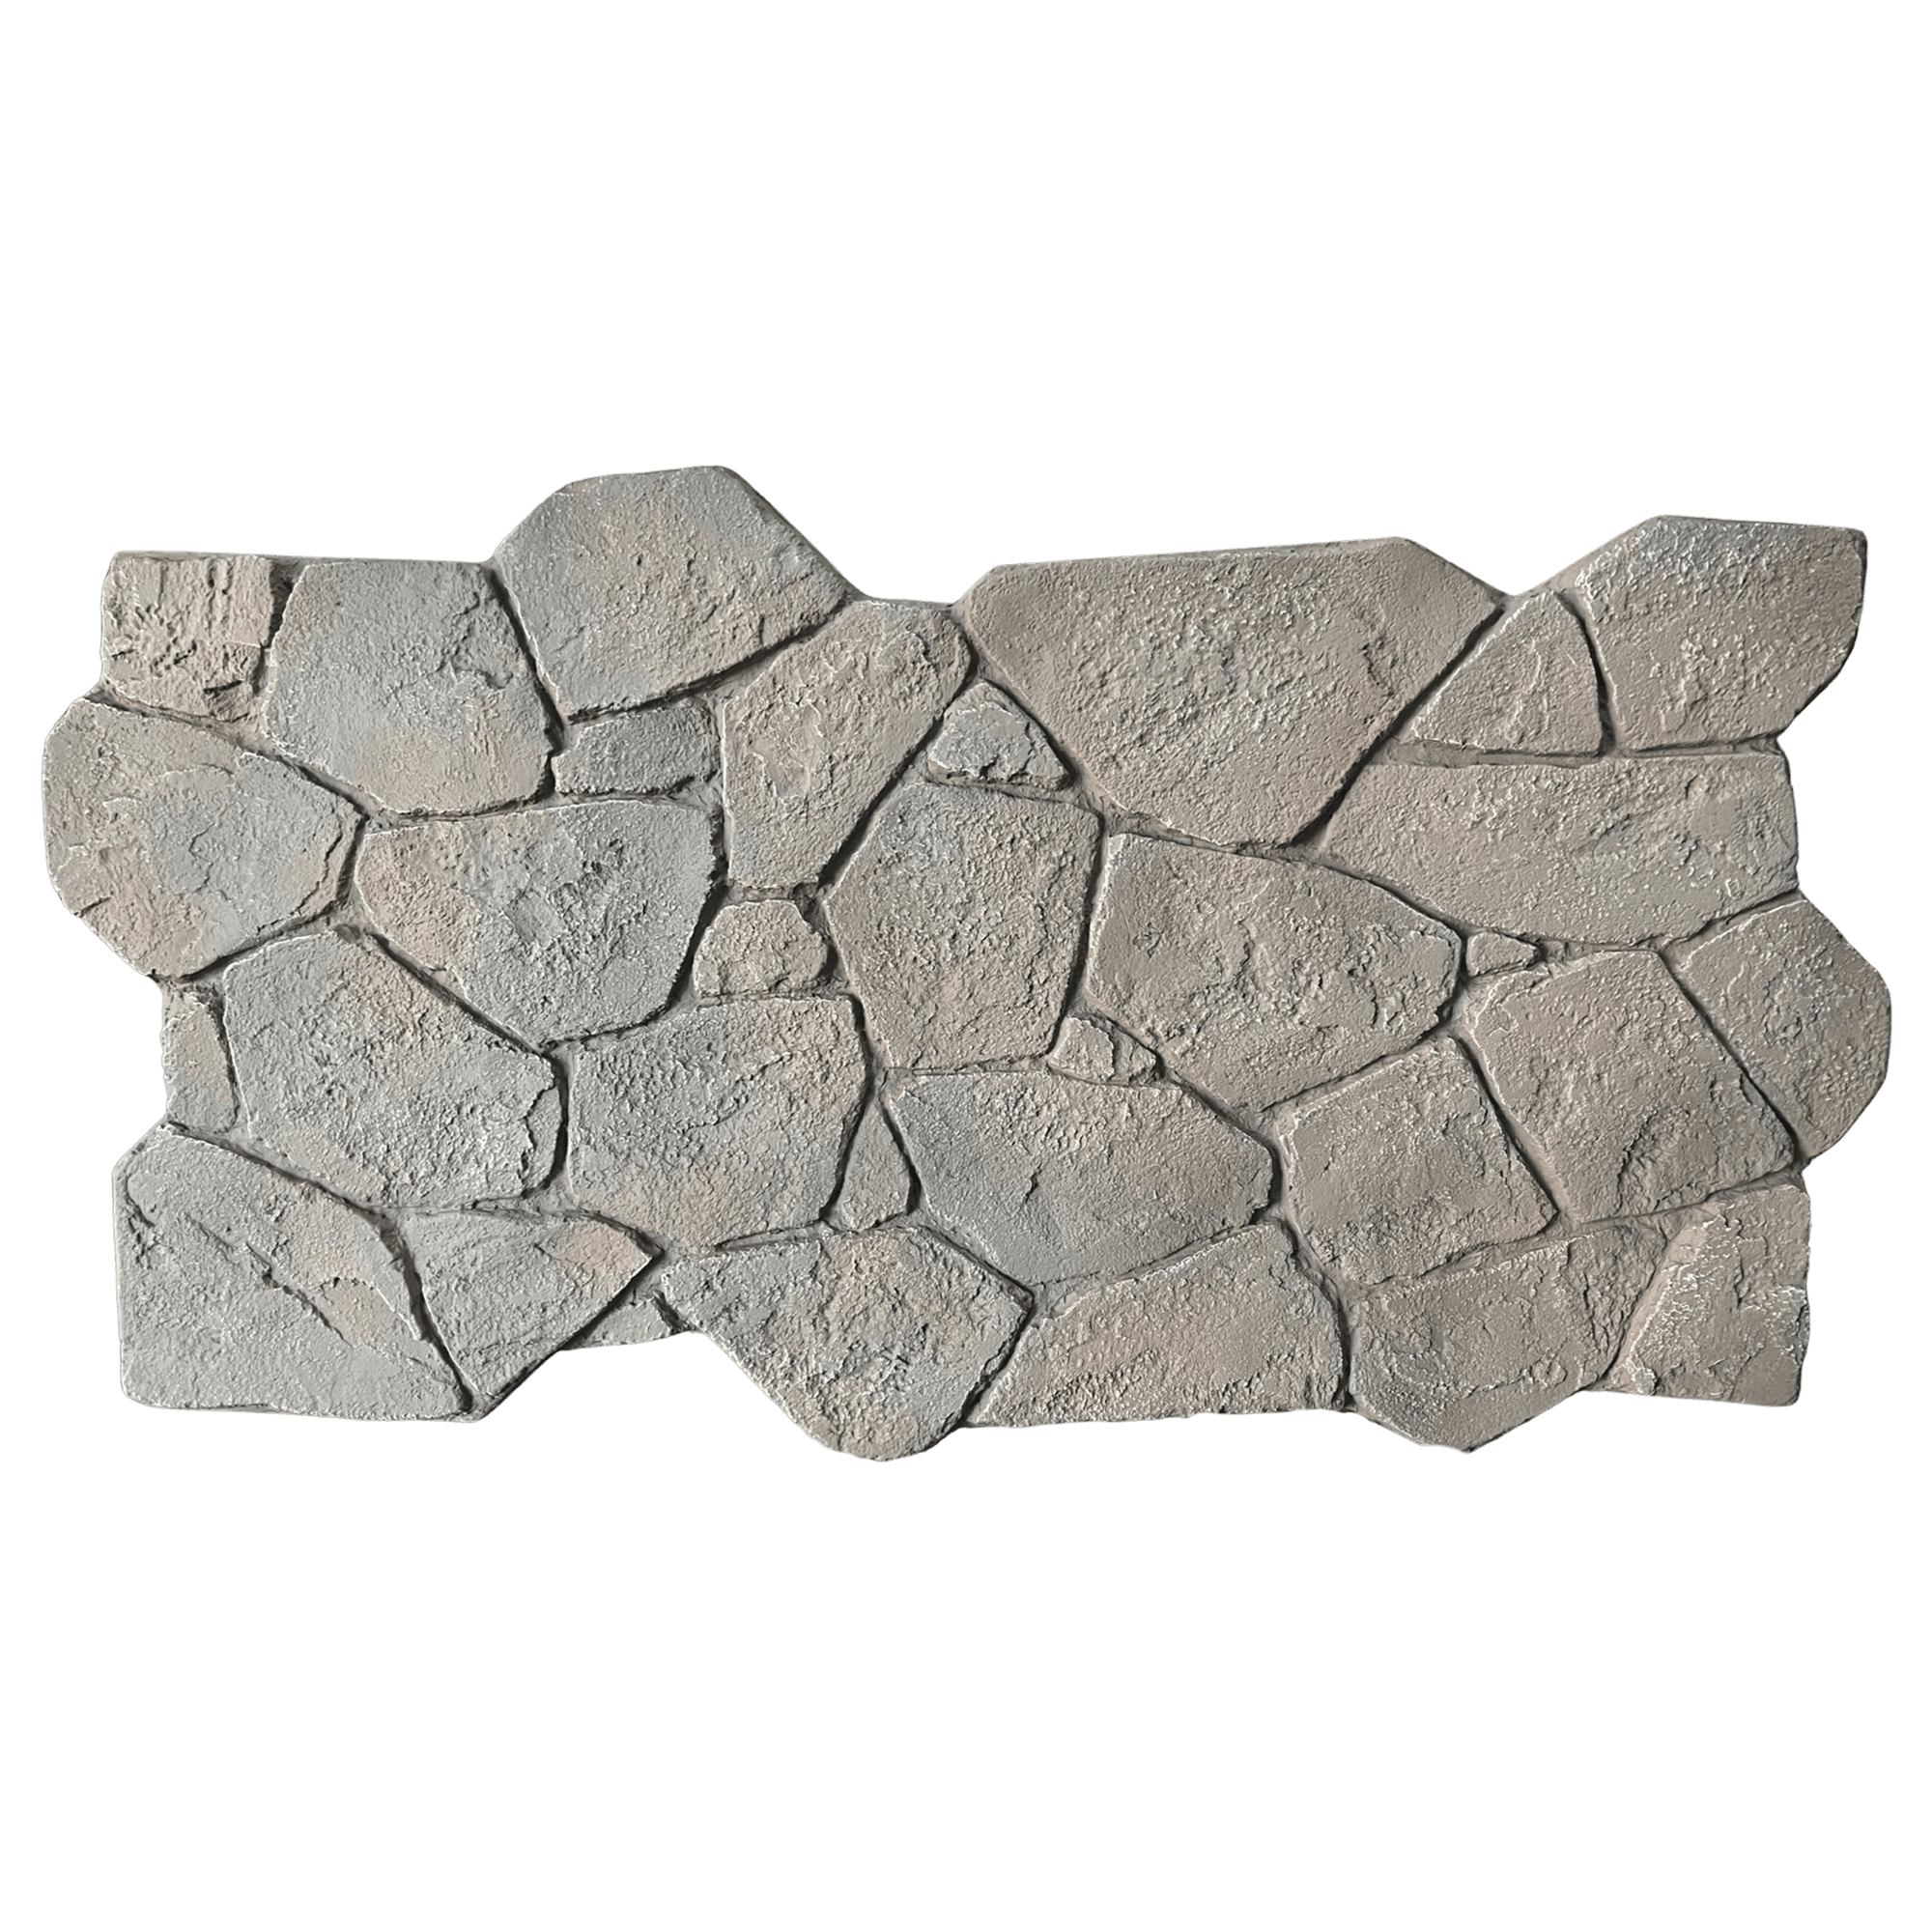
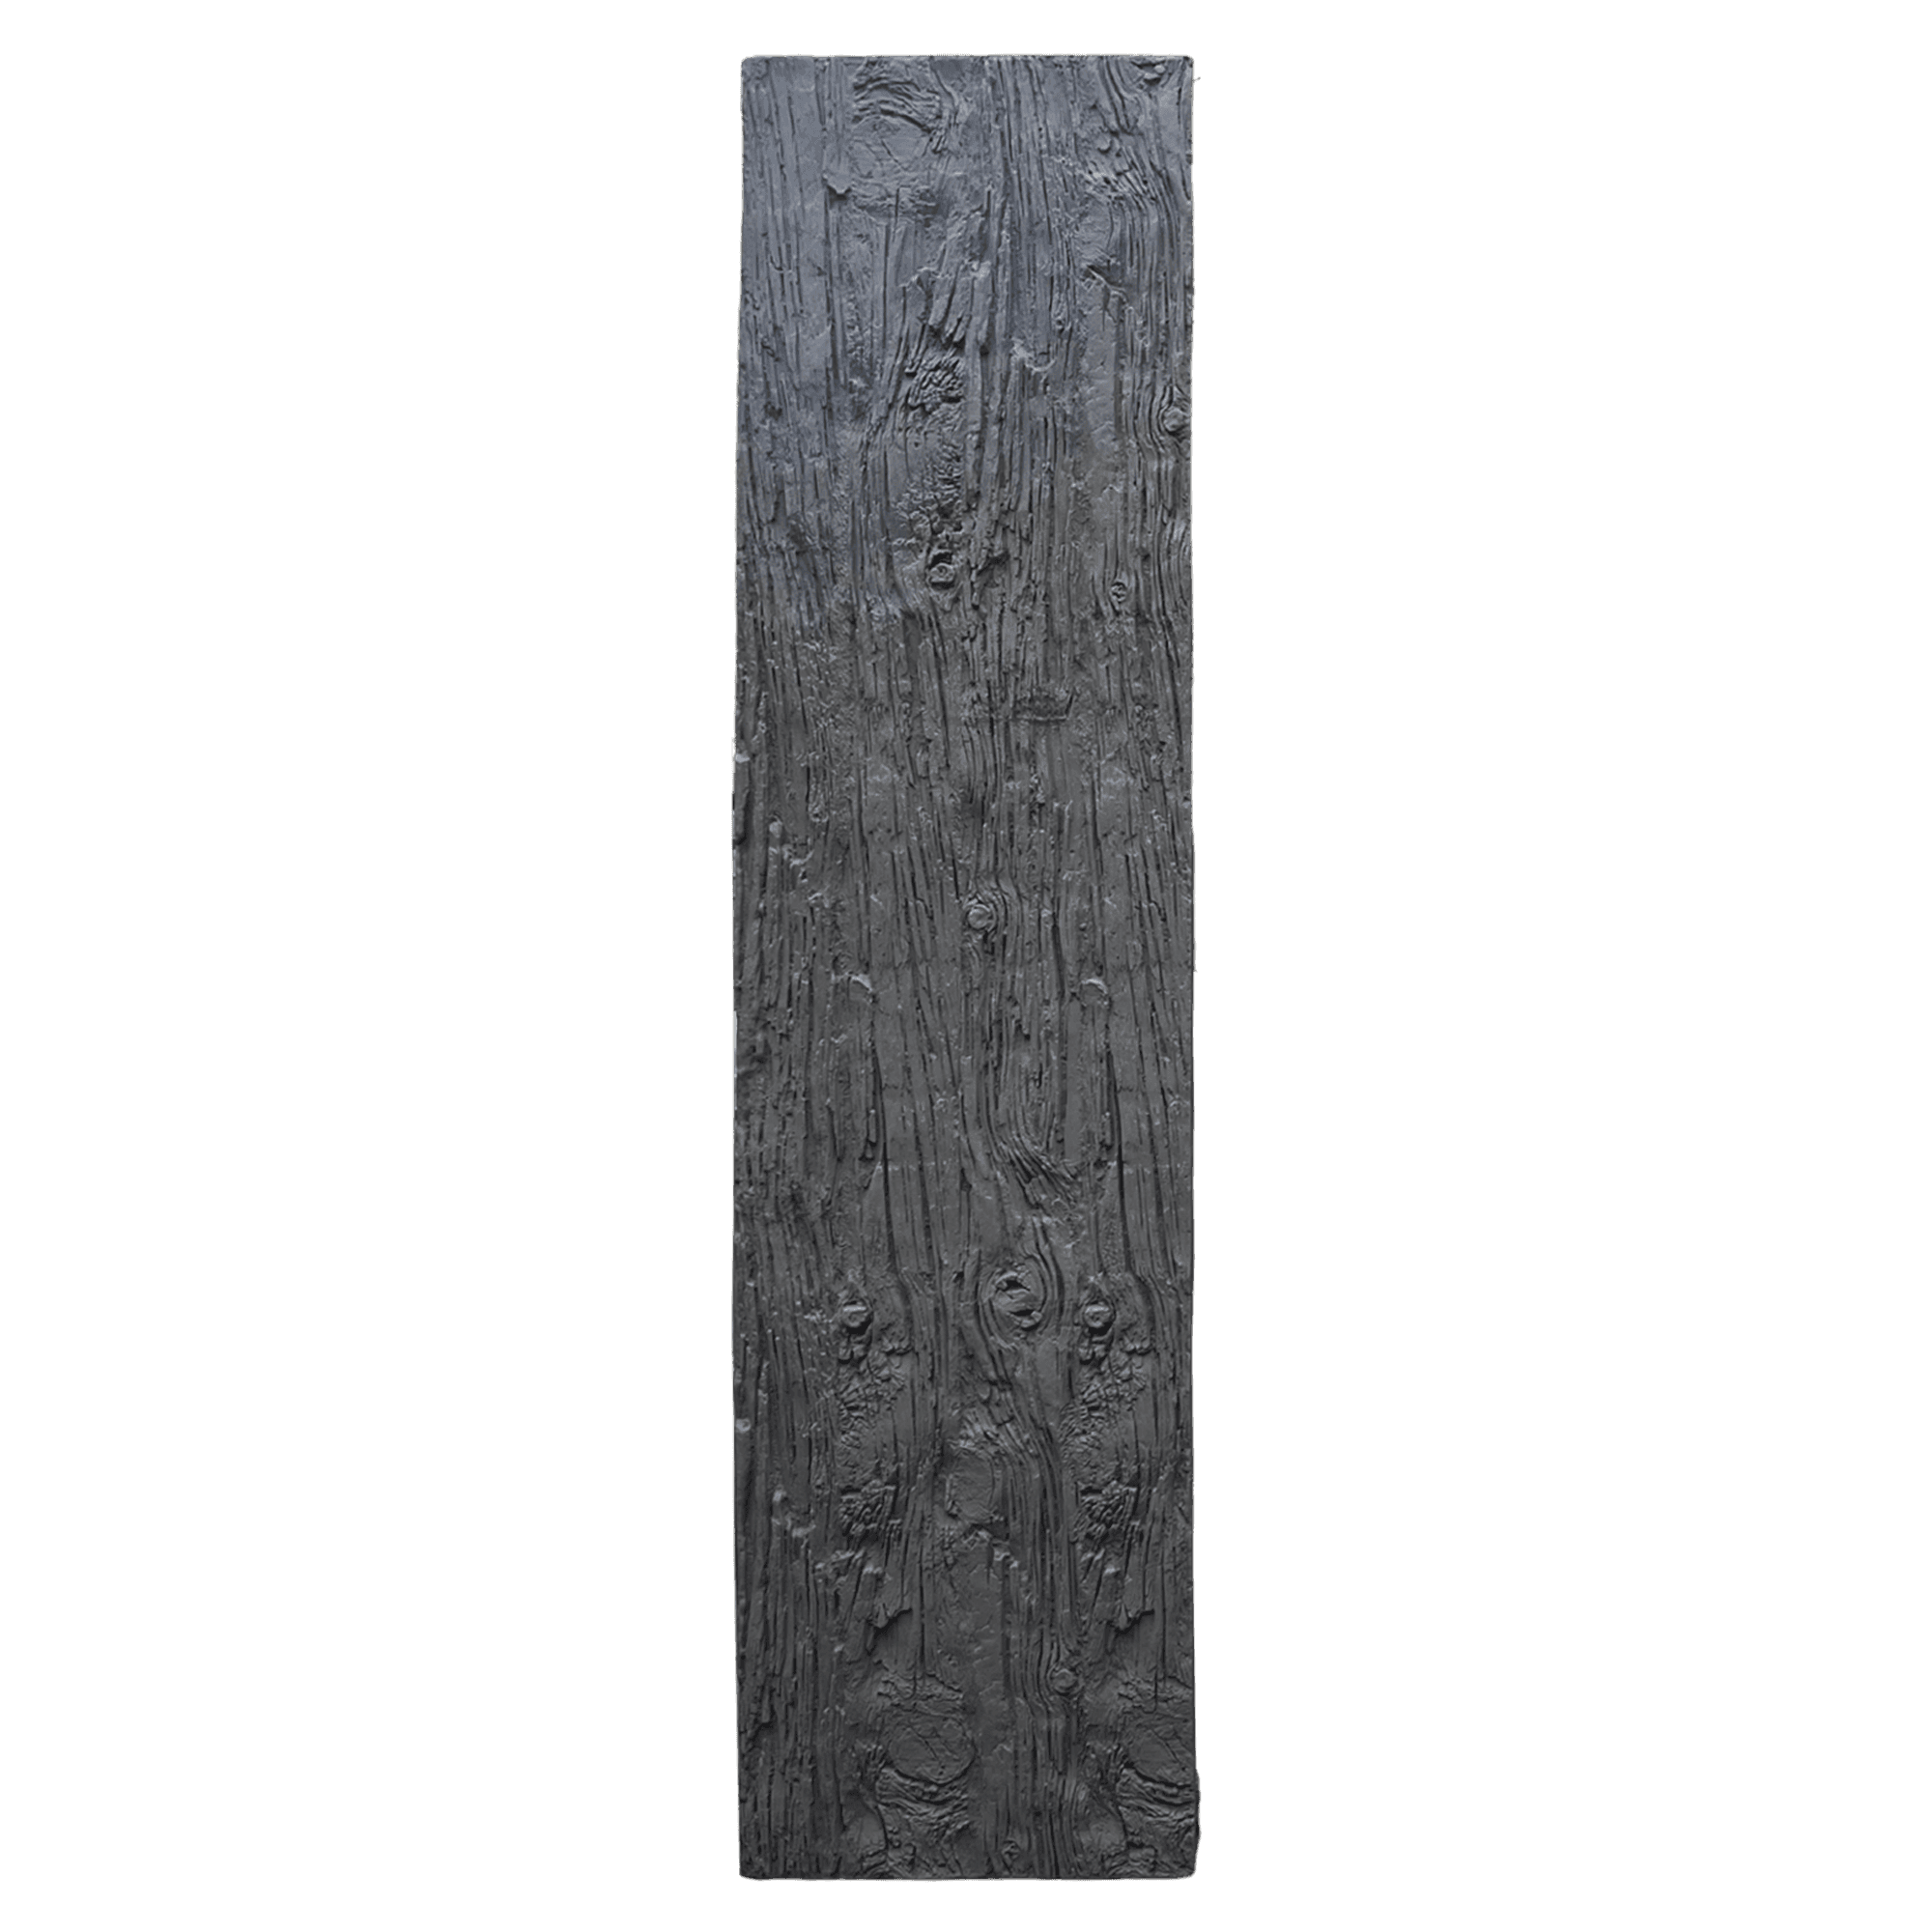
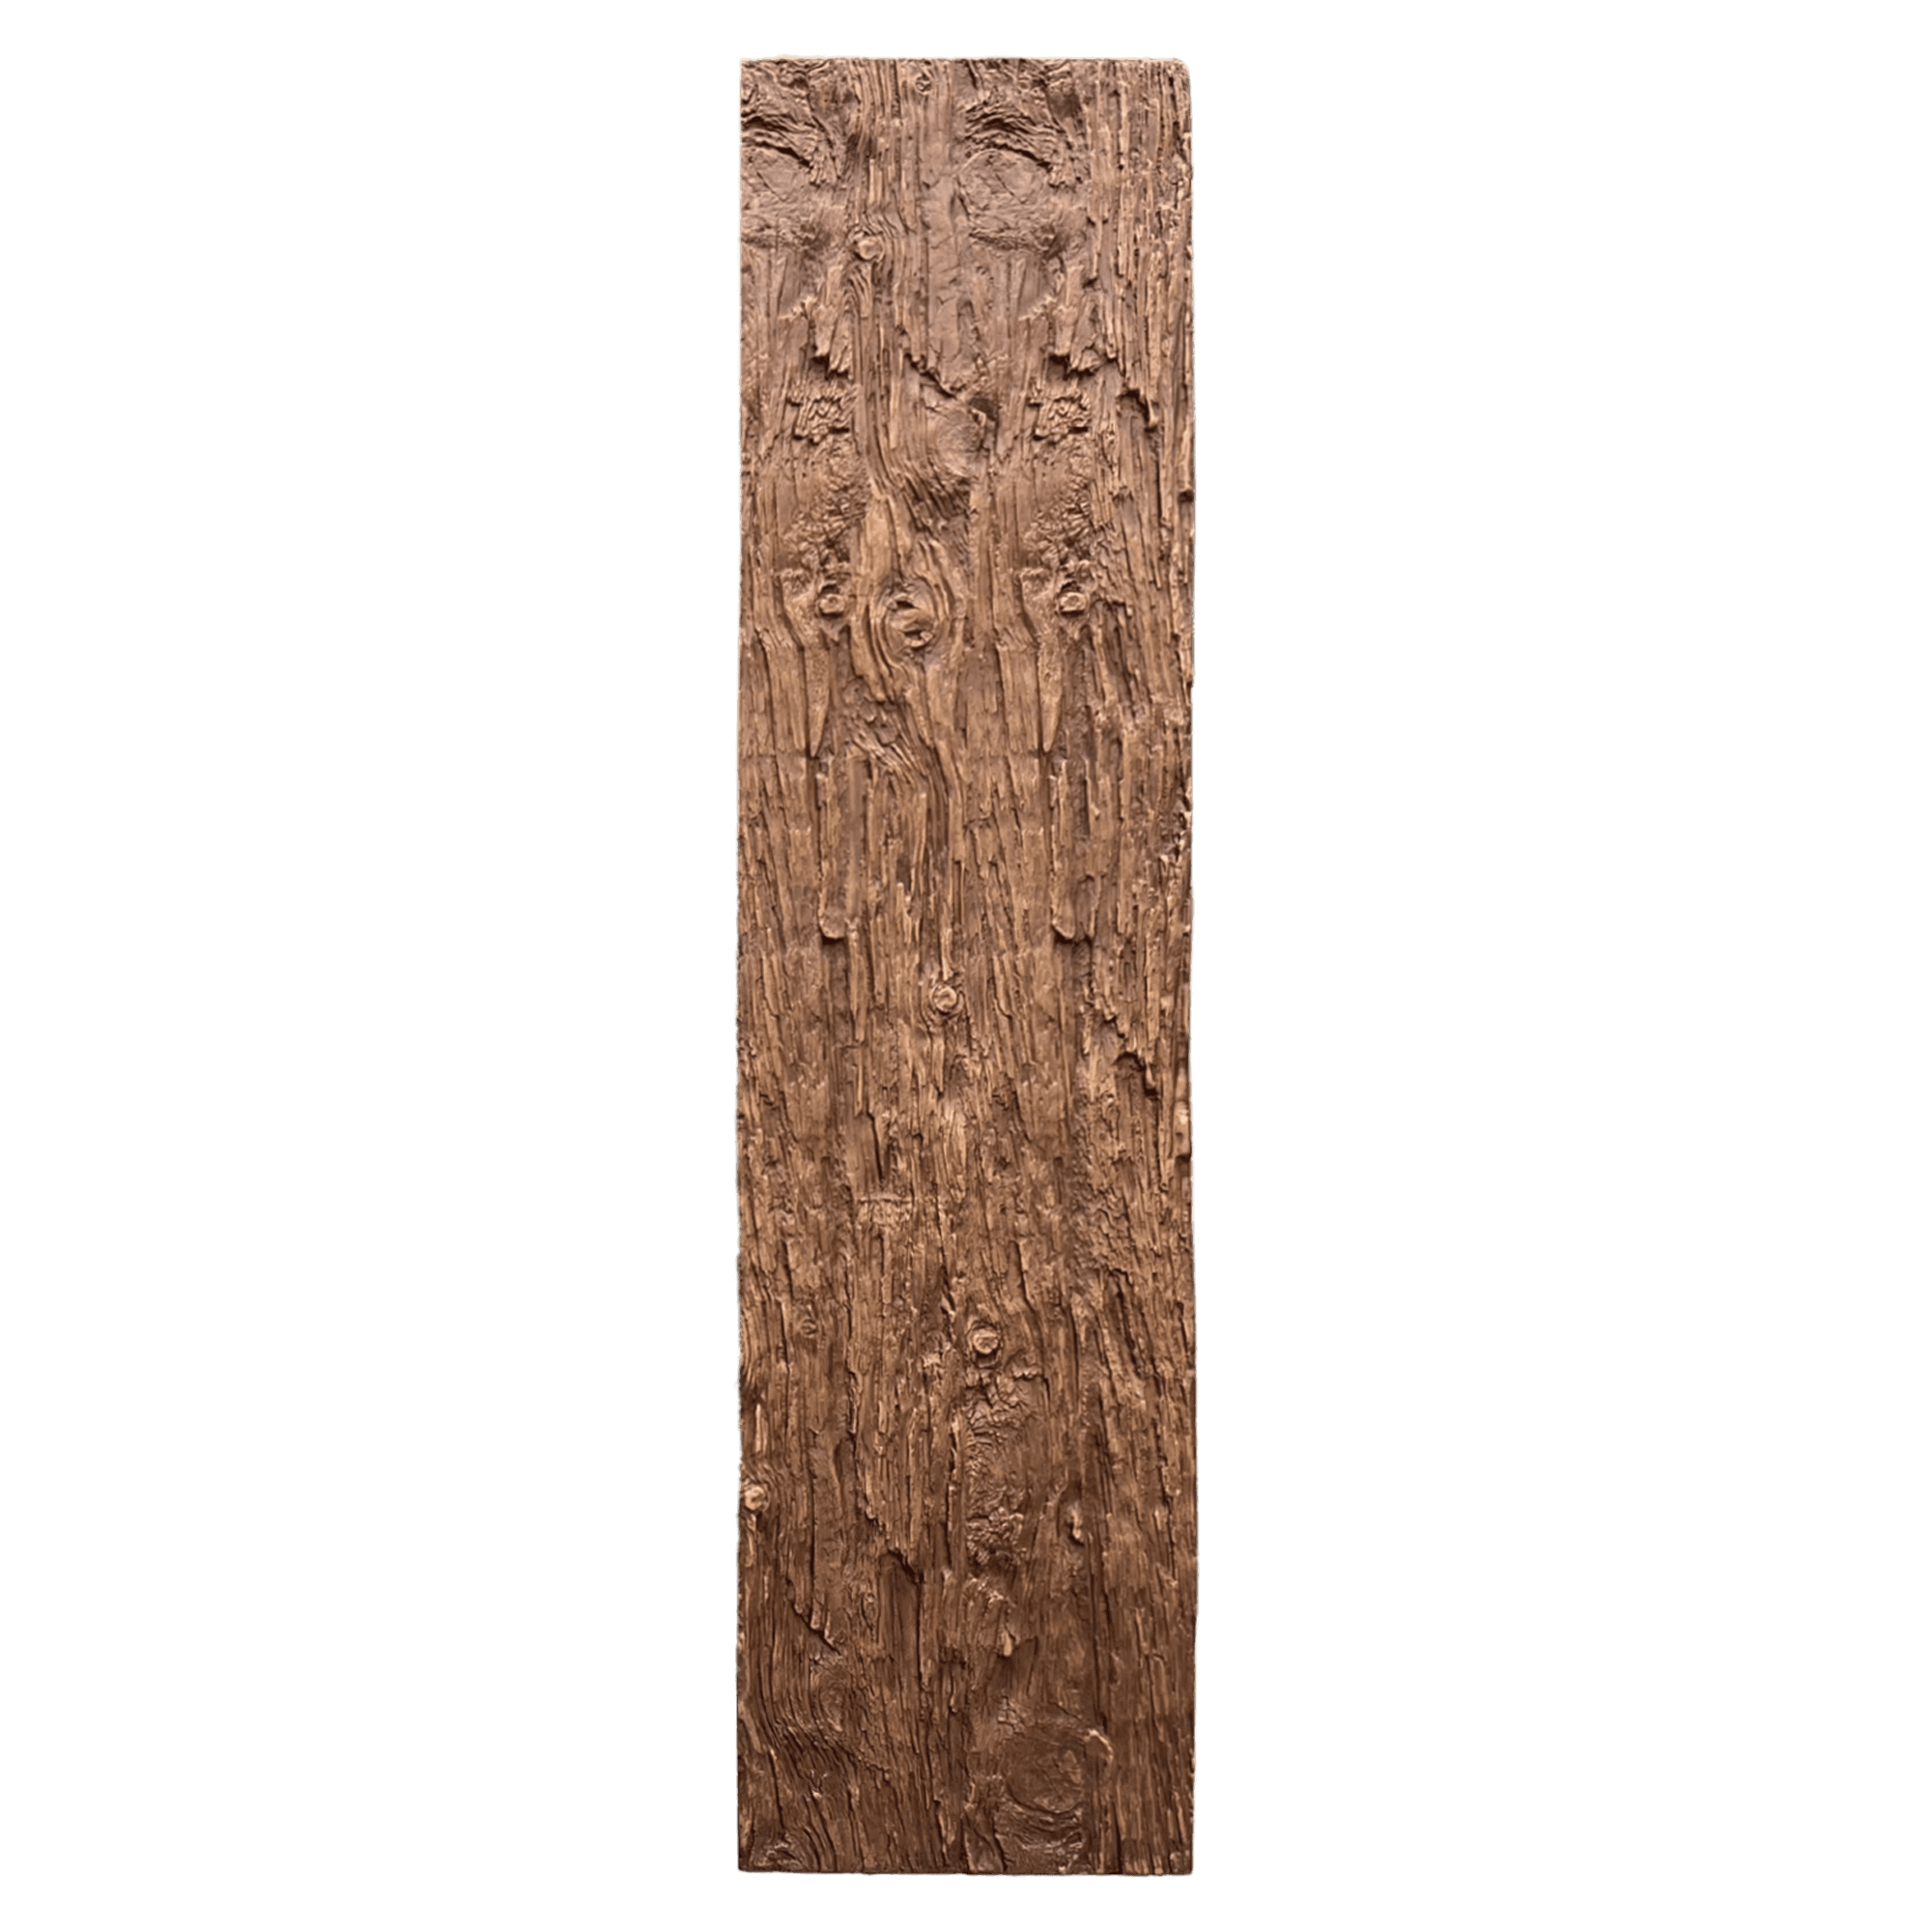
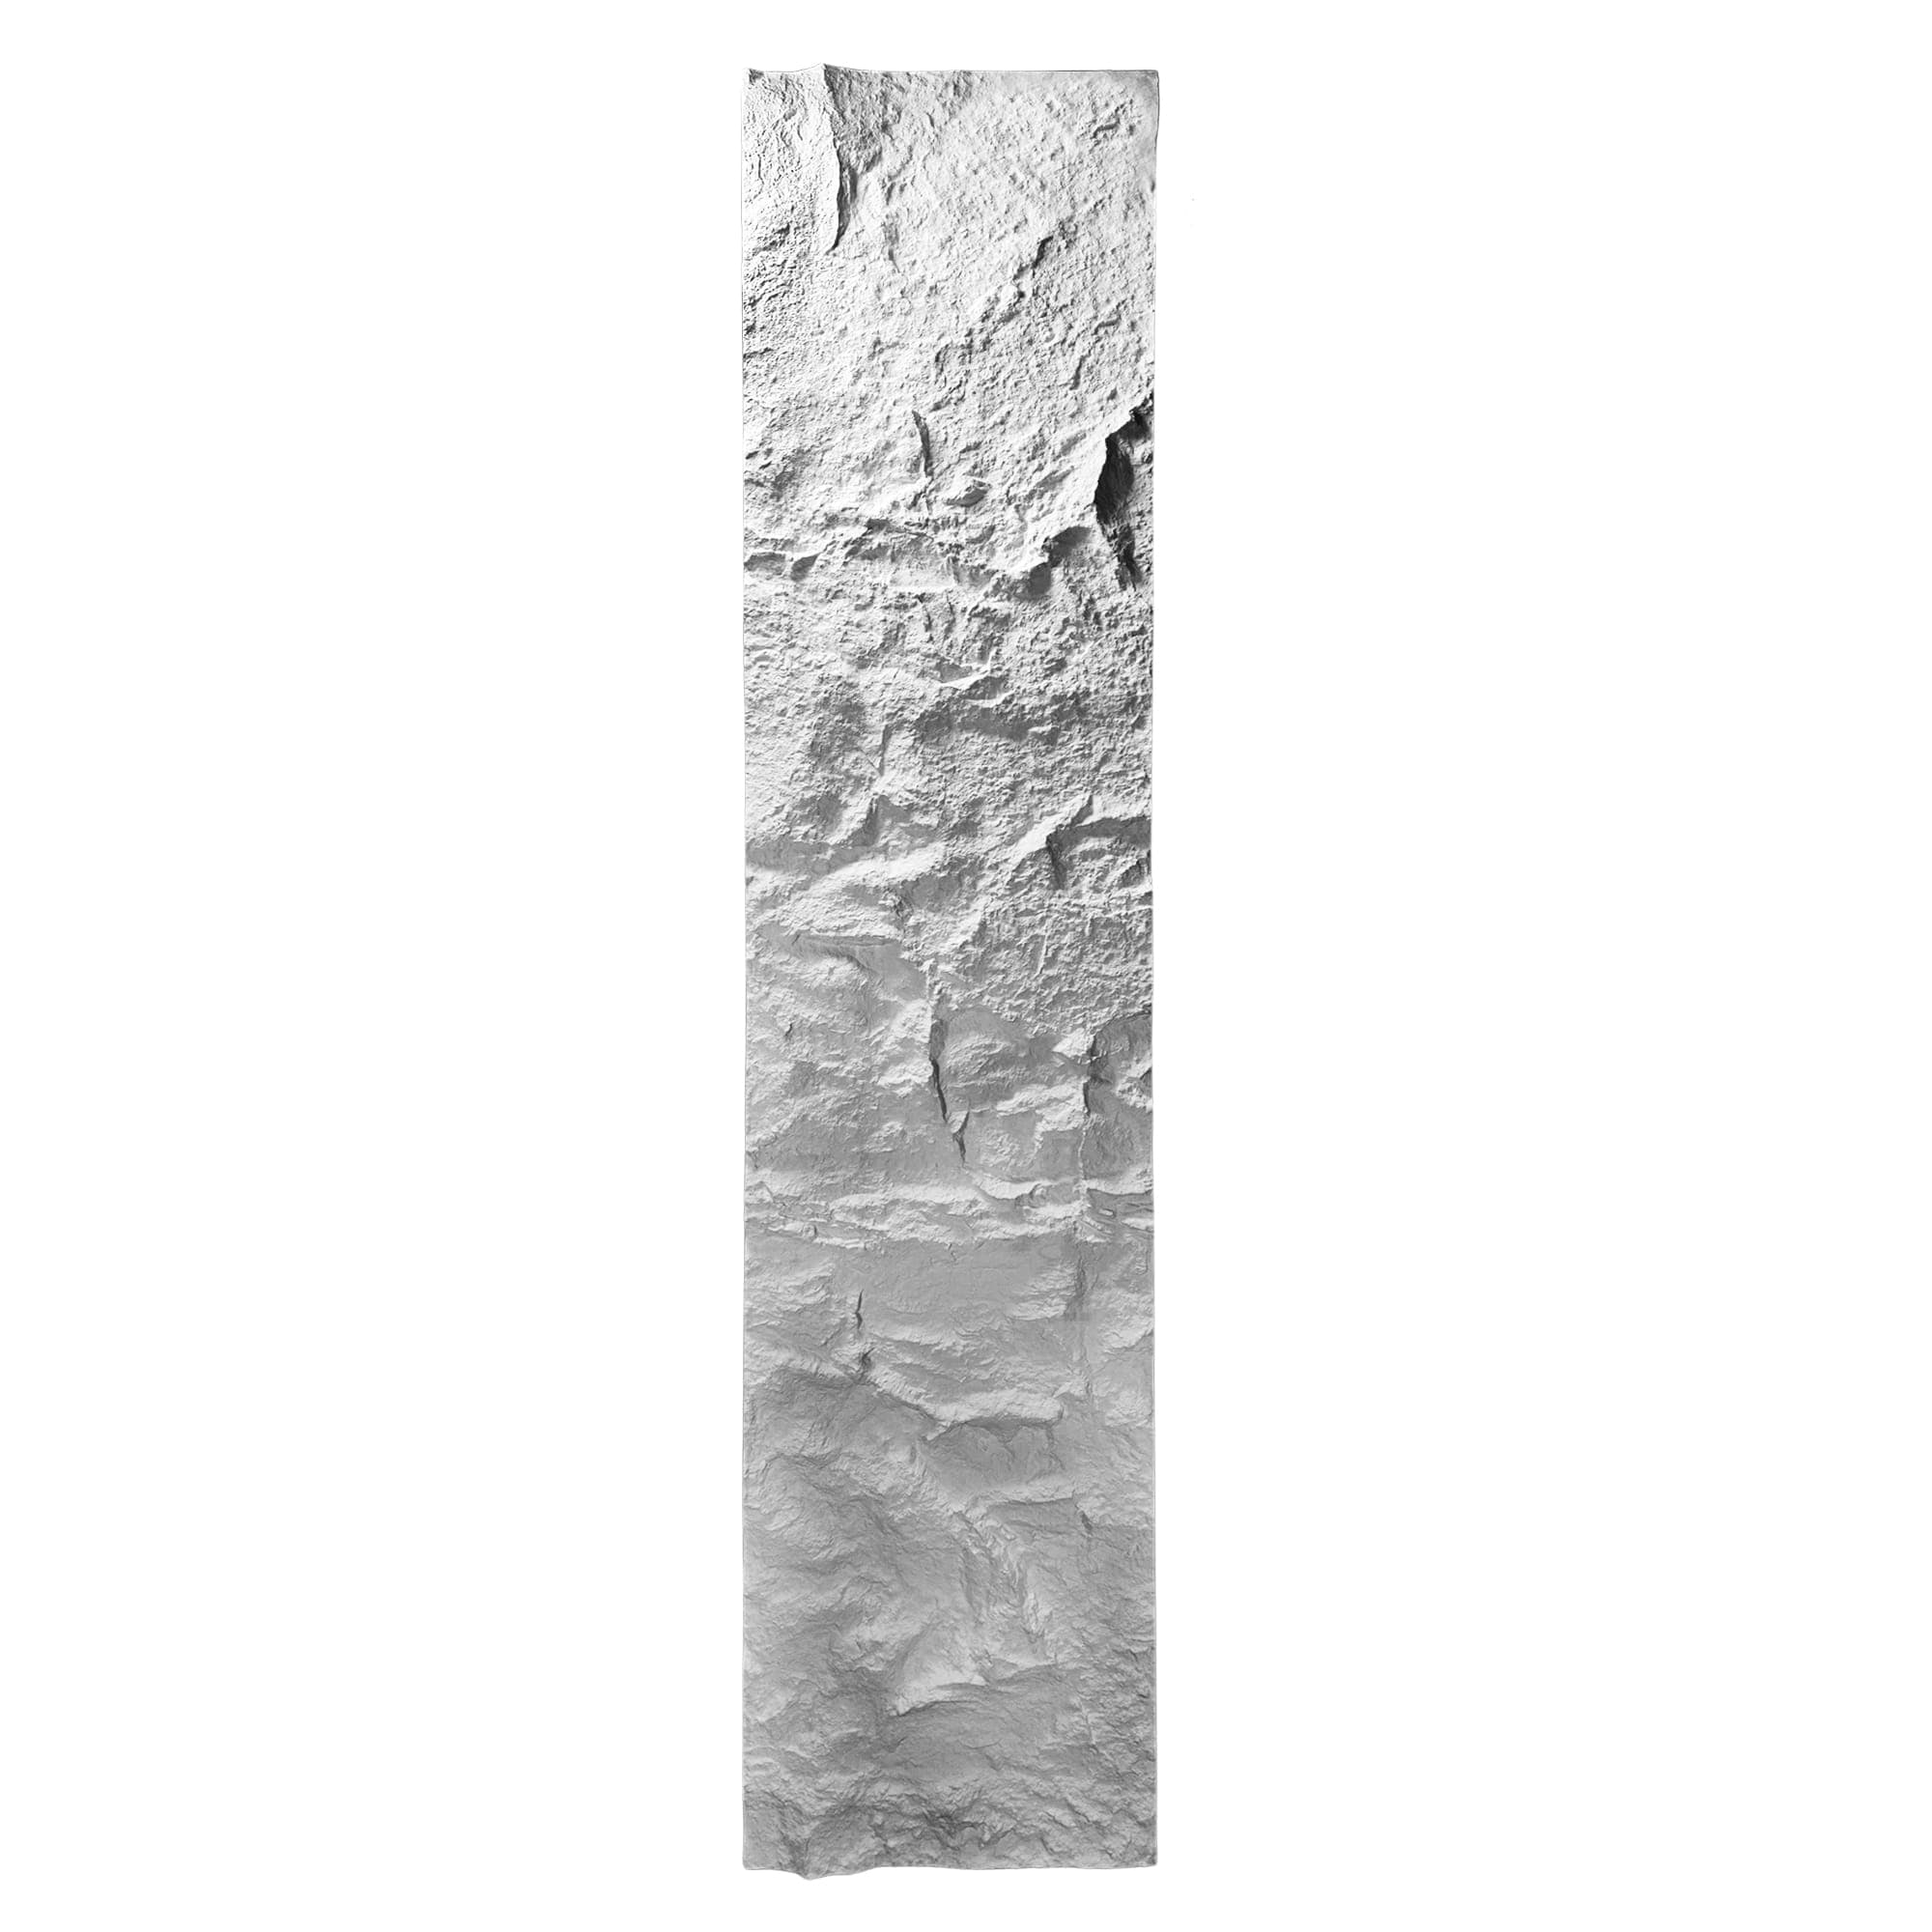
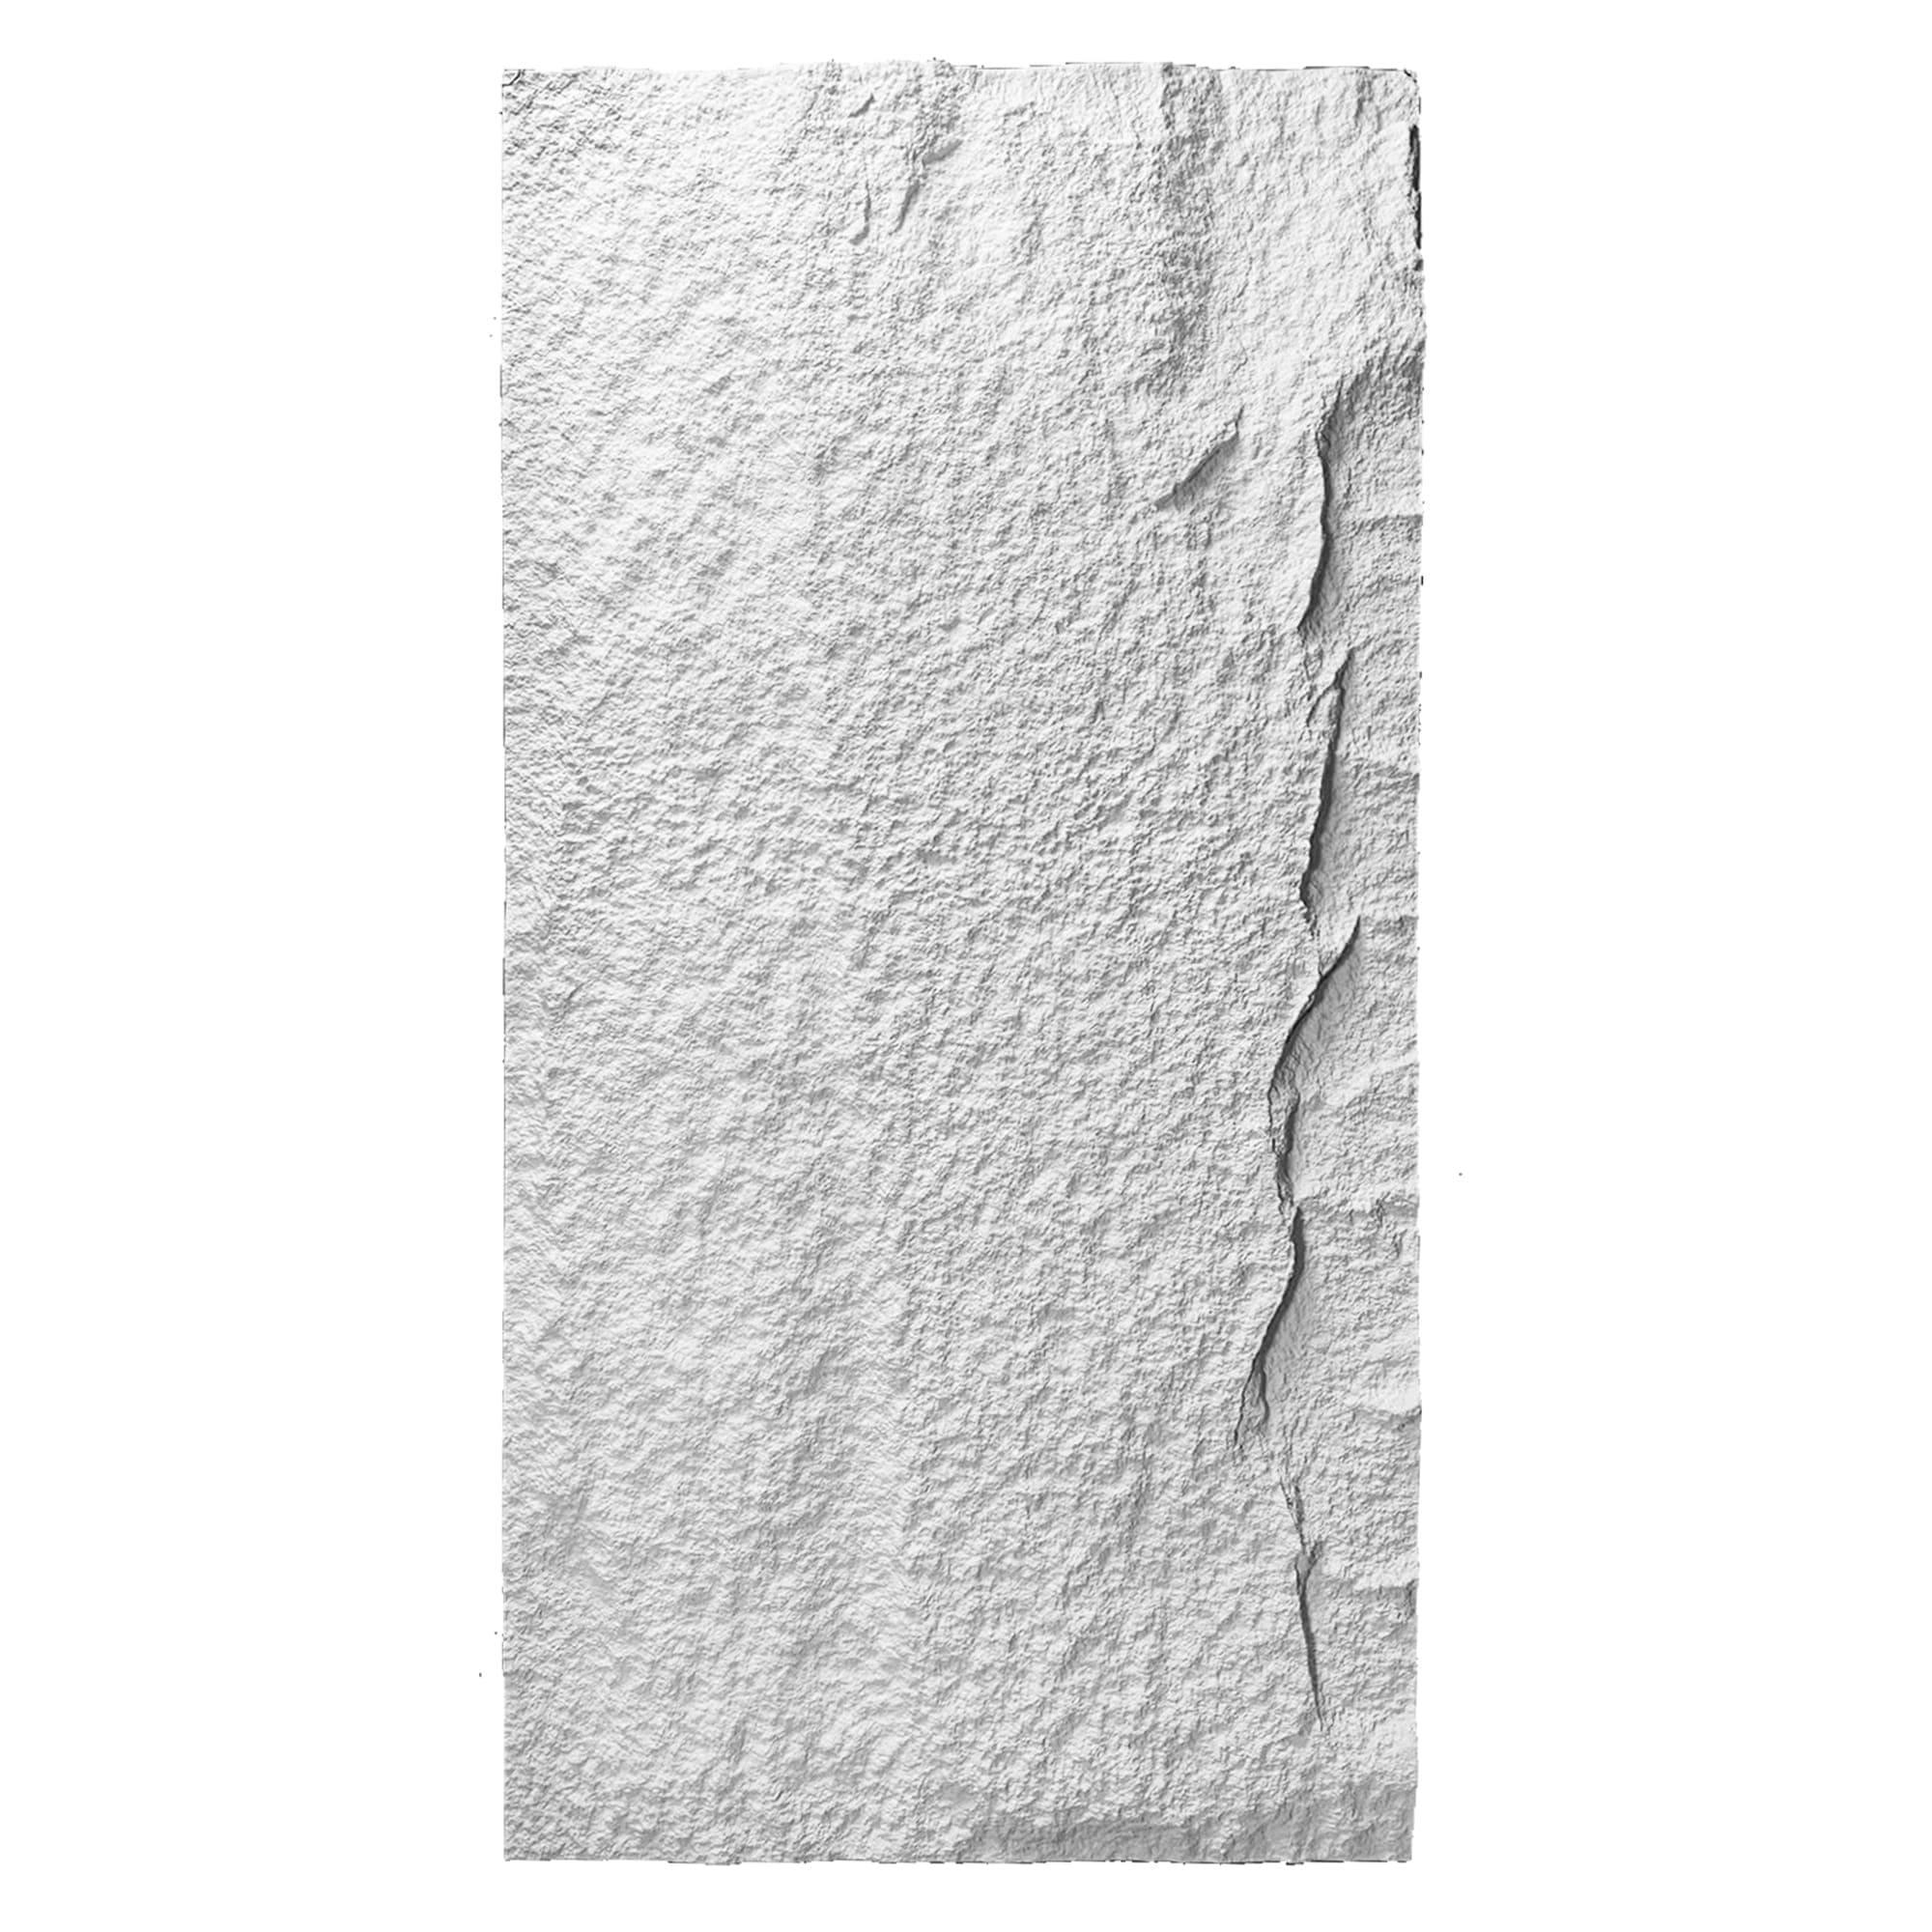
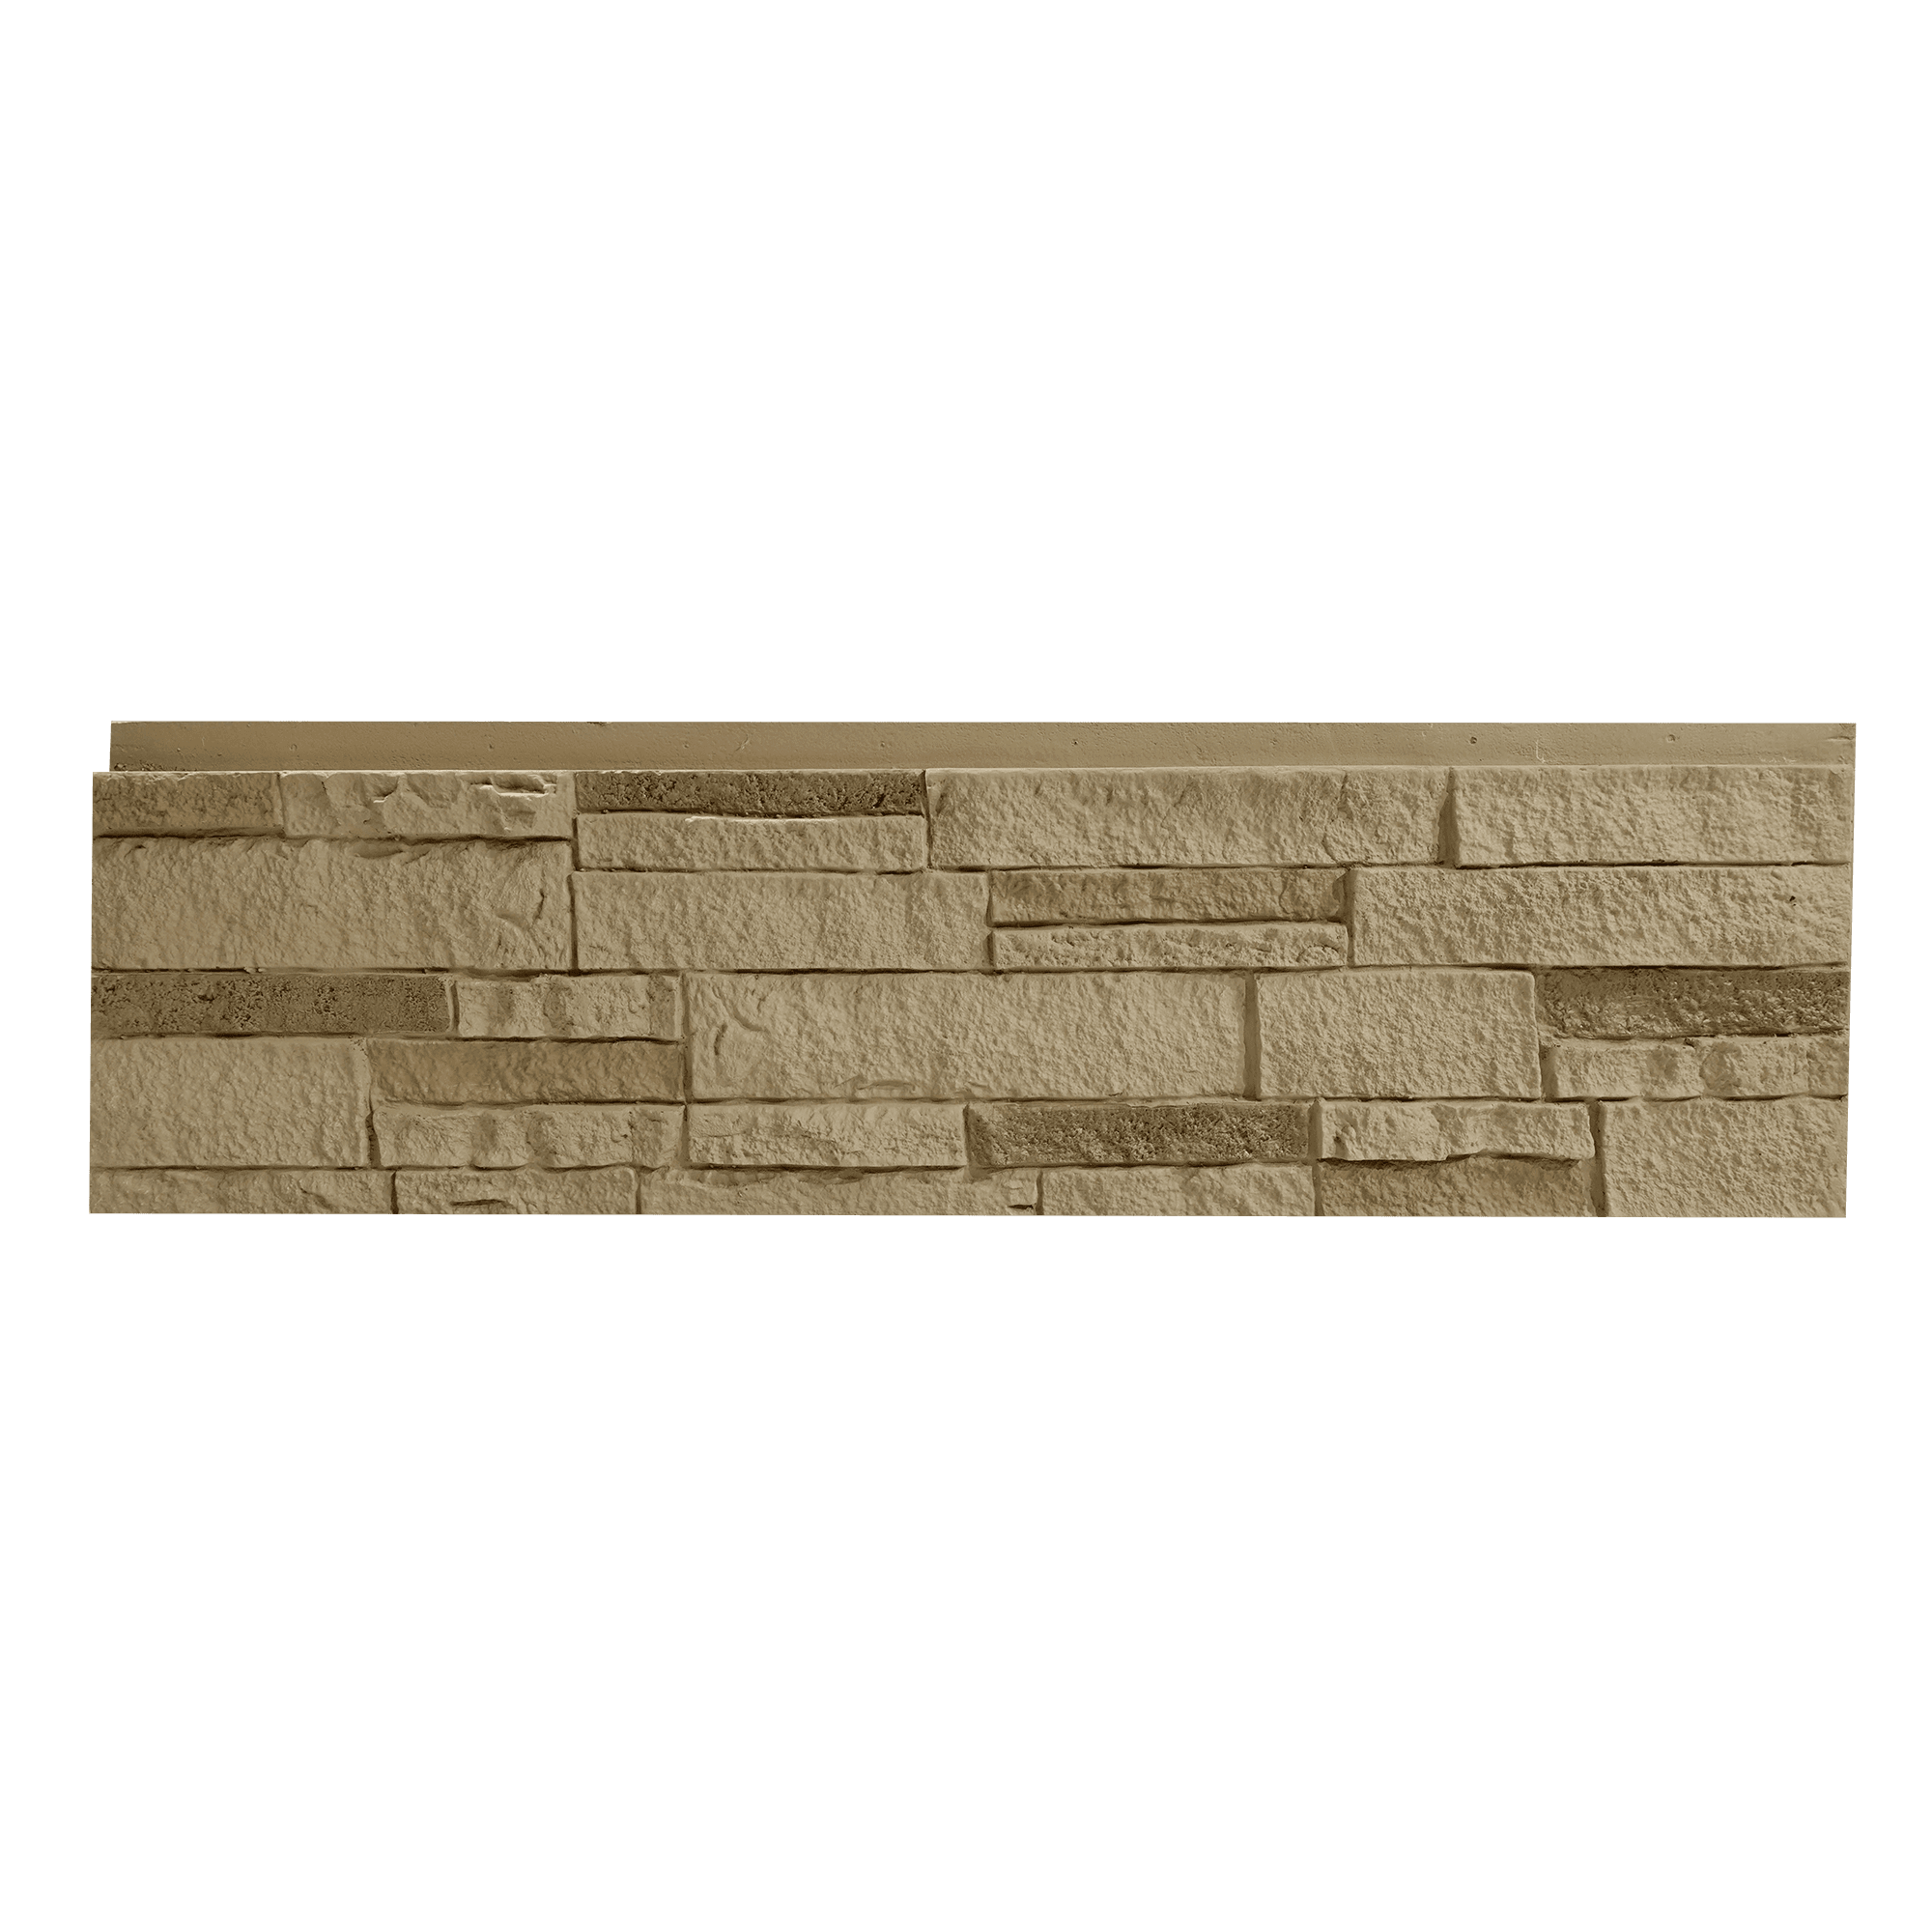
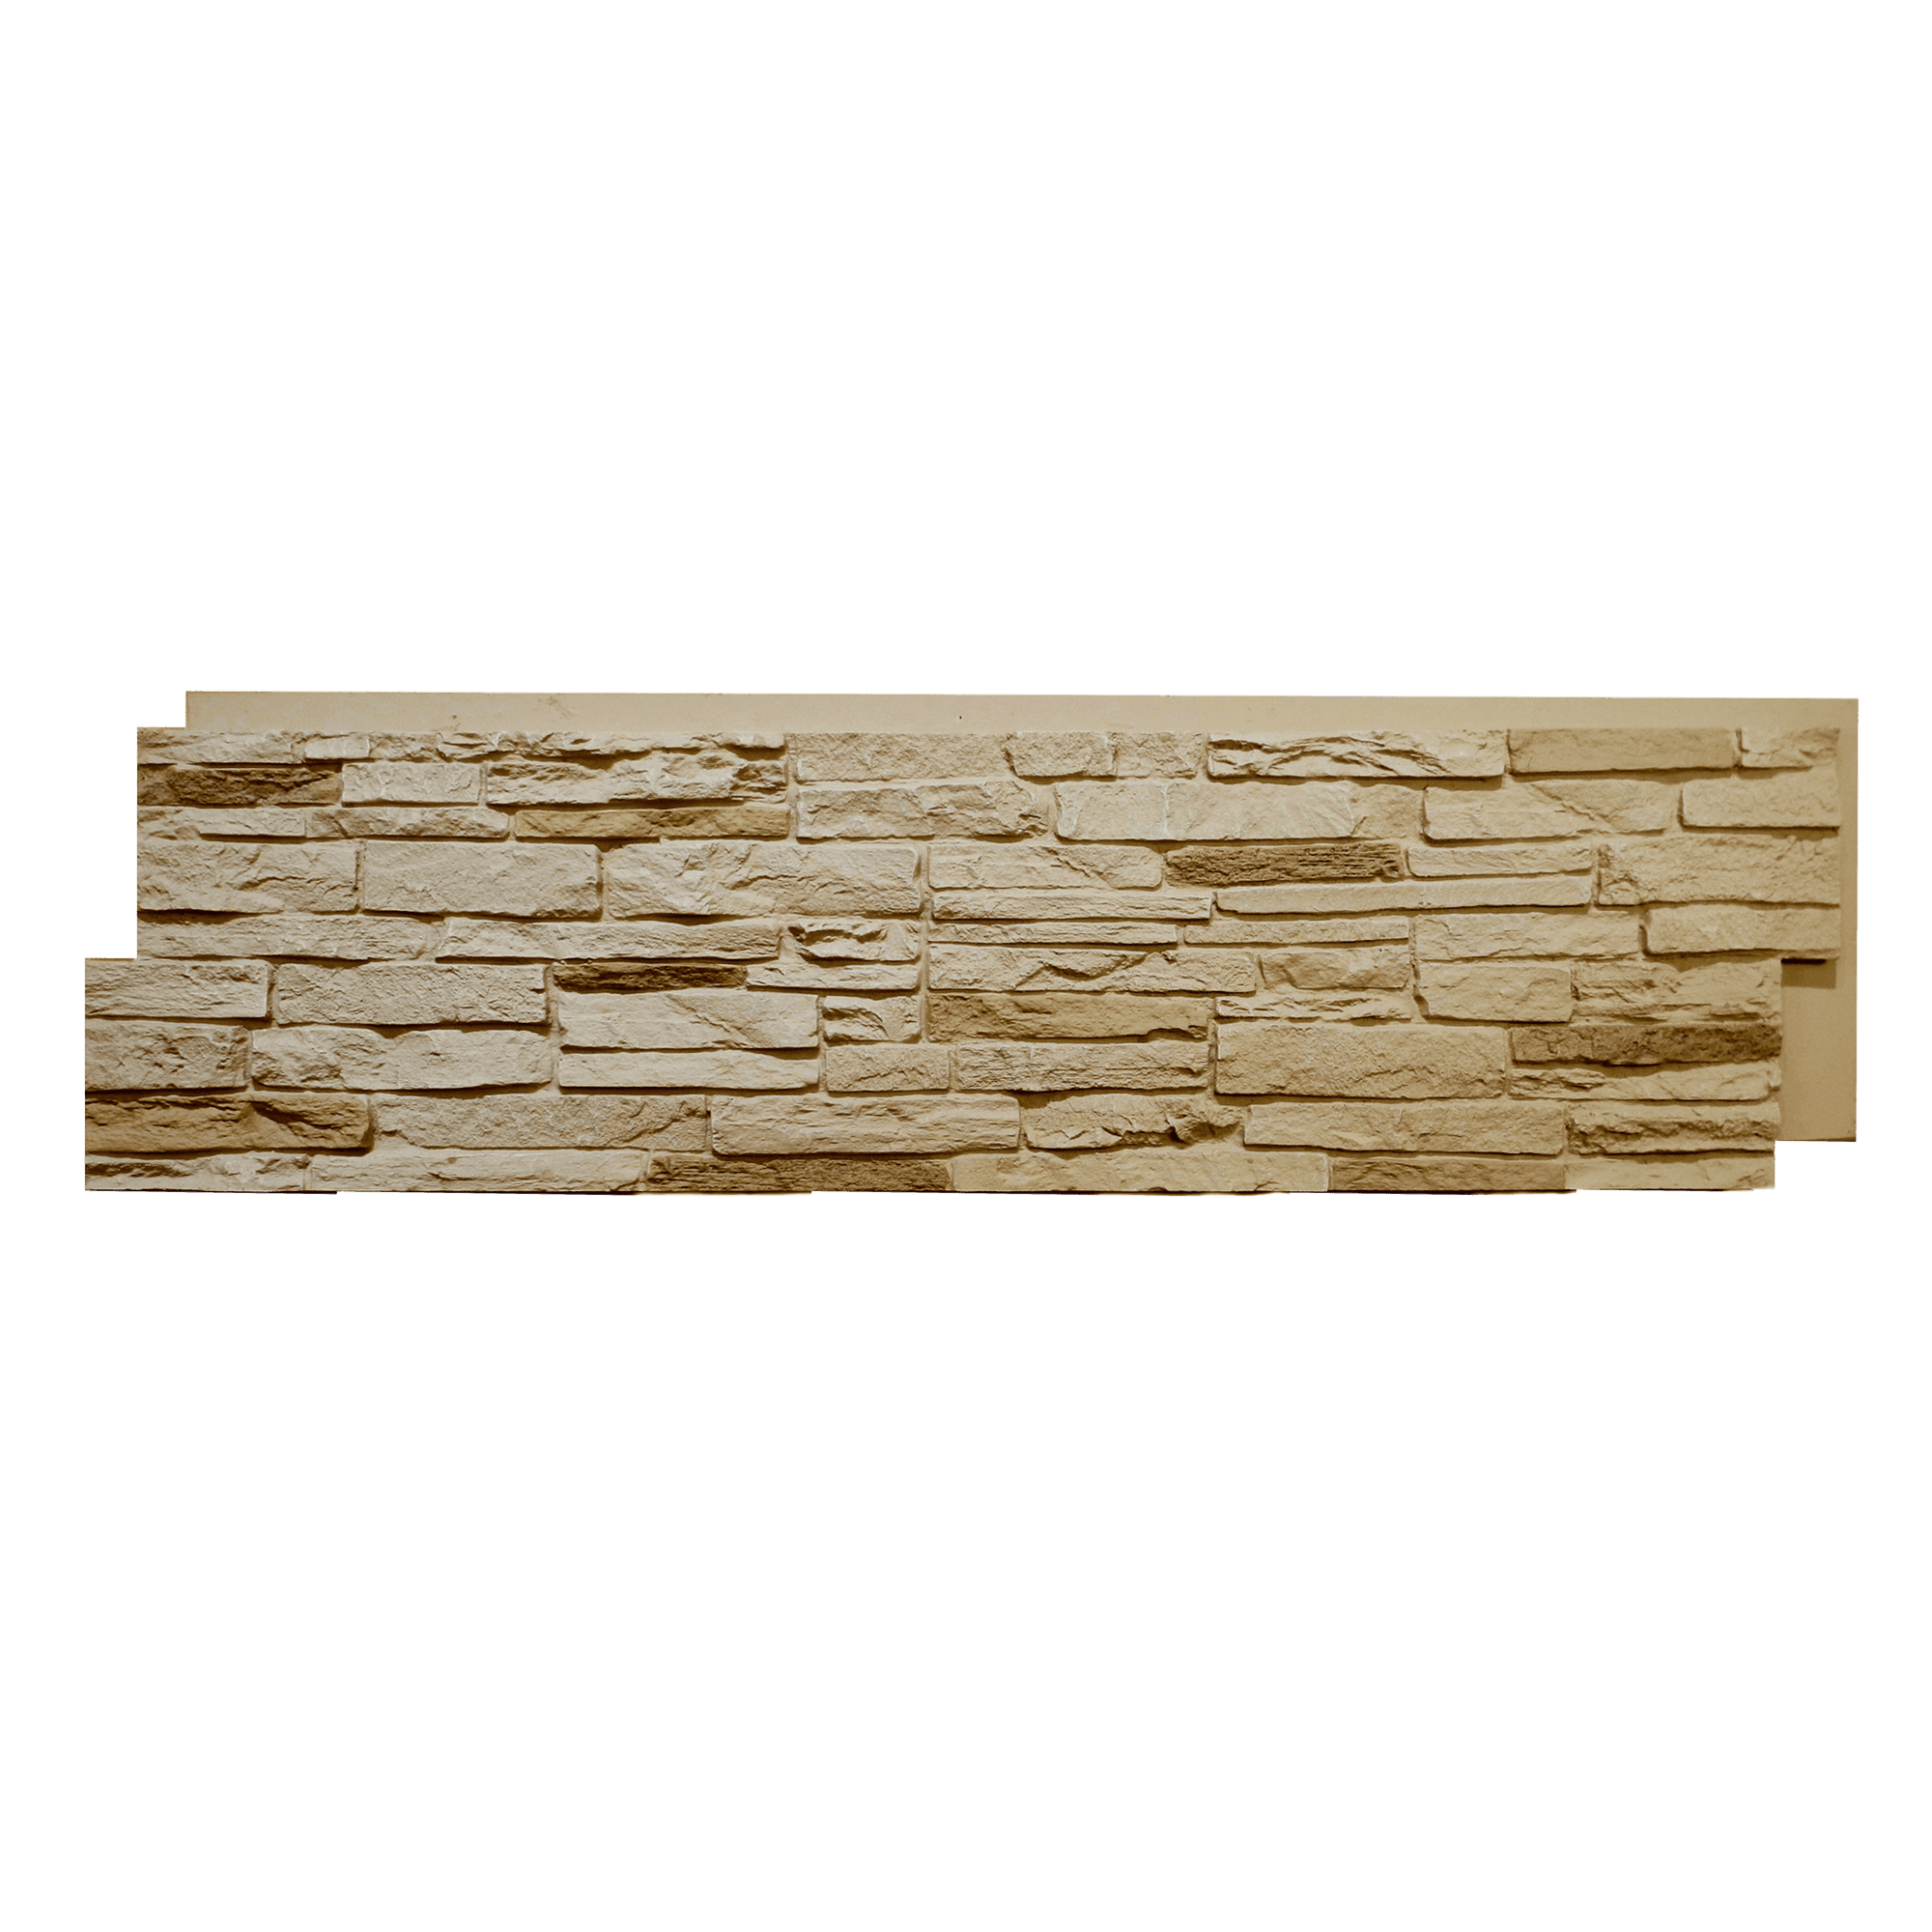
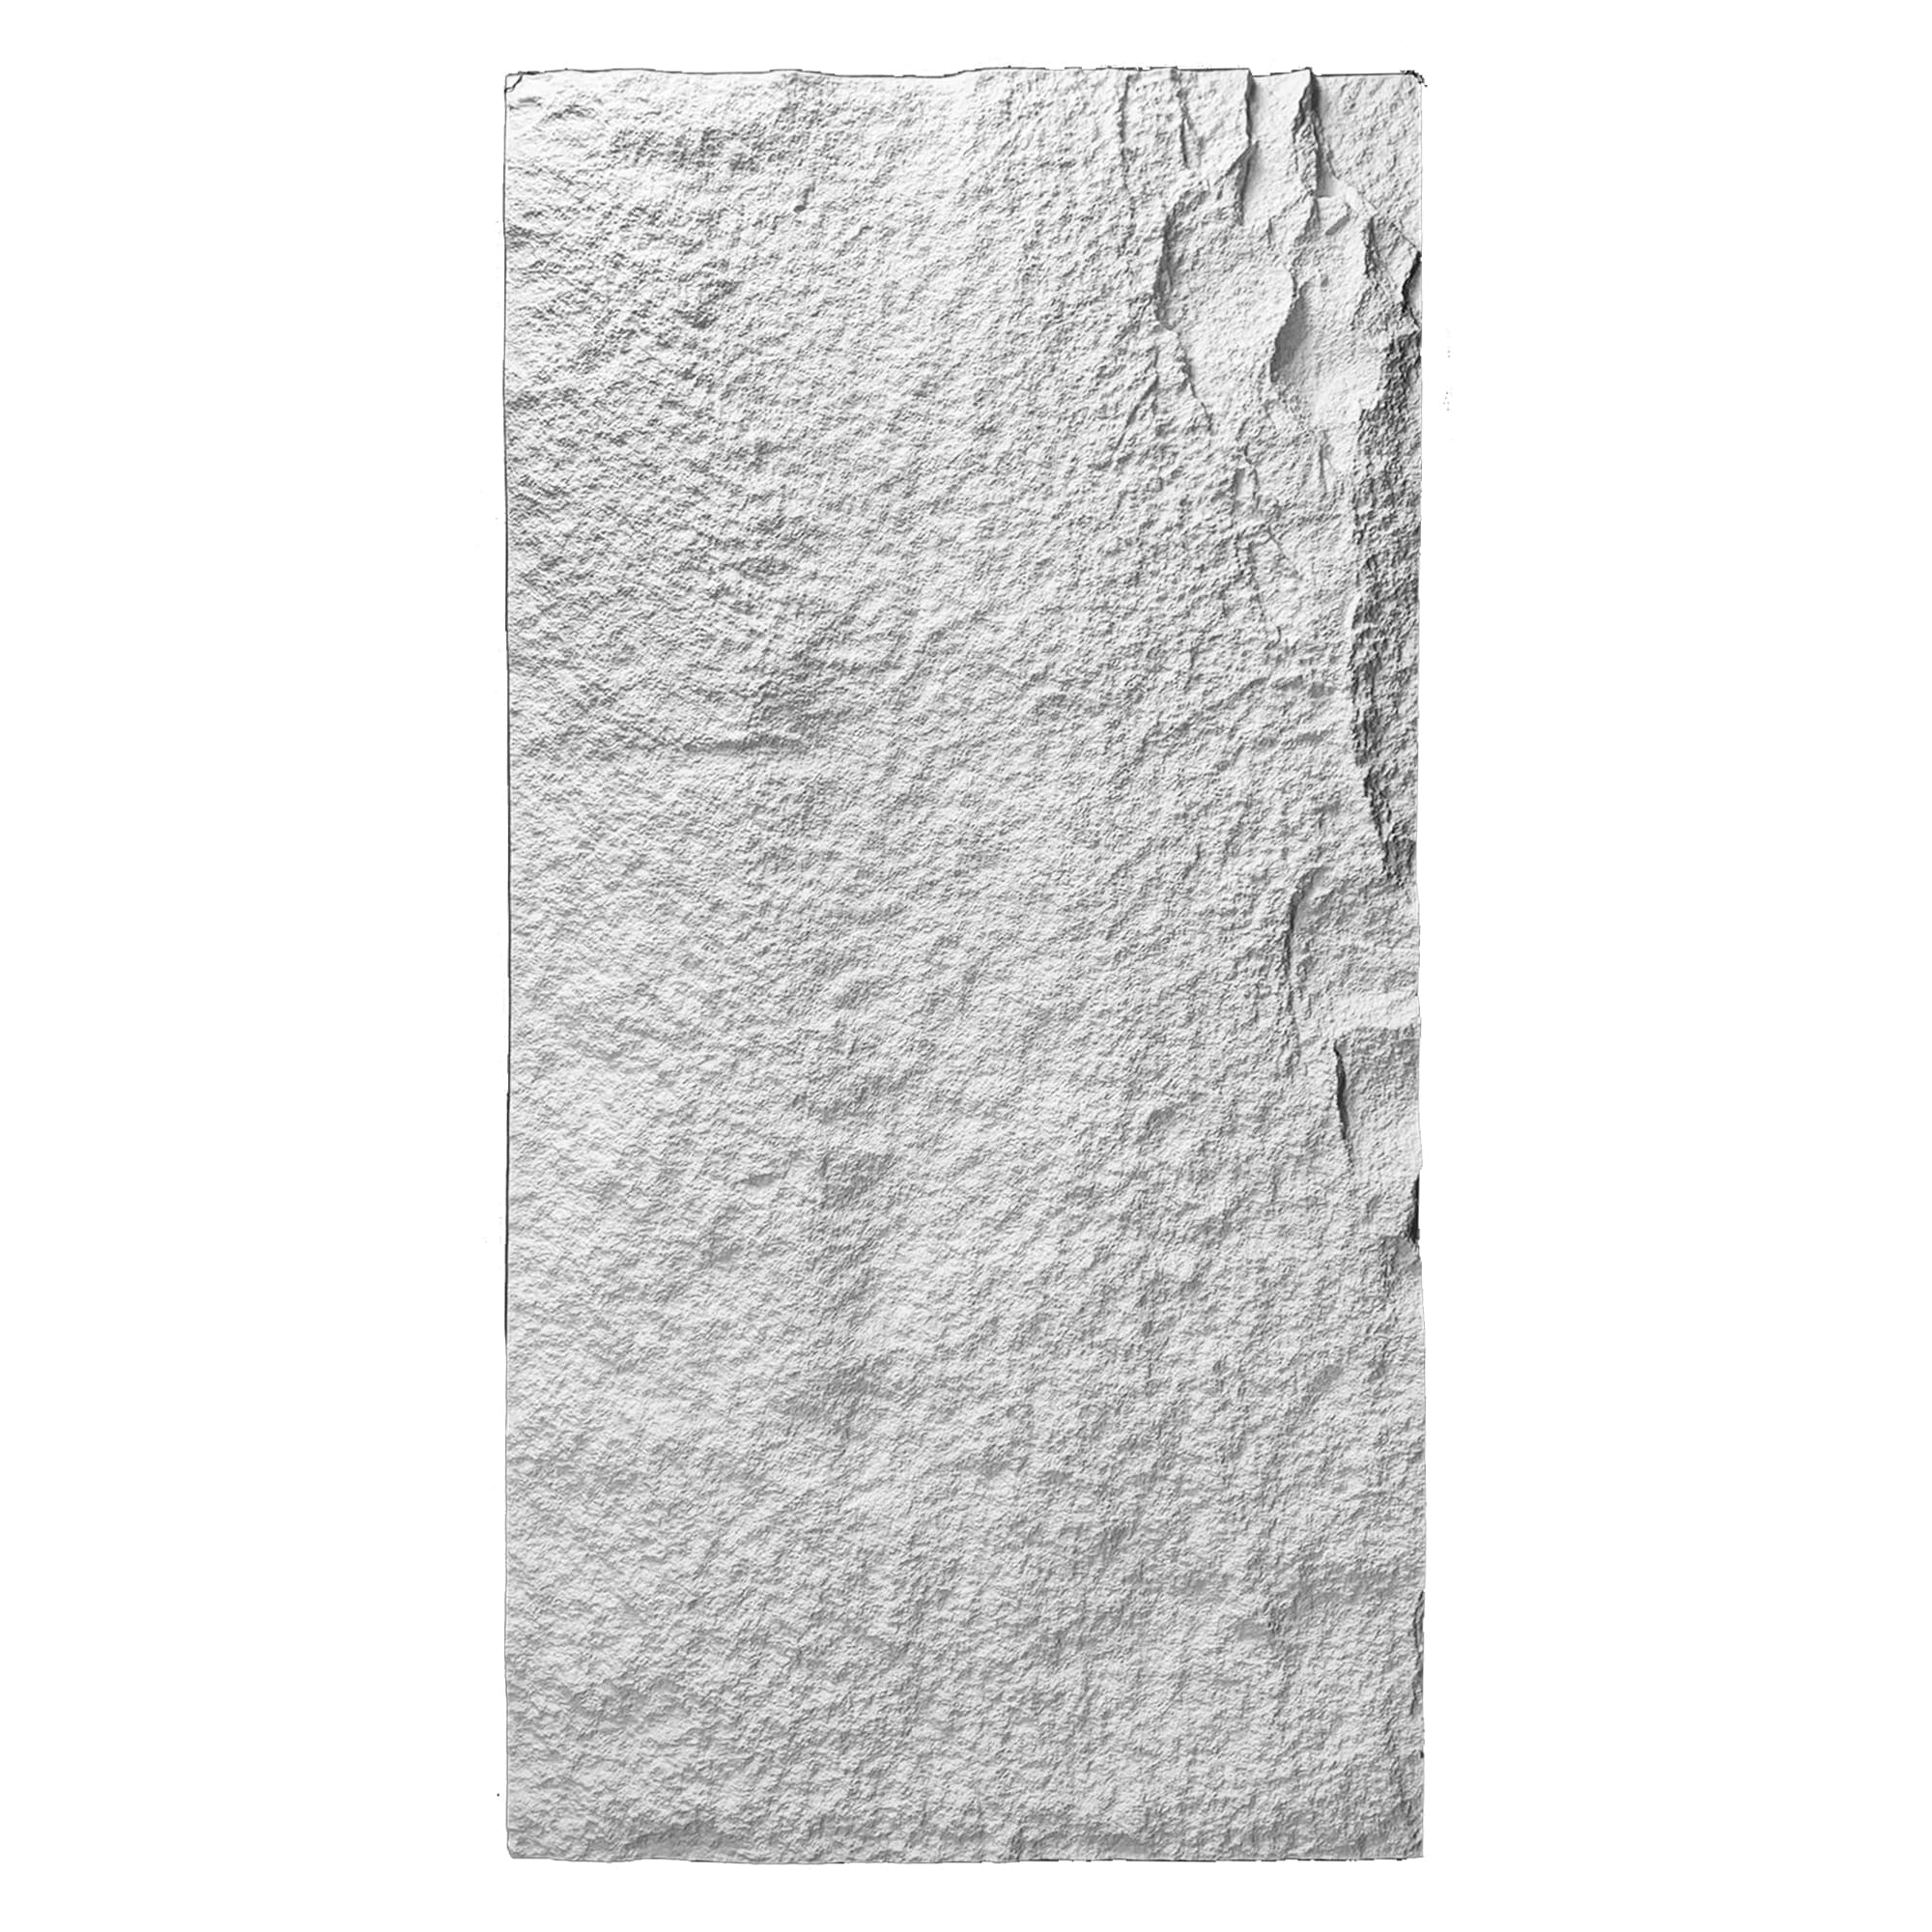
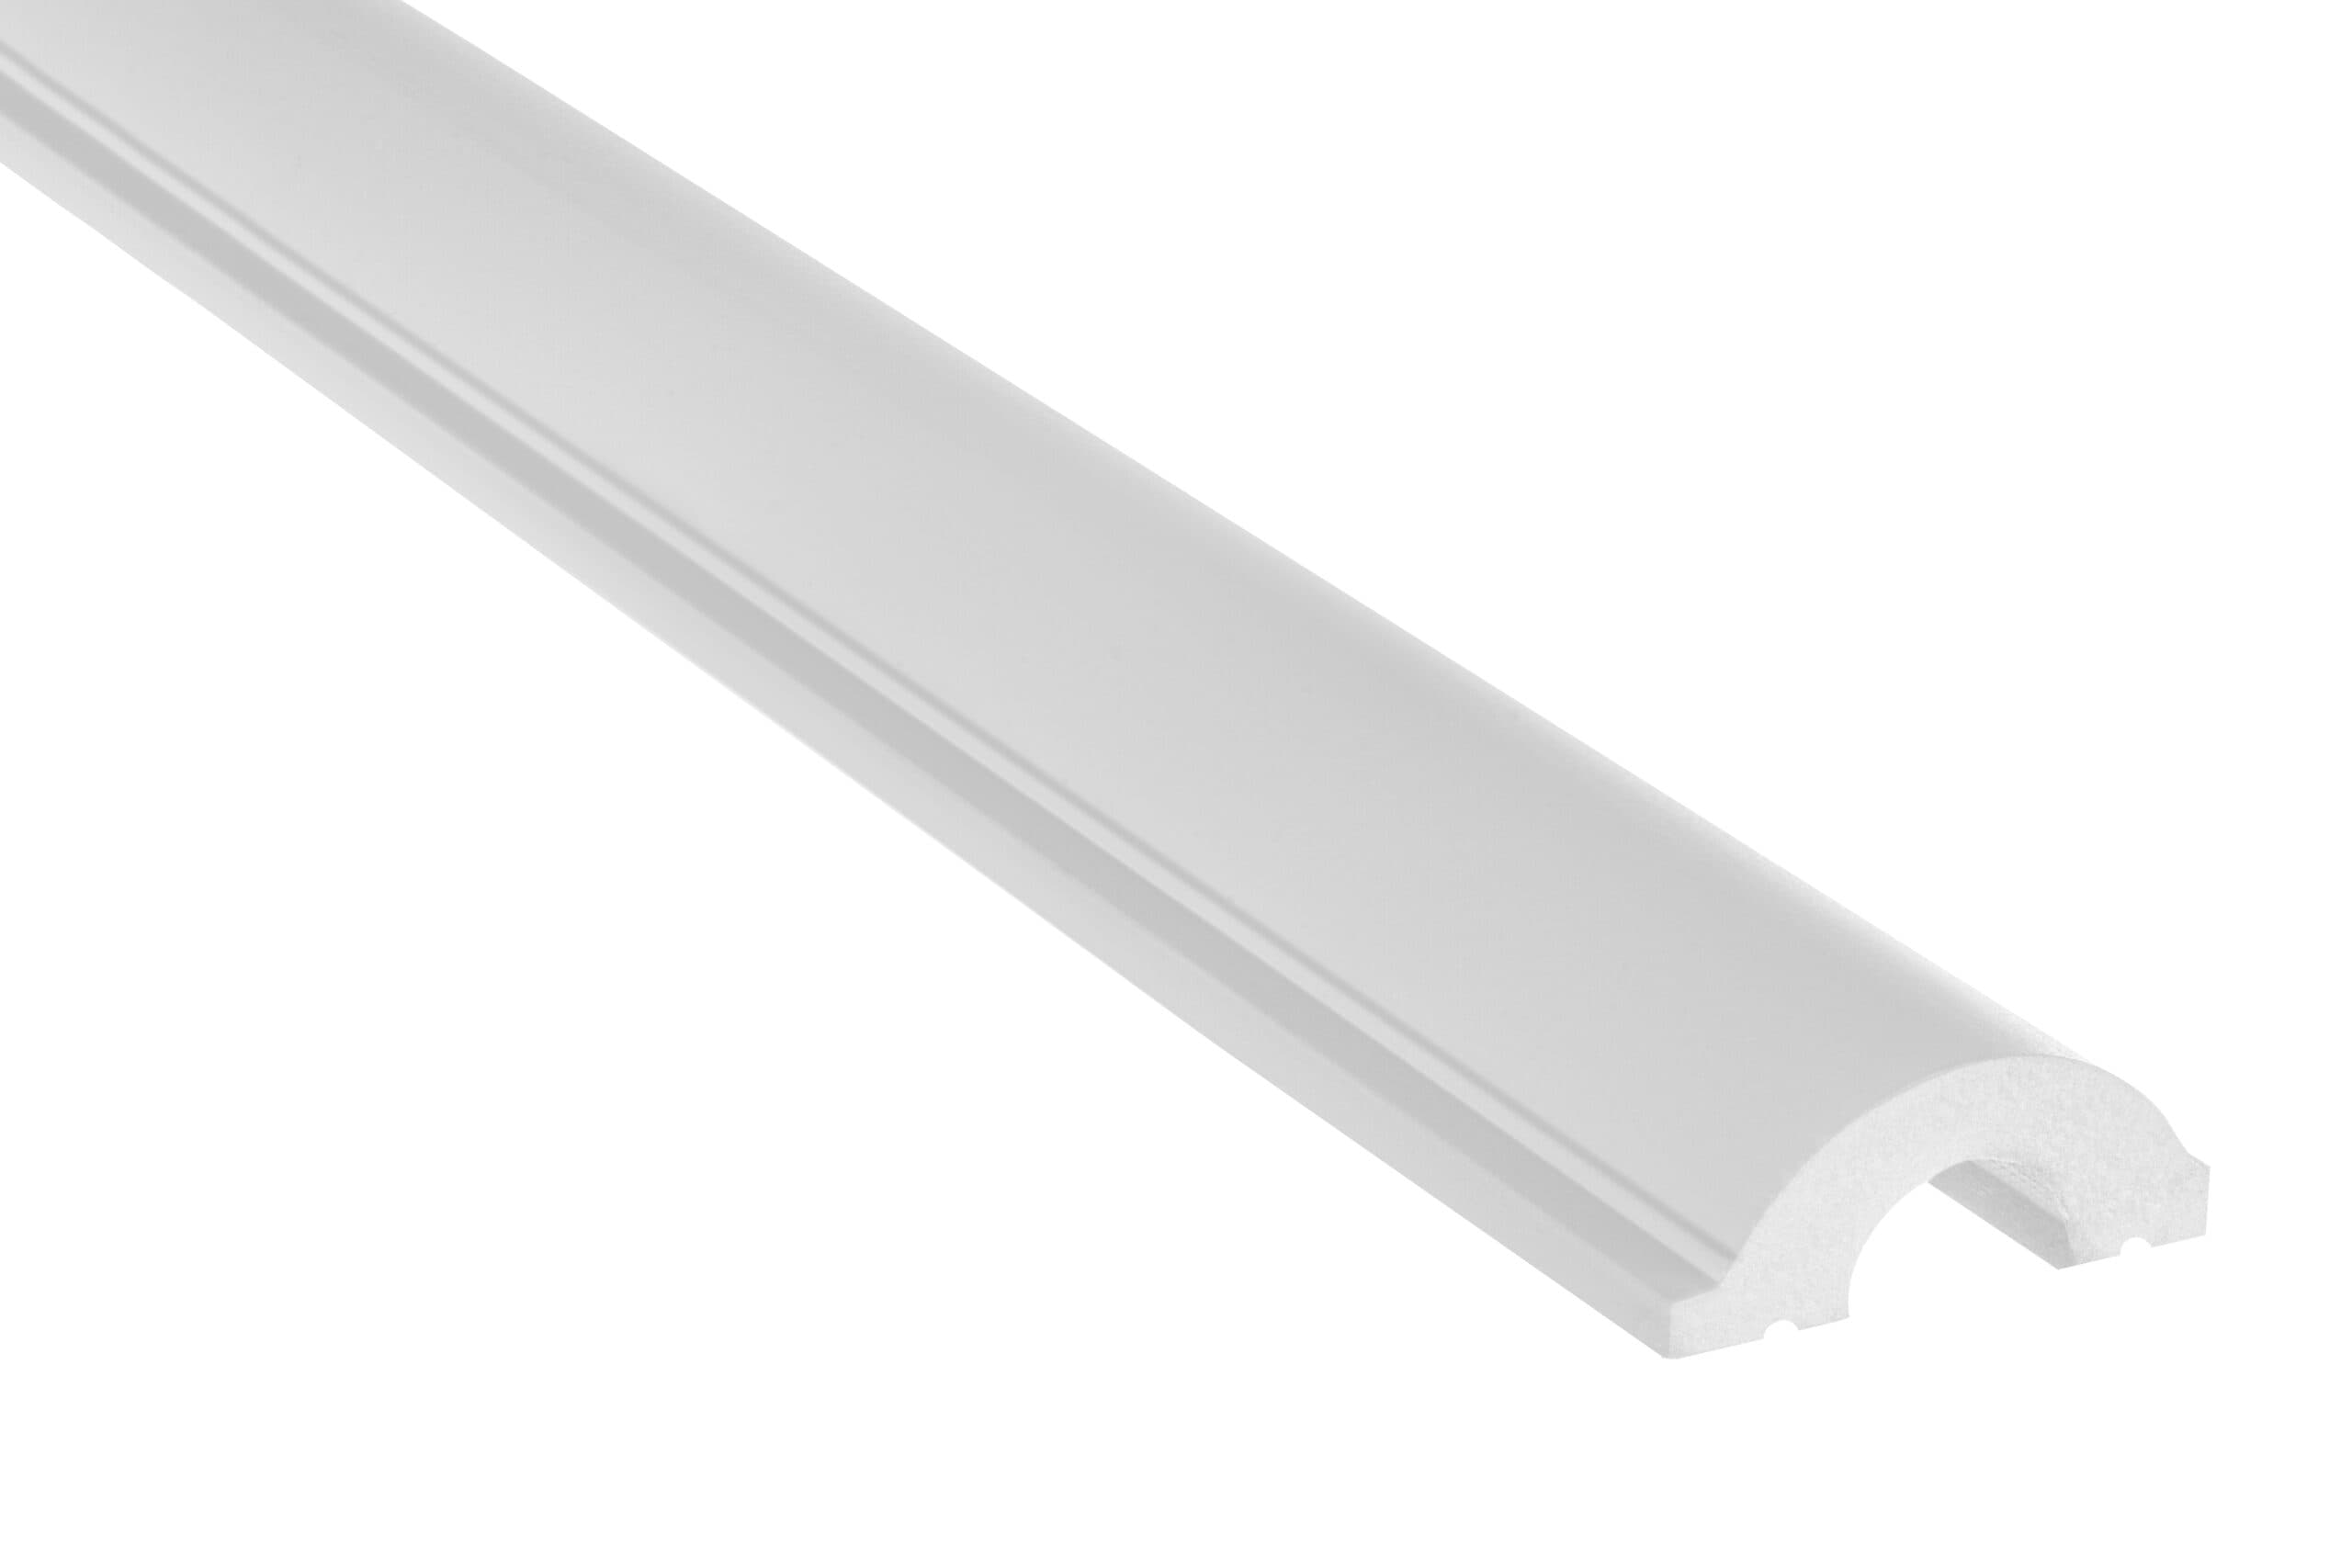
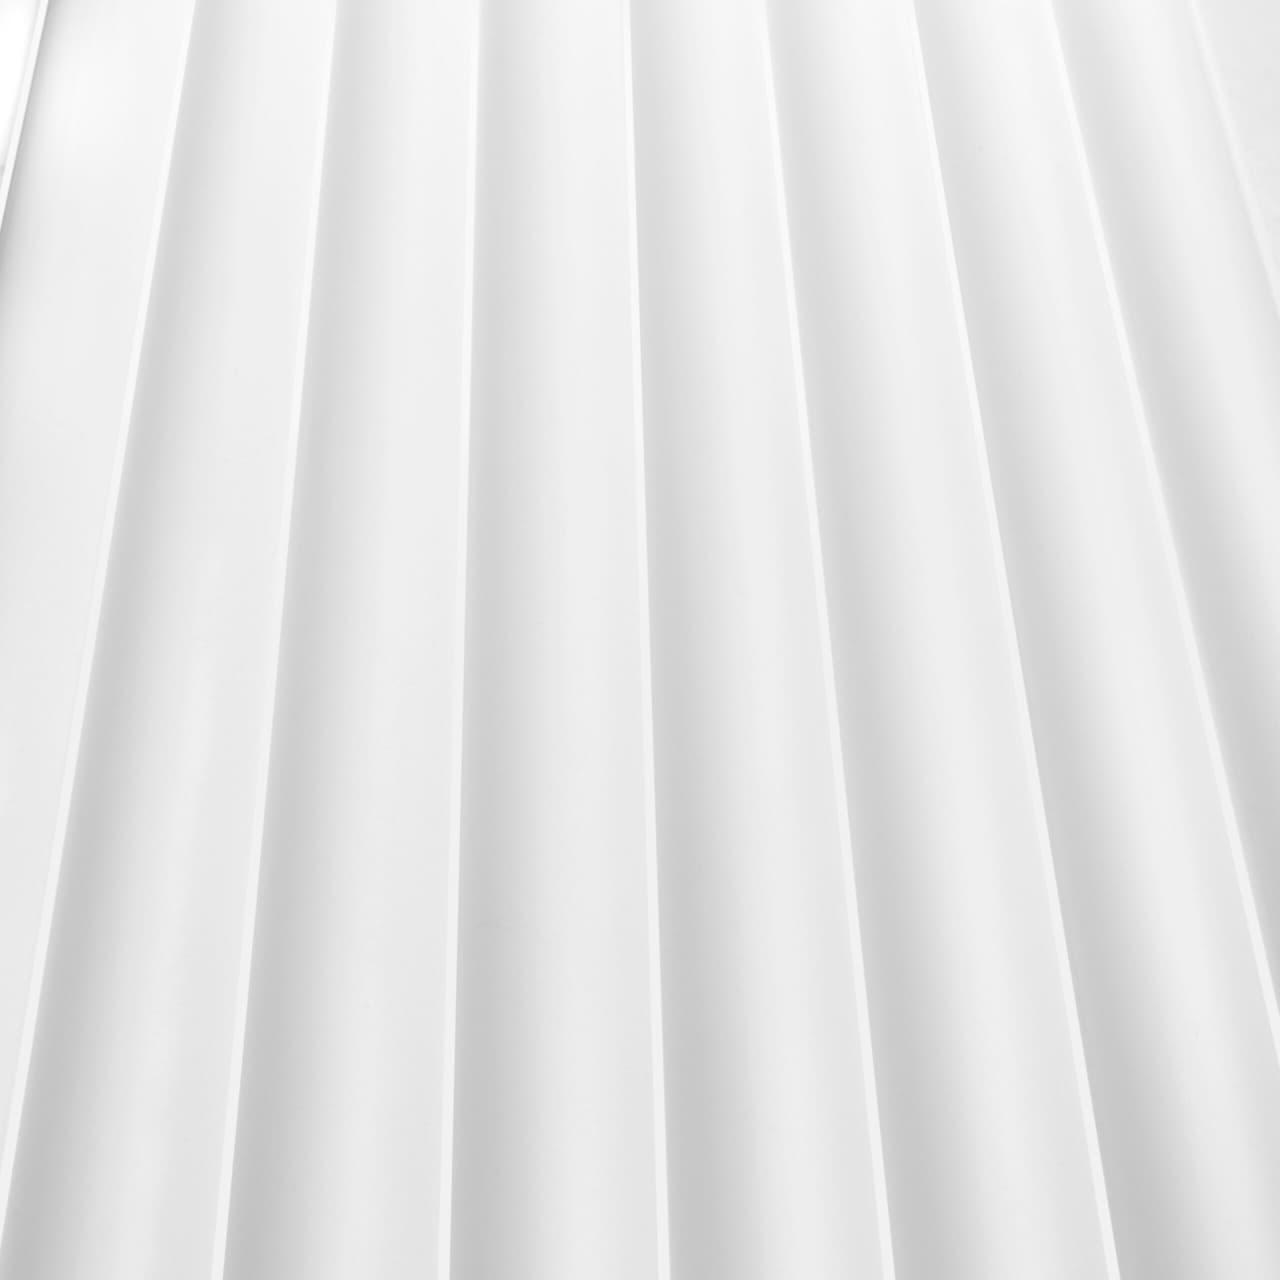
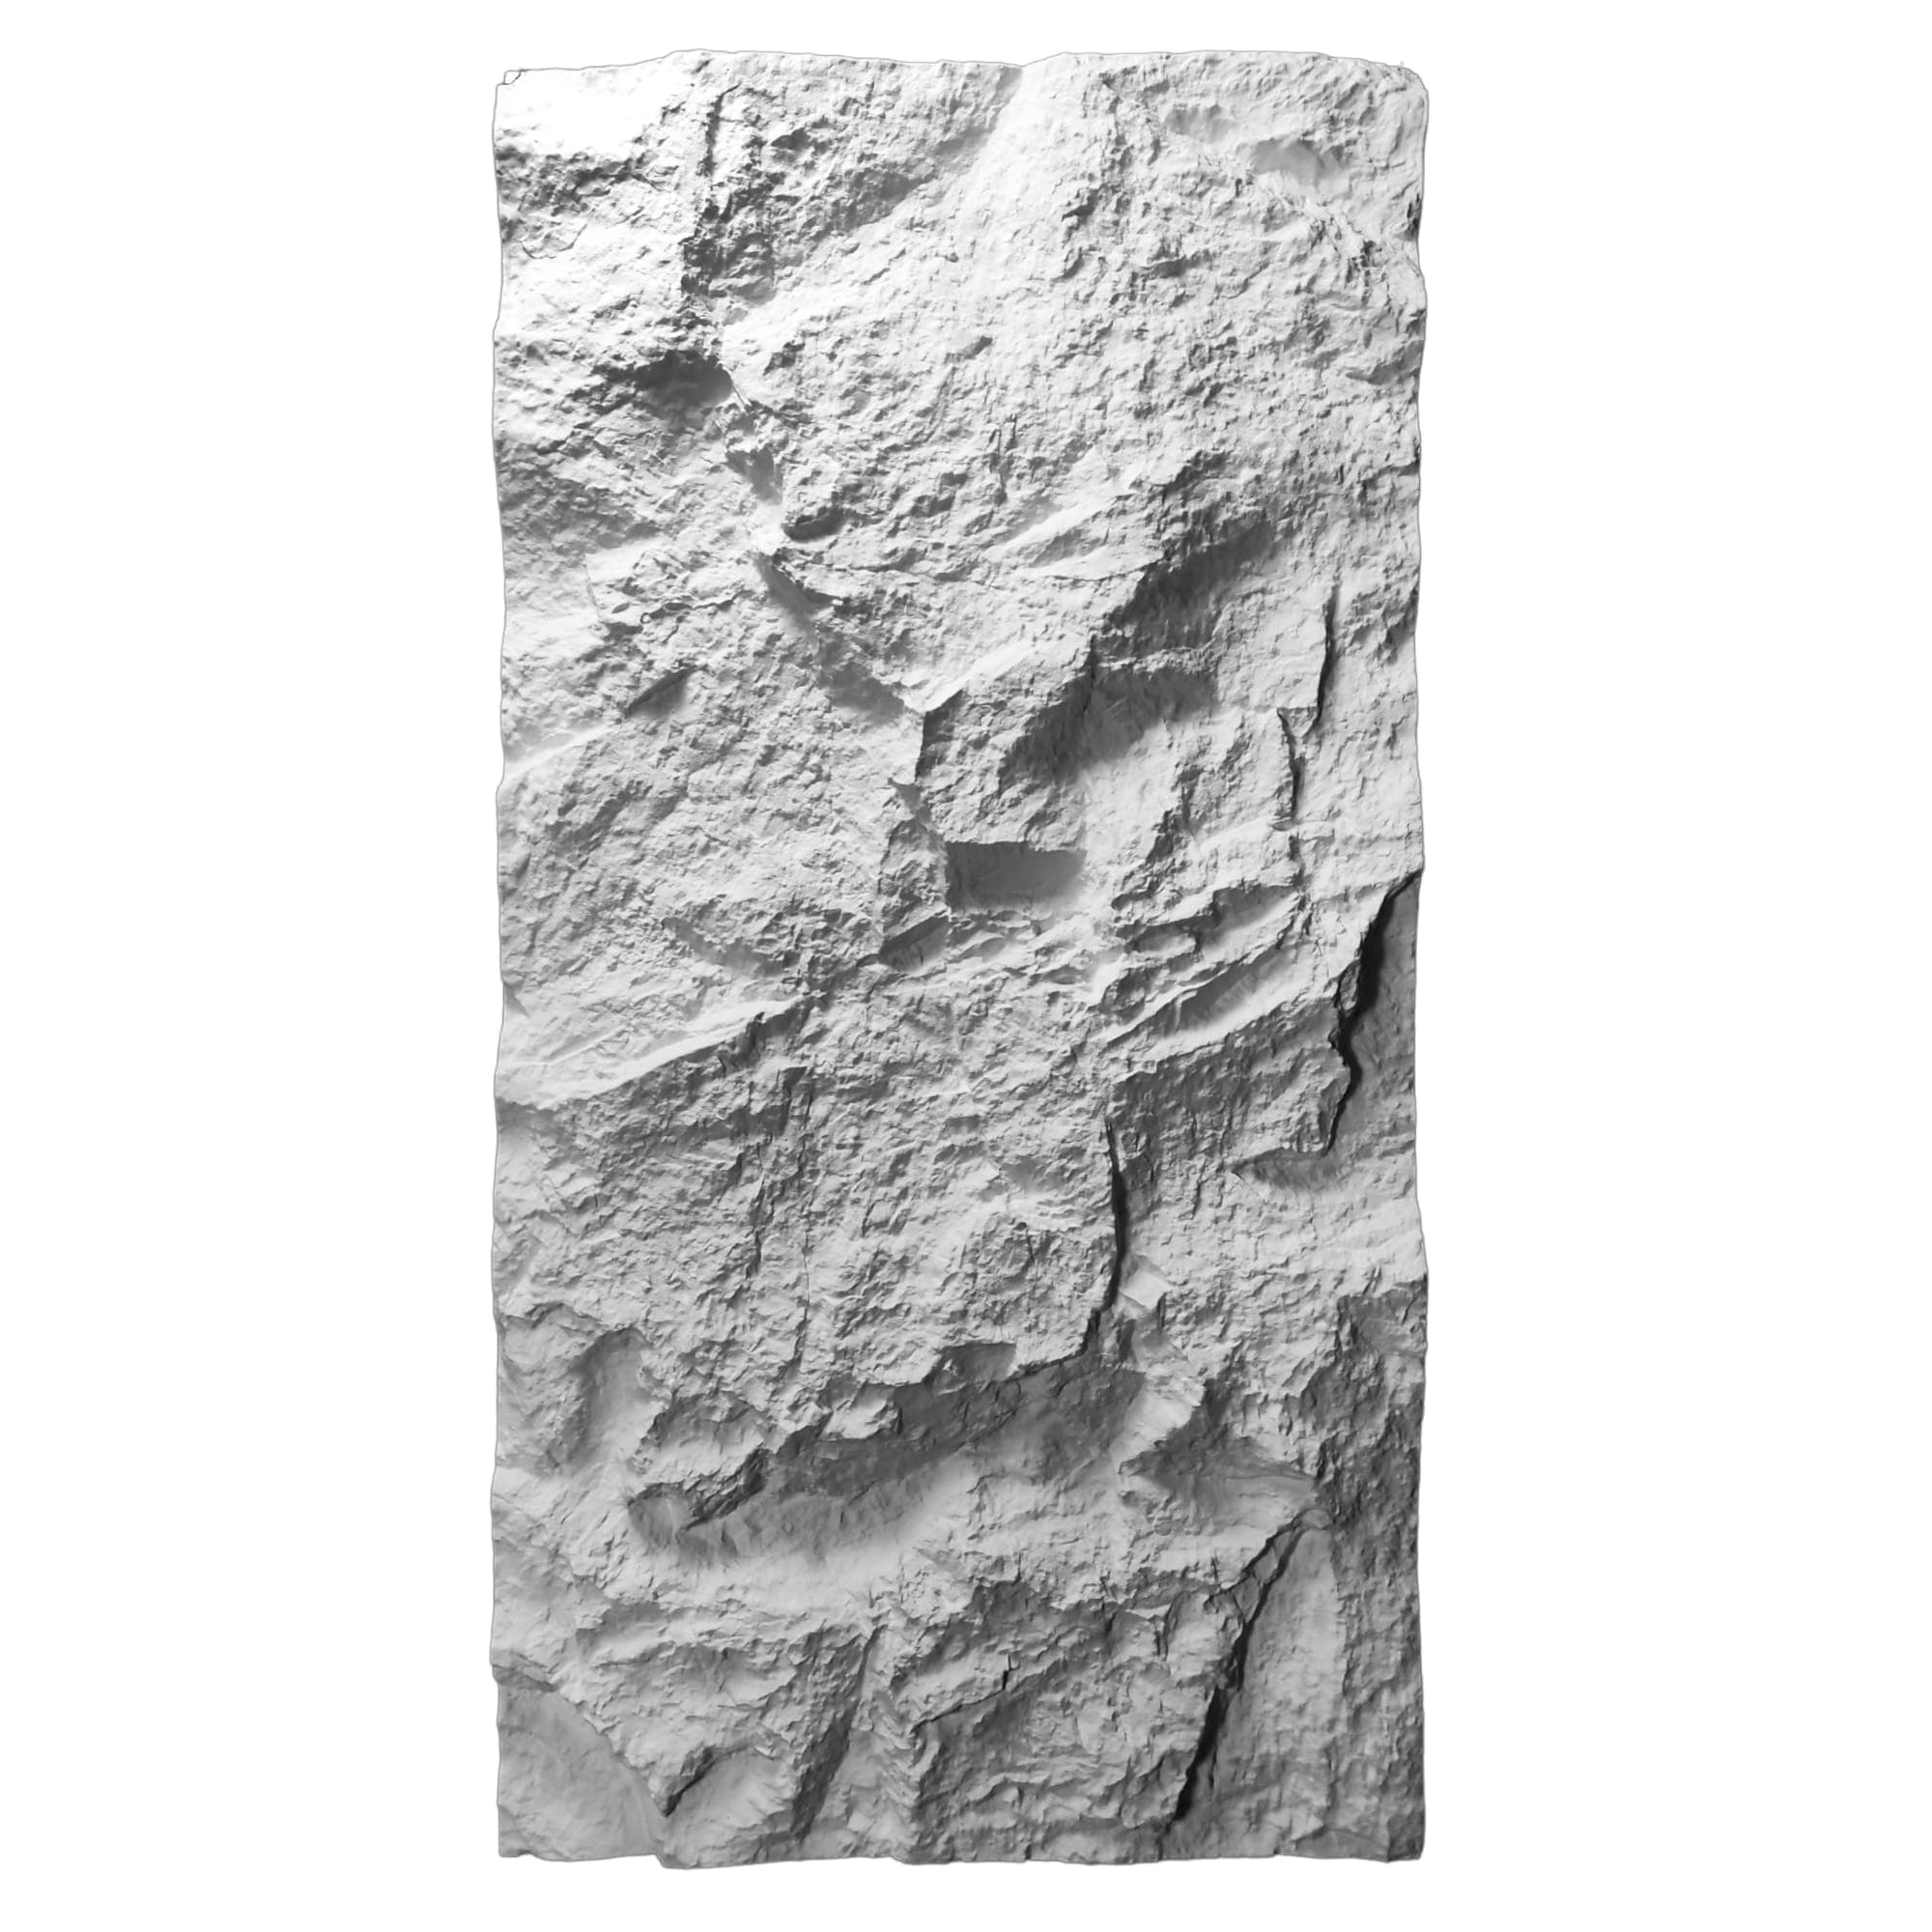
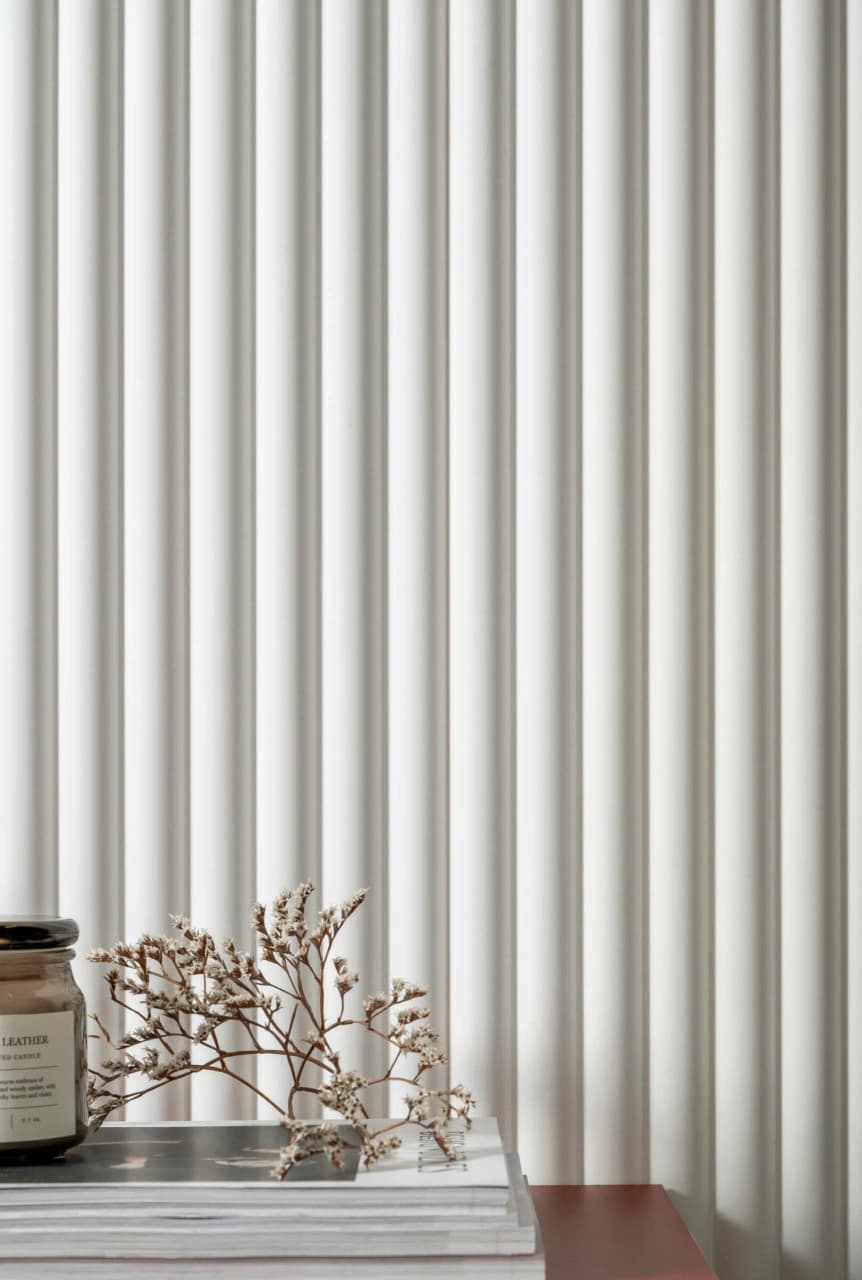
Dartank 3D polyurethane wall panels bring sculptural relief to your interior: headboard, accent wall, reception area. Moulded to a high density, lightweight, impact- and moisture-resistant, they are simply bonded into place (no drilling) and can be painted with any acrylic paint. Five collections: Duna, Aria, Eterno, Lumio, Vivid + end-piece accessories.

116
products

Subcategories

Top sellers in this category

3D PU wall panels

3D polyurethane wall panels — Duna, Aria, Eterno, Lumio and Vivid collections

Dartank 3D polyurethane wall panels bring sculptural relief to your interior: headboard wall, accent wall, reception area. High-density moulded, lightweight, impact- and moisture-resistant, they are fitted by simple bonding (no drilling) and can be painted with any acrylic paint. Five collections: Duna, Aria, Eterno, Lumio, Vivid + end-piece accessories.

Read more ↓

Our 5 collections + accessories

  • Duna collection — soft curves and dunes, sandy effect. 14 references + end pieces.
  • Aria collection — airy patterns, lightness. 11 references.
  • Eterno collection — timeless design, clean lines. 11 references.
  • Lumio collection — relief playing with light and shadow. 12 references + end pieces.
  • Vivid collection — bold, high-contrast patterns. 14 references + end pieces.
  • PU decorative panels — complementary range, 76 references.

Technical specifications

  • Material: high-density moulded polyurethane.
  • Light weight: panels of 50×50 cm on average, ~1 kg/m².
  • Resistance: impact (knock-proof), moisture (ventilated damp rooms OK).
  • Finish: white bonding primer, ready to paint.
  • Fitting: bonded with a special PU adhesive, no drilling.

How to fit a 3D polyurethane wall panel in 5 steps

  1. Prepare the wall — Clean, dry, flat and dust-free surface. No primer needed if the wall is painted and free of dust.
  2. Mark out the position — Pencil in the setting-out lines. Align the first panel level and plumb.
  3. Apply the adhesive — Apply the special polyurethane adhesive in dabs or beads on the back of the panel.
  4. Position and press — Press the panel firmly against the wall. Hold for 30 seconds. Check the level.
  5. Finish the joints — Fill the joints between panels with an acrylic sealant, then sand once dry. Apply white primer + the acrylic paint of your choice.

Help & advice

Frequently asked questions

Everything you need to know before ordering. Another question? Contact us.
PU (polyurethane) is high-density moulded, lightweight and resistant to impact and moisture (suitable for wet rooms). Plaster is heavier and more fragile, but 100% natural and recyclable. PU allows more intricate relief patterns (Duna, Aria and other collections).
A special polyurethane adhesive or an MS Polymer adhesive sealant. Apply in blobs spaced 15-20 cm apart on the back of the panel. Avoid solvent-based adhesives, which can attack the material.
Yes — the panels are supplied with a white bonding primer. You can leave them as they are (a minimalist white finish) or paint them with an acrylic or vinyl paint. Any shade you like.
Ideal for a headboard (bedroom), a feature wall (living room, dining room), entrance hall cladding, a hotel lobby or a shop window. Their moisture resistance also allows use in a ventilated bathroom.
Devis
AshDecor & installation adviser
Select a product
Select a product
Compare