Skip to content
Dartank

Outdoor Flooring & Patios

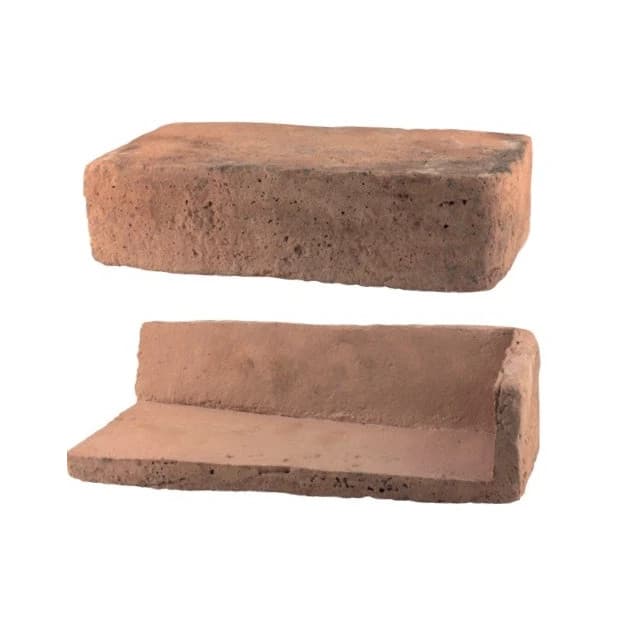
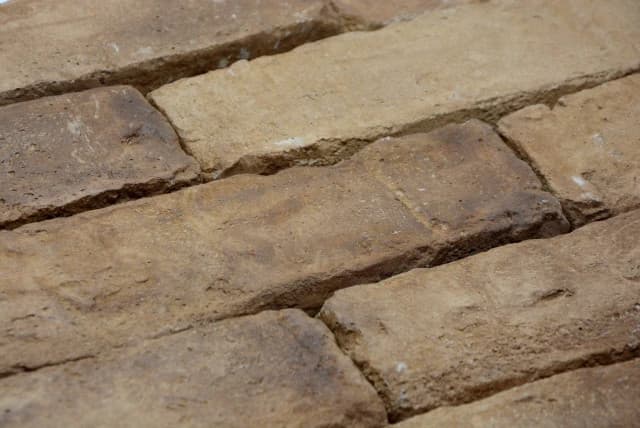
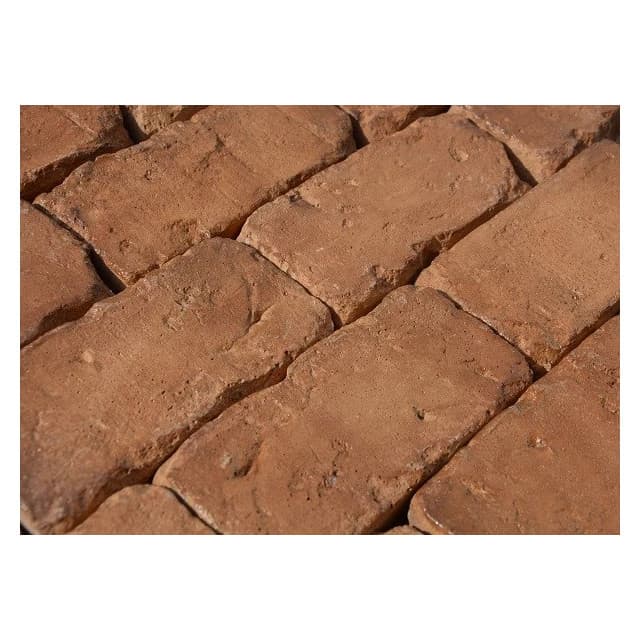
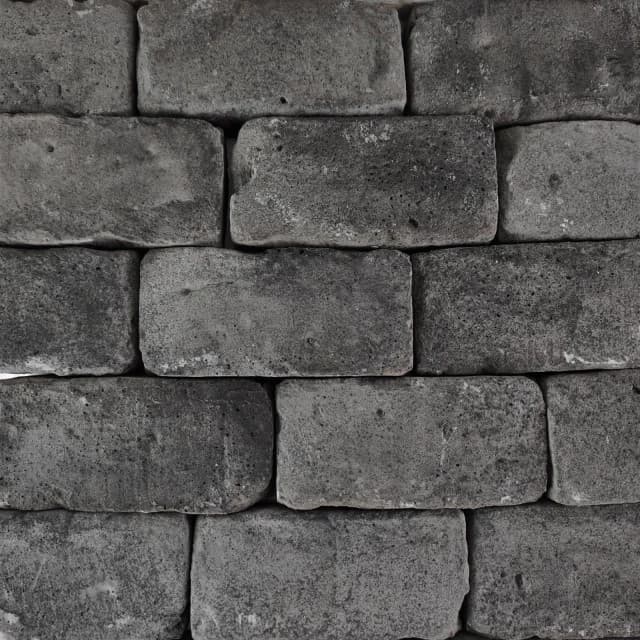
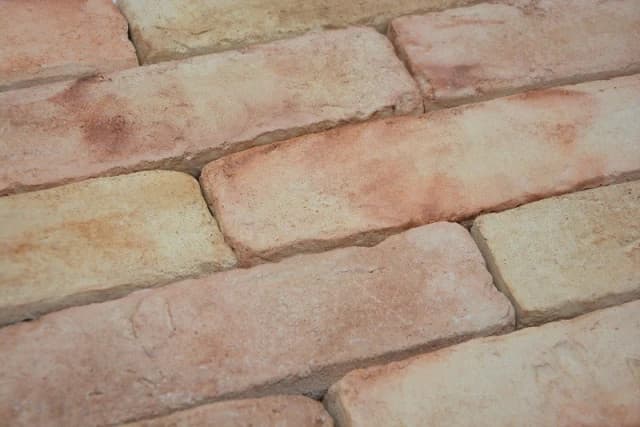
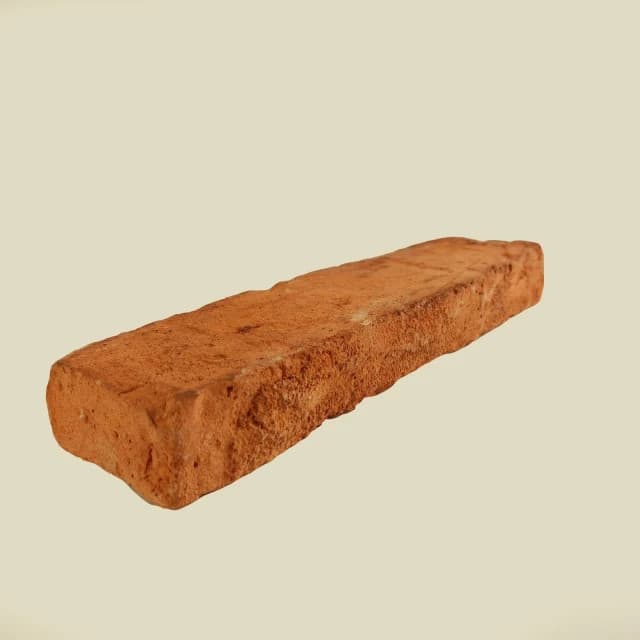
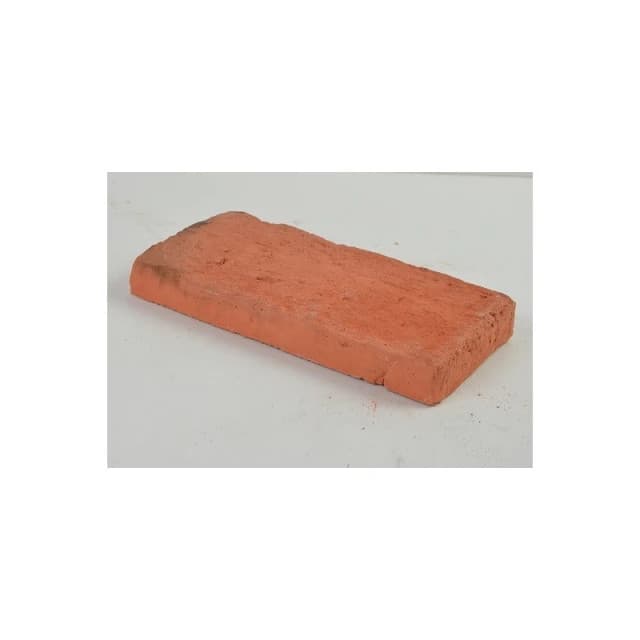
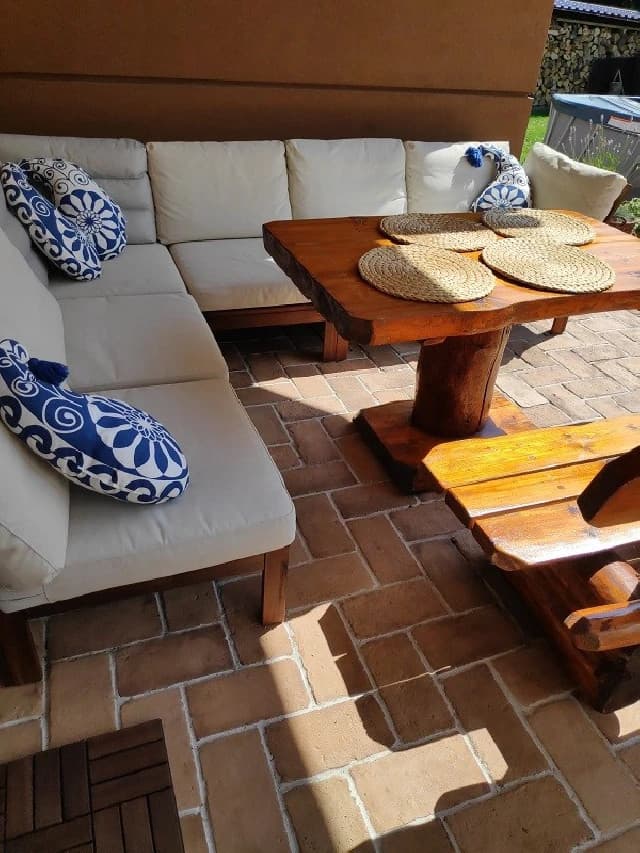
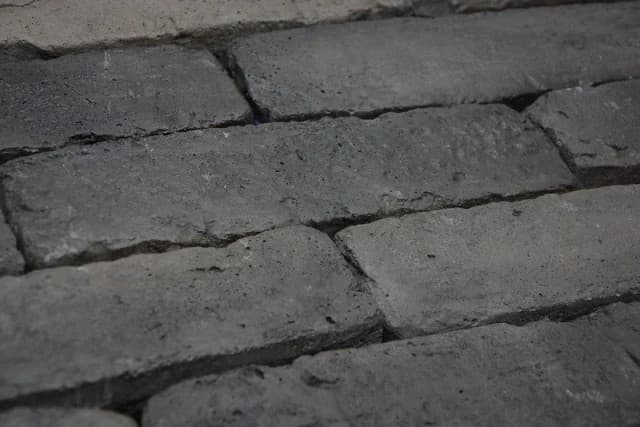
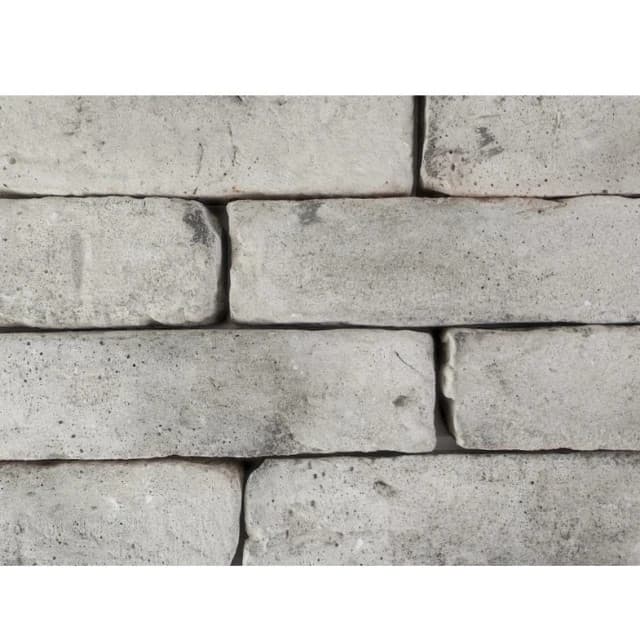
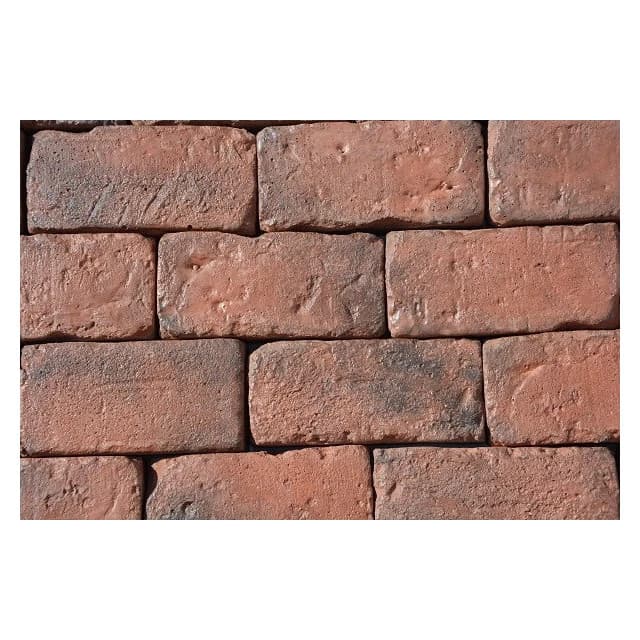
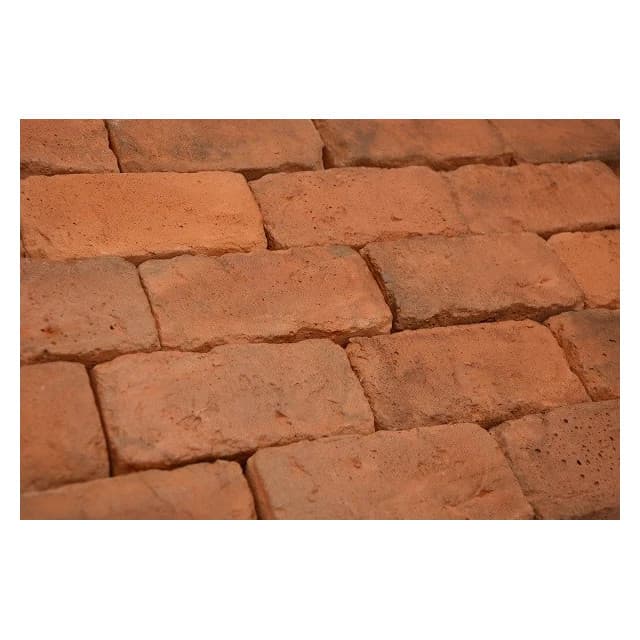
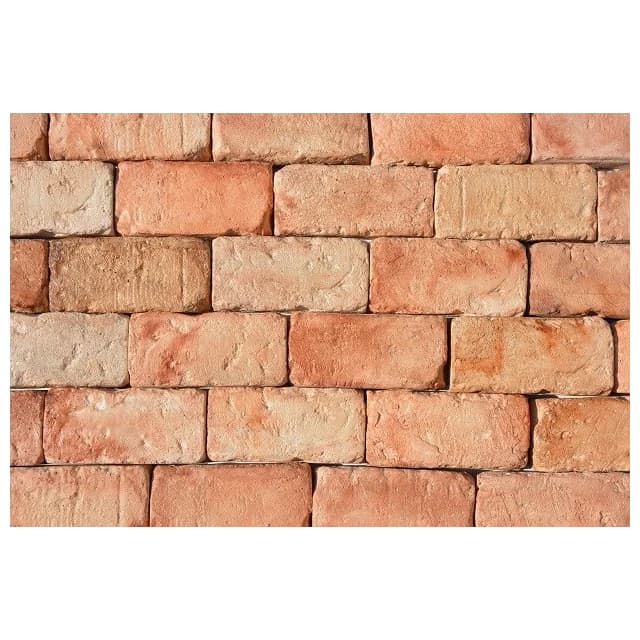
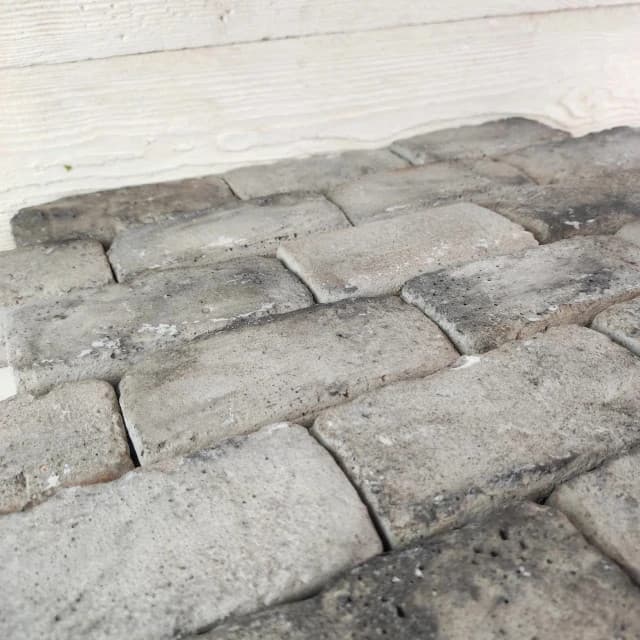
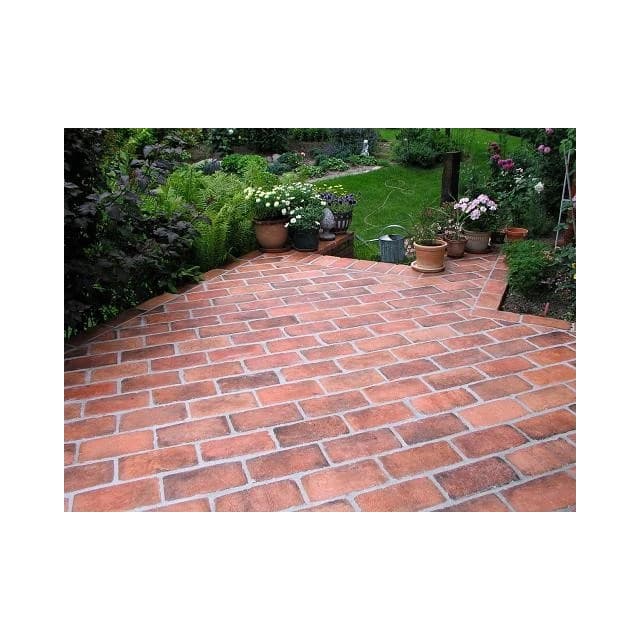
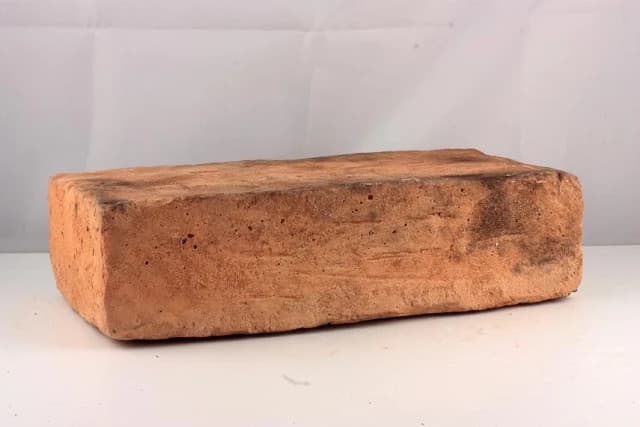
Our outdoor floors and terraces range brings together 4 complementary families for laying out paths, terraces and edging: aged brick-effect cement tile flooring (33 products, formats 6.5 × 27 cm + 13.5 × 27 cm), matching window sills and stair nosings (14 products, straight and rounded finishes), garden and pavement edging in aged brick or wicker imitation (5 products), and solid bricks for paths (3 products, formats 27 × 14 and 29 × 14 cm).

66
products

Subcategories

Top sellers in this category

Outdoor floors

Outdoor floors and terraces — reclaimed brick tiles, edging, pathways

Our outdoor floors and terraces range brings together 4 complementary families to lay out pathways, terraces and edging: reclaimed brick cement floor tiles (33 refs, 6.5 × 27 cm + 13.5 × 27 cm formats), matching window sills and stair nosings (14 refs, straight and rounded finishes), garden and kerb edging with a reclaimed brick or wicker effect (5 refs), and solid pathway bricks (3 refs, 27 × 14 and 29 × 14 cm formats).

Read more ↓

4 families, 4 uses

  • Reclaimed brick floor tiles — terrace, indoor or outdoor floor with an aged brick effect. 33 refs.
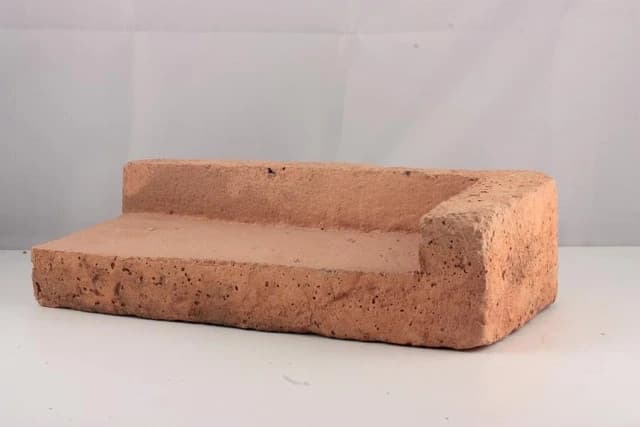
  • Window sill / stair nosing — straight or rounded finishes, left or right. 14 refs.
  • Garden / kerb edging — single or triple reclaimed brick effect, or cement wicker. 5 refs.
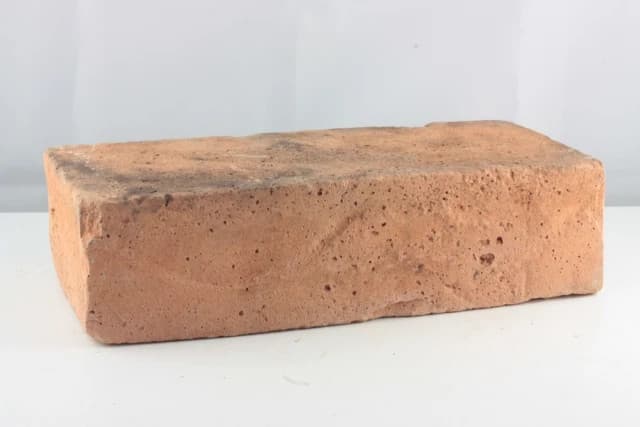
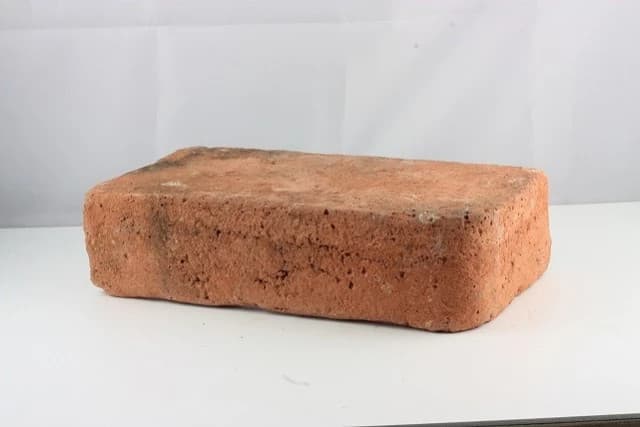
  • Solid pathway bricks — brick-format terrace pavers, 27 × 14 cm or 29 × 14 cm. 3 refs.

Laying a terrace — the essential rules

An outdoor terrace in cement tiles calls for a reinforced concrete slab over a bed of compacted gravel, a 1.5% fall towards the drain, and a frost-resistant C2 S2 adhesive mortar. Water-repellent grout and a sealer once cured keep the look intact over time.

How to lay a reclaimed brick terrace in 6 steps

  1. Prepare the base slab — Reinforced concrete slab over a bed of compacted gravel + geotextile membrane. 1.5% fall towards the drain. Allow 28 days of curing.
  2. Set out the layout — Chalk out the setting-out: start from the centre in a 1/2 running bond. Allow a 5 mm expansion joint every 8 linear metres.
  3. Prepare the adhesive mortar — Exterior C2 S2 adhesive mortar, frost class to EN 12004. For large formats, a U10 notched trowel minimum.
  4. Back-butter — Spread adhesive on the wall AND on the back of each tile. Essential outdoors to withstand the tensile stress of freeze/thaw.
  5. Lay and tap down — Lay, then tap with a rubber mallet. 5-10 mm spacers depending on format. Check flatness with a 2 m straightedge.
  6. Grout after 24 h — Water-repellent grout mortar for frost resistance. Brush off dry after 1 h. Seal the whole surface after 28 days of curing.

Help & advice

Frequently asked questions

Everything you need to know before ordering. Another question? Contact us.
Dartank offers 4 collections for outdoor floors: reclaimed-look brick paving (cement format 6.5 × 27 cm, 33 refs), matching window sills and stair nosings (14 refs), garden and path edging in an old brick or wicker look (5 refs), and solid bricks for driveways (3 refs).
Choose a frost-resistant tile to EN ISO 10545-12 — water absorption < 3 % (class BIa). All our Dartank cement tiles for outdoor floors meet this standard.
A concrete slab over compacted gravel, a 1.5 % fall, exterior C2 S2 adhesive mortar applied by the buttering-floating method, water-repellent 5-10 mm joints. Seal the whole surface after 28 days to preserve its appearance.
Go for medium formats (13.5 × 27 cm or 27 × 14 cm) — a balance between looks and ease of laying. A smooth but non-slip surface (R10 minimum) around a pool.
Devis
AshDecor & installation adviser
Select a product
Select a product
Compare