How to Install an Artificial Green Wall: Complete Guide
Fitting an artificial green wall is mostly about choosing the right fixings and finishing the edges properly. A complete guide, indoors and out.
Equipe Dartank
DARTANK Expert
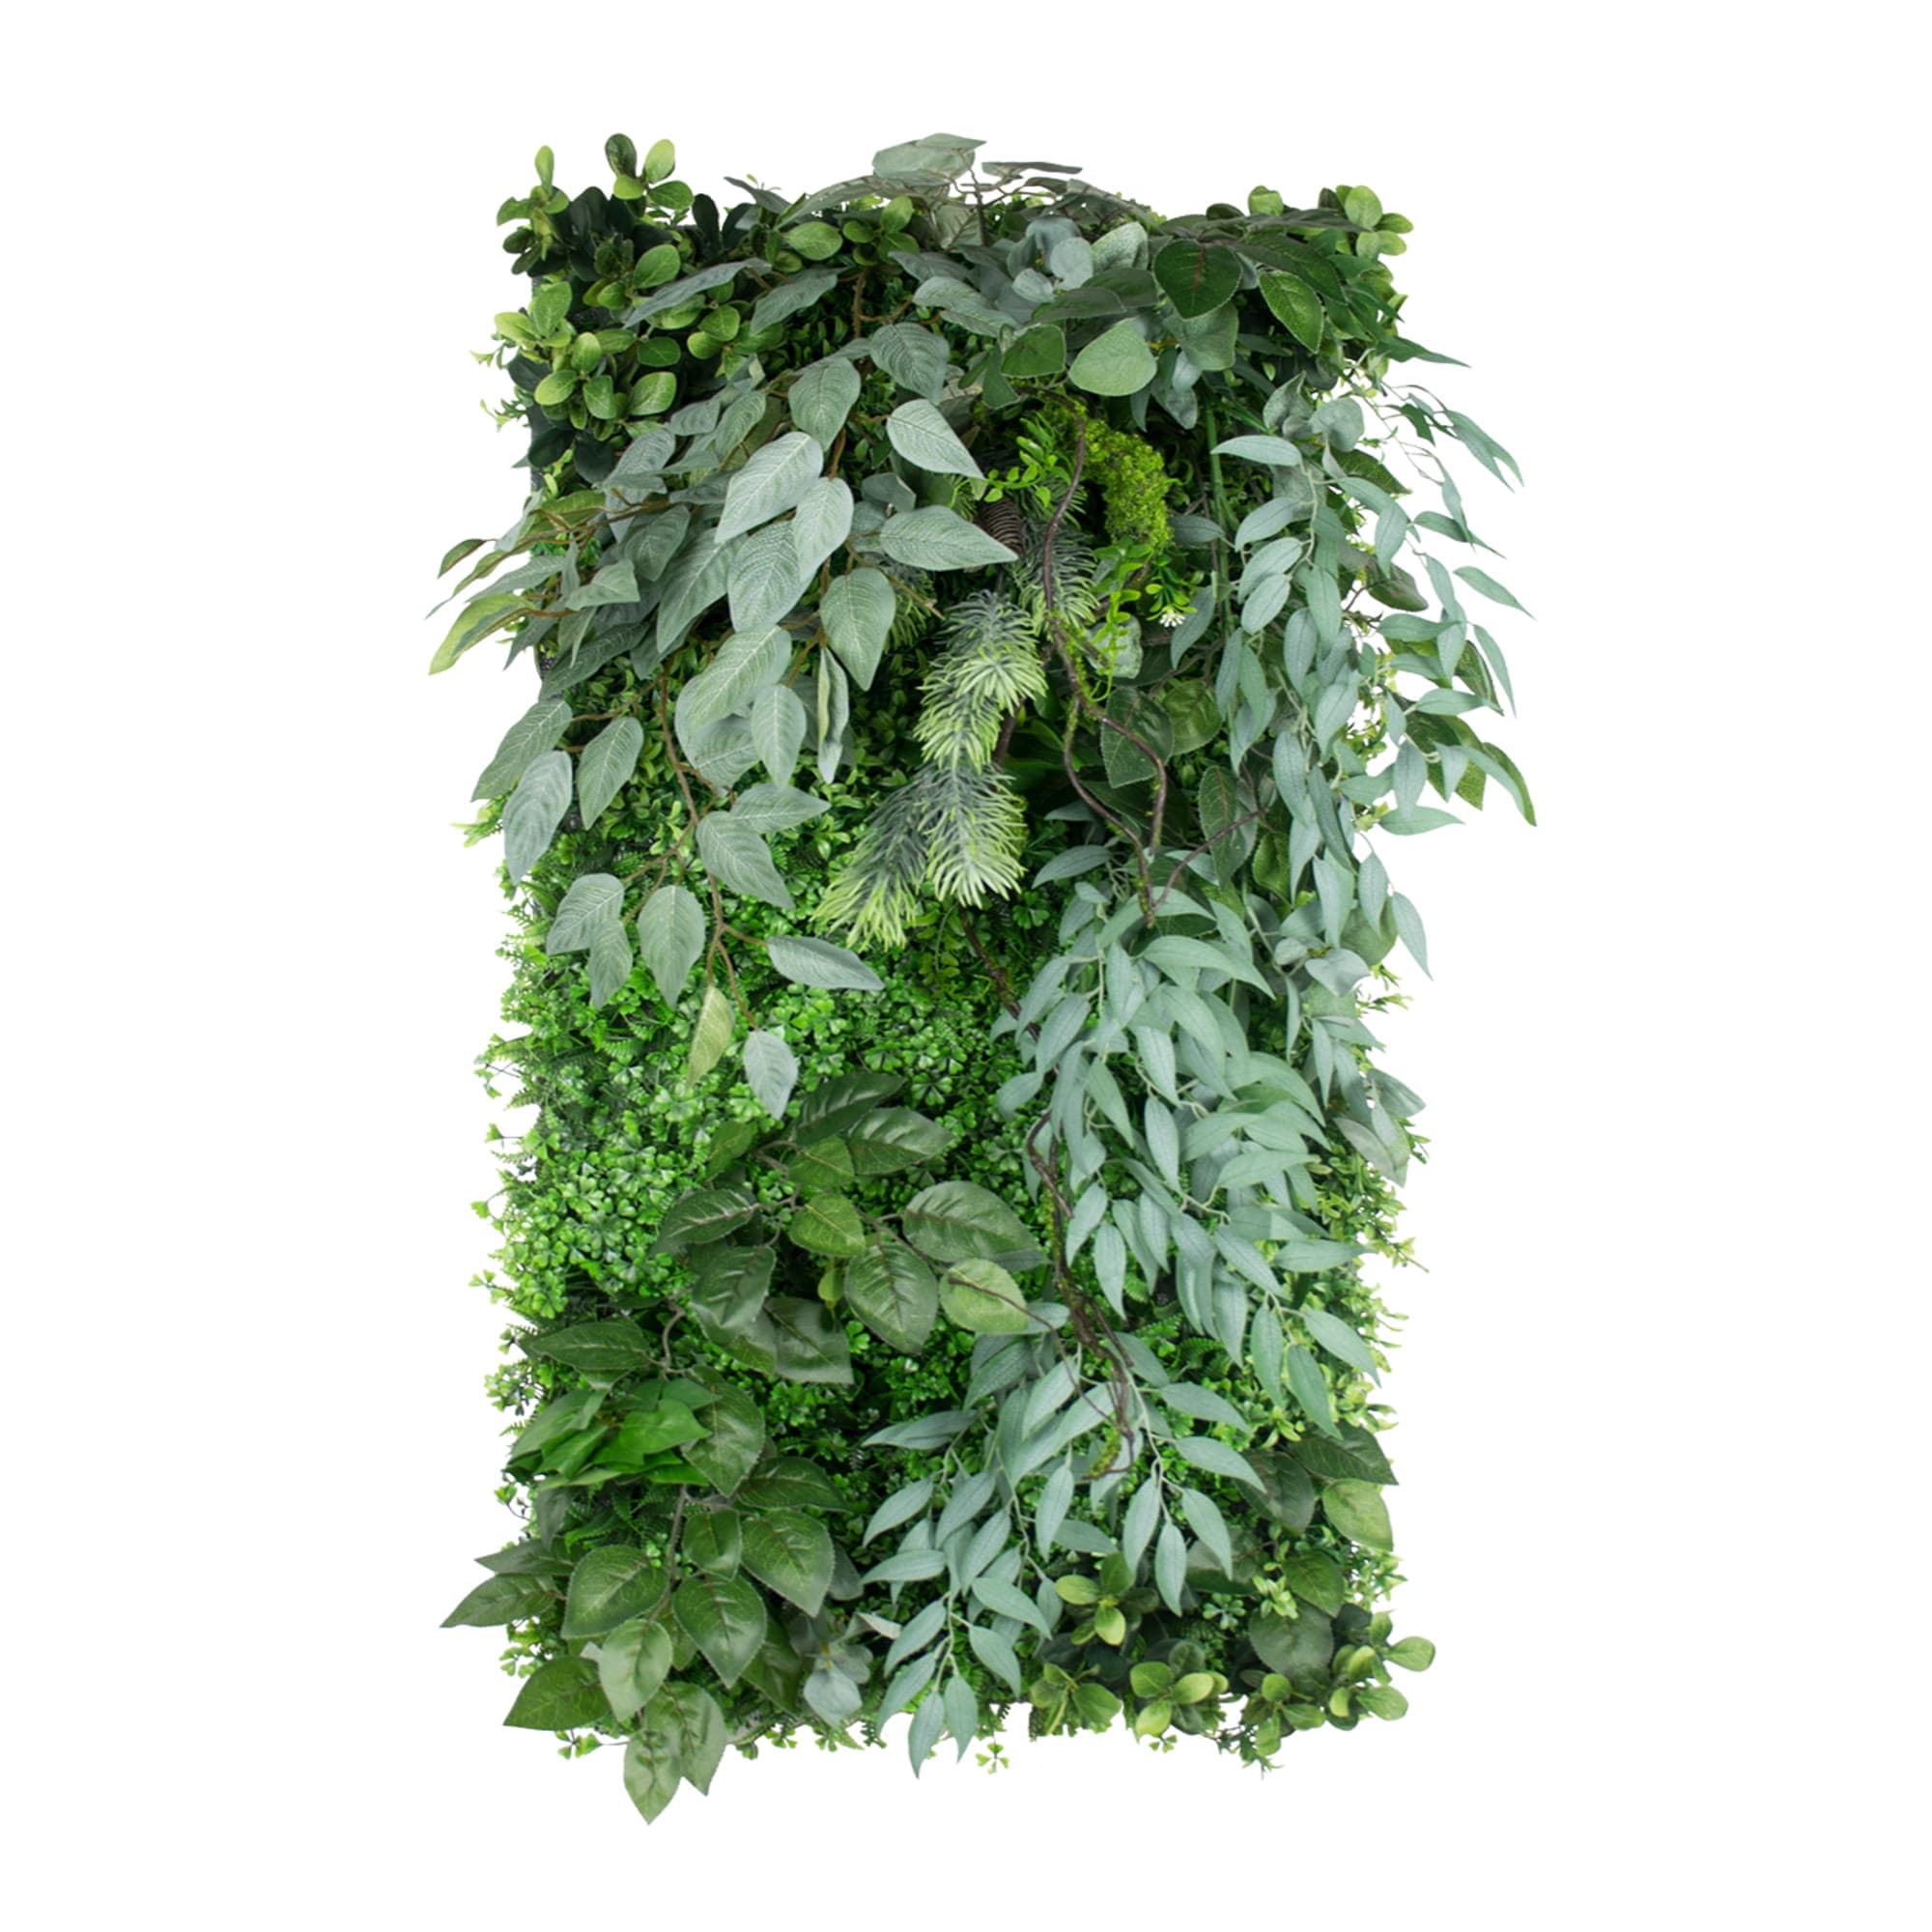
An artificial green wall gives you the density of real foliage with no watering, no light and no upkeep. Fitting it is straightforward, but two things separate a convincing result from a wall where every panel shows: the fixings, and the way you finish the edges.
What you will need
- Foliage panels, usually 50 × 50 cm or 50 × 100 cm
- 27 × 40 mm battens if the wall is uneven or damp
- Screws and plugs to suit the substrate: plasterboard, concrete, brick or timber
- Black nylon cable ties, or a heavy-duty wall stapler
- Secateurs or snips, tape measure, spirit level, pencil
- Cordless drill/driver
Step 1: Check the substrate
The panels are light, roughly 1.5 to 3 kg per square metre, but the fixings have to hold for years. On plasterboard, aim for the metal studs or use hollow-wall expansion anchors. On concrete or brick, standard nylon plugs will do.
If the wall is uneven or damp, or if you are working outdoors, first put up a frame of vertical battens every 40 to 50 cm. It takes up any irregularities and leaves an air gap that stops mould forming behind the panels.
Step 2: Work out how many panels you need
Measure the area and divide it by the area of one panel, then add 10%. That margin is not waste: it covers the edge cuts and, above all, the filling of the joints, which we come to below.
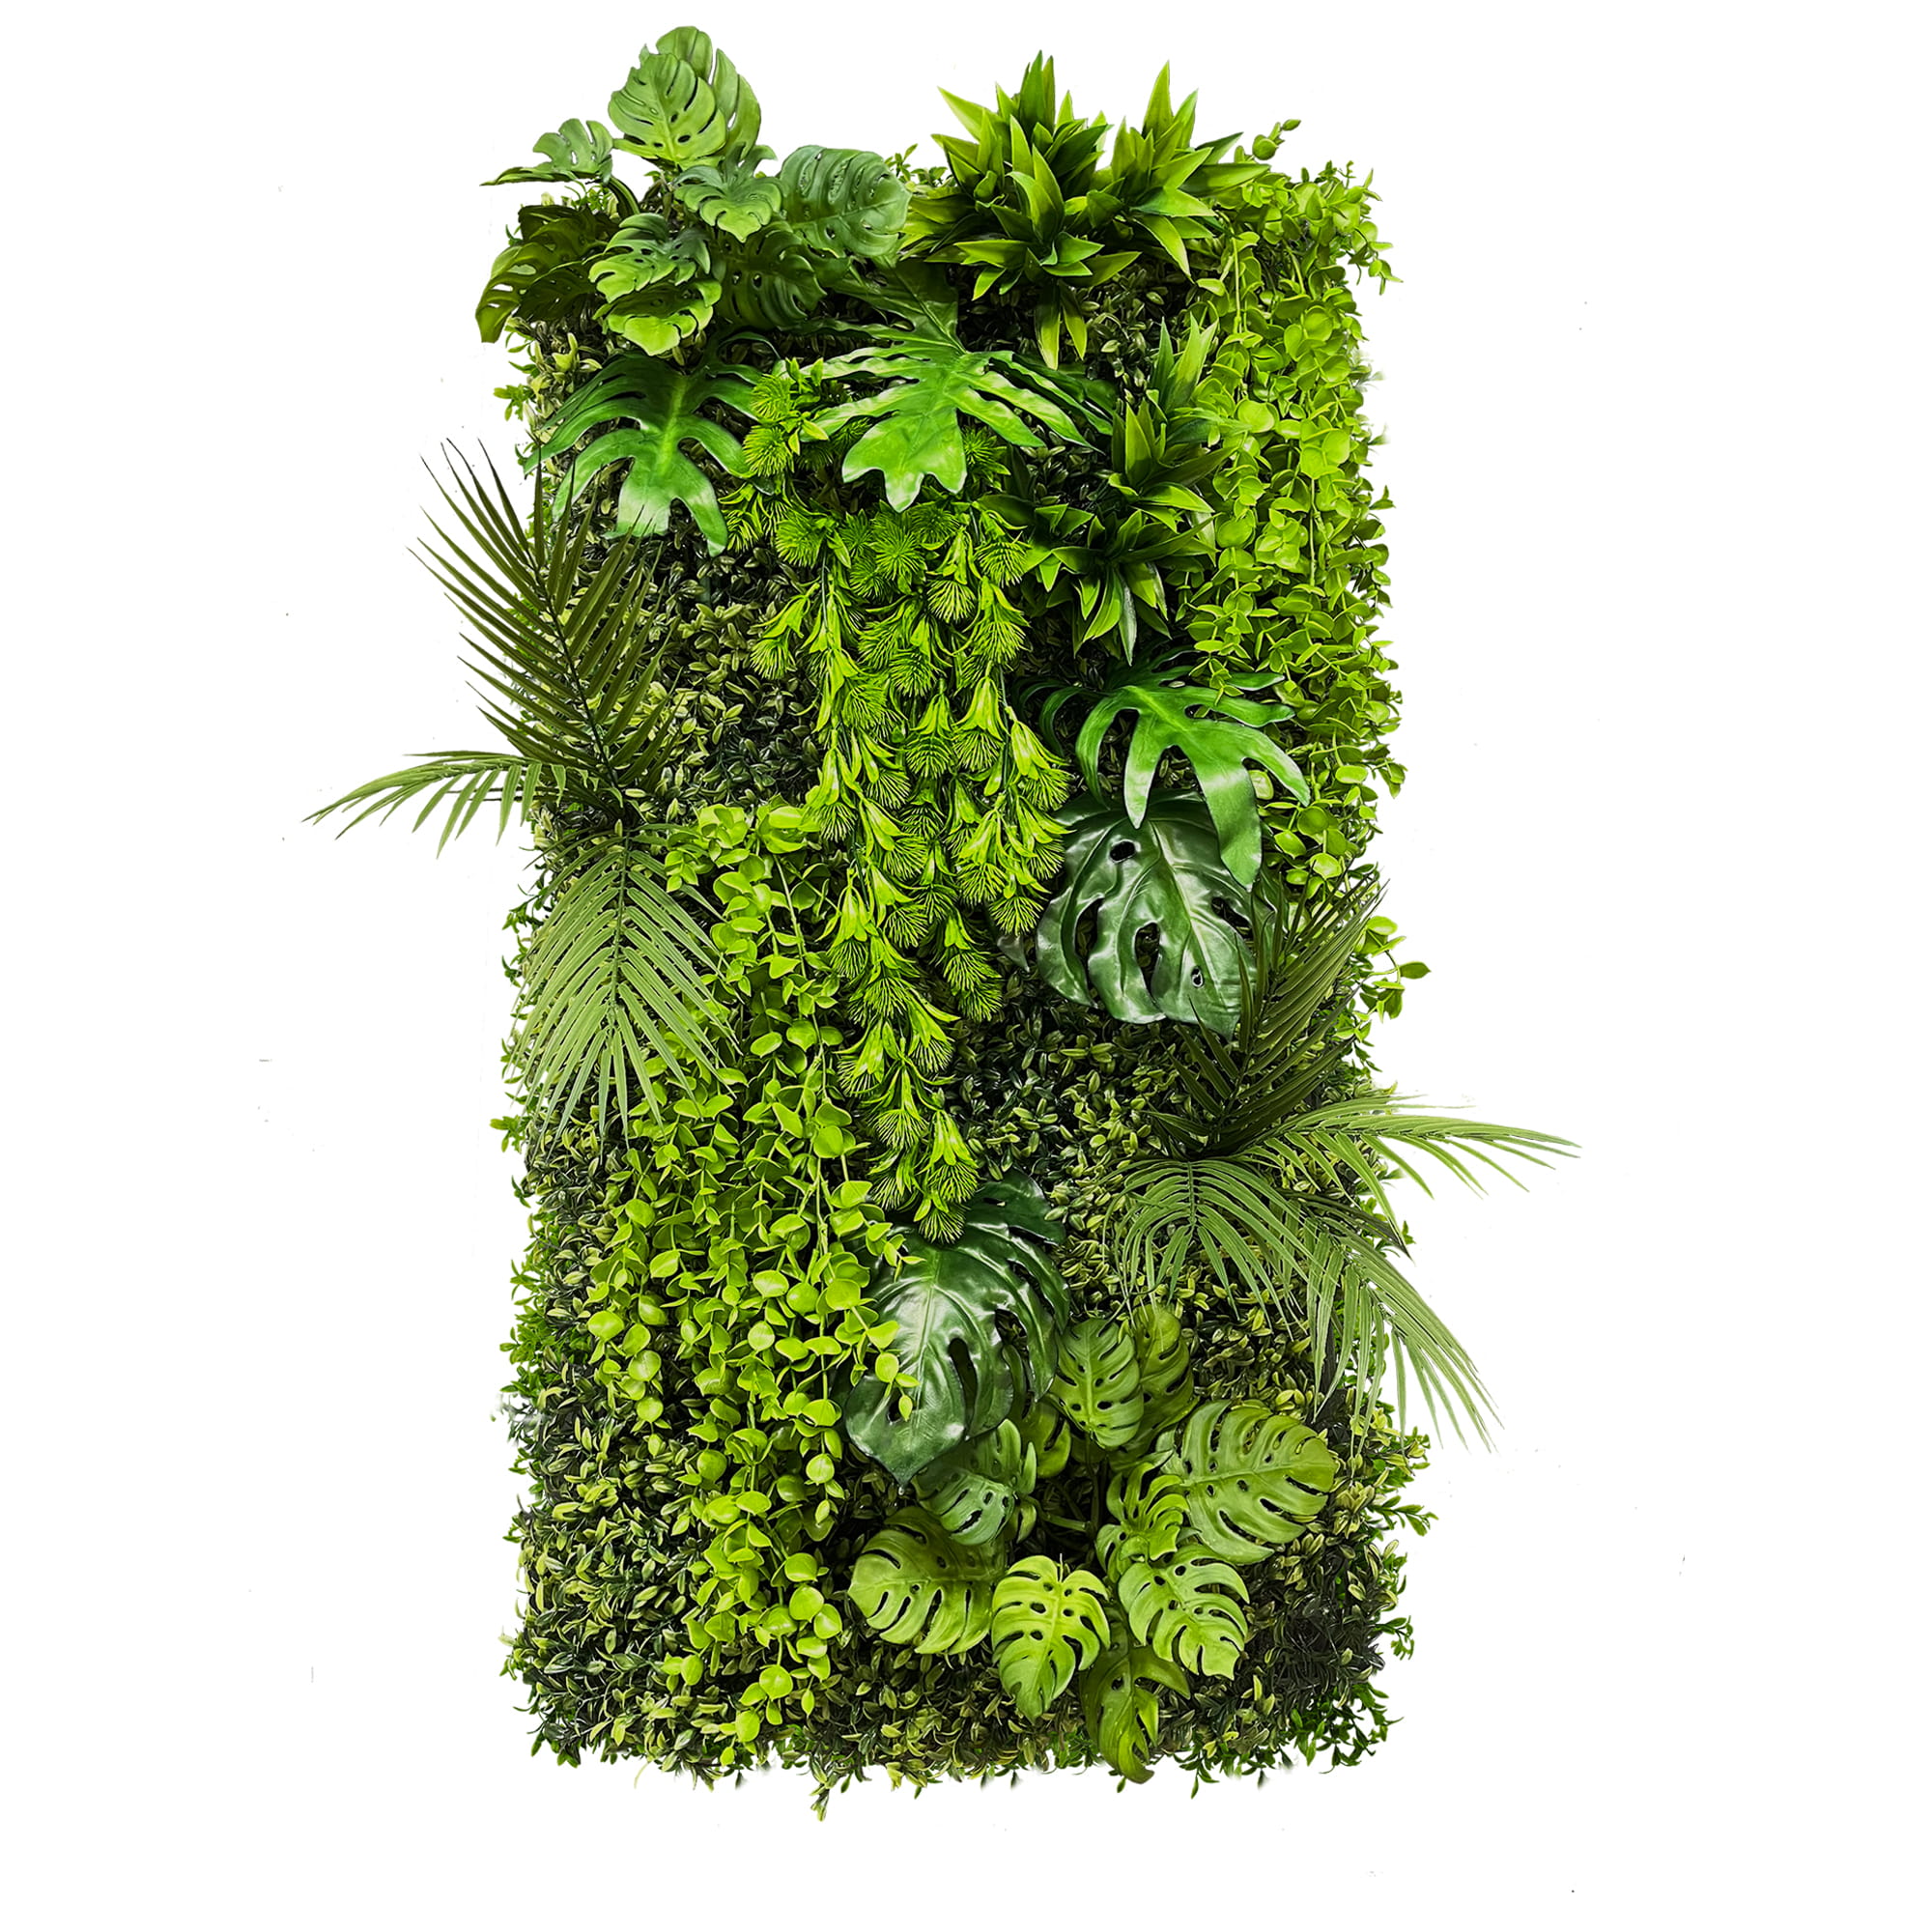
Step 3: Fit the first panel
Start at the top left and work from left to right, row by row. Check the first panel with the spirit level: every other one will line up on it.
Fix through the corners and the centre, driving the screw through the backing grid, between the stems. A large washer spreads the load and stops the screw pulling through the grid.
Step 4: Join the panels to each other
This is where the natural effect is won or lost. Tie the grids together with black cable ties, every 15 to 20 centimetres along the edges that meet. Pull them tight so the grids overlap slightly rather than butting edge to edge.
Also alternate the orientation of the panels from one row to the next, turning them a quarter turn. Laid all the same way round, the pattern repeats and the eye picks out the grid straight away: that is the giveaway on a botched installation.
Step 5: Hide the joints
Even pulled up tight, the joint lines still show. Cut leafy stems from your spare panels with the secateurs and tuck them into the thin patches along the seams, varying the heights. A few minutes is all it takes to make the grid disappear.
Step 6: Trim the edges
Cut the grid with the secateurs flush with the last mesh, never the foliage. A bare grid edge shows; cover it by folding the neighbouring stems outwards, or frame the whole wall with a timber or aluminium trim for a clean finish.
Outdoors: two precautions
- UV treatment. Only panels marked as UV-resistant hold their colour. Without that wording, foliage in full sun will fade within a single season.
- Ventilation. Always keep the air gap behind the batten frame. A panel fixed flat against a façade traps moisture against the render.
Upkeep
Indoors, dusting with a feather duster or compressed air every two to three months is enough. Outdoors, the rain does the work; a rinse with a low-pressure hose once a year brings the colour back. Avoid detergents, which dull the surface film.
Browse our range of artificial green walls and the installation accessories you need to put them up.
Besoin de conseils personnalisés ?
Nos experts sont à votre disposition pour vous accompagner dans vos projets de décoration.
Contactez-nous